Login
Log in if you have an account
Register
By creating an account with our store, you will be able to move through the checkout process faster, store multiple addresses, view and track your orders in your account, and more.
Create an accountHow to Carve your own Stamps: A Step-by-Step Linocut Tutorial

Crafting your own creative tools is a fun way to challenge and express yourself through your art. In this installment of our Pocket Guide Series, we’re going to use a DIY kit to carve a simple ink stamp. This kit is perfect for beginners as it contains all the basic pieces to get started without a huge investment.
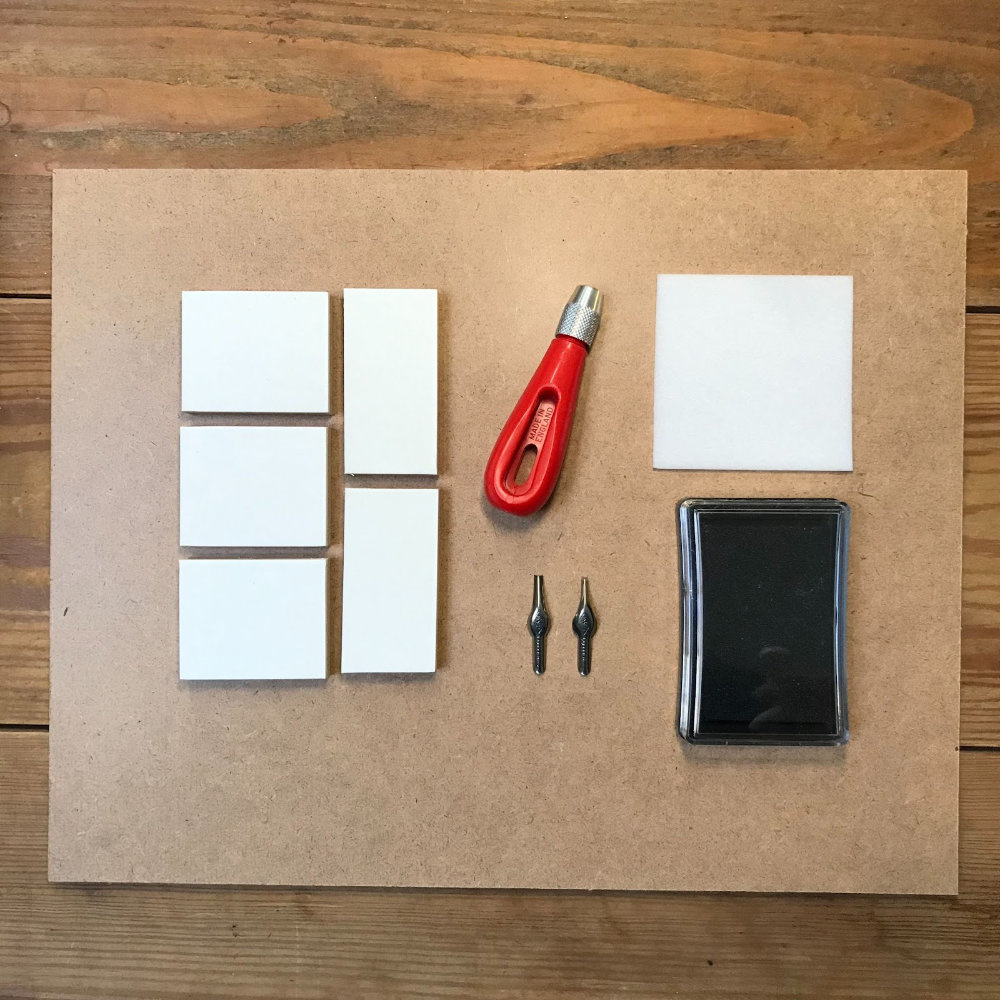
Here’s what you’ll need to get started:
- Essdee Carve a Stamp Kit (includes ink pad, carving tool, and blank lino)
- 2B (or softer) pencil
- Paper
- Paper towel and sponge for cleaning
With our supplies in order, let’s jump in!
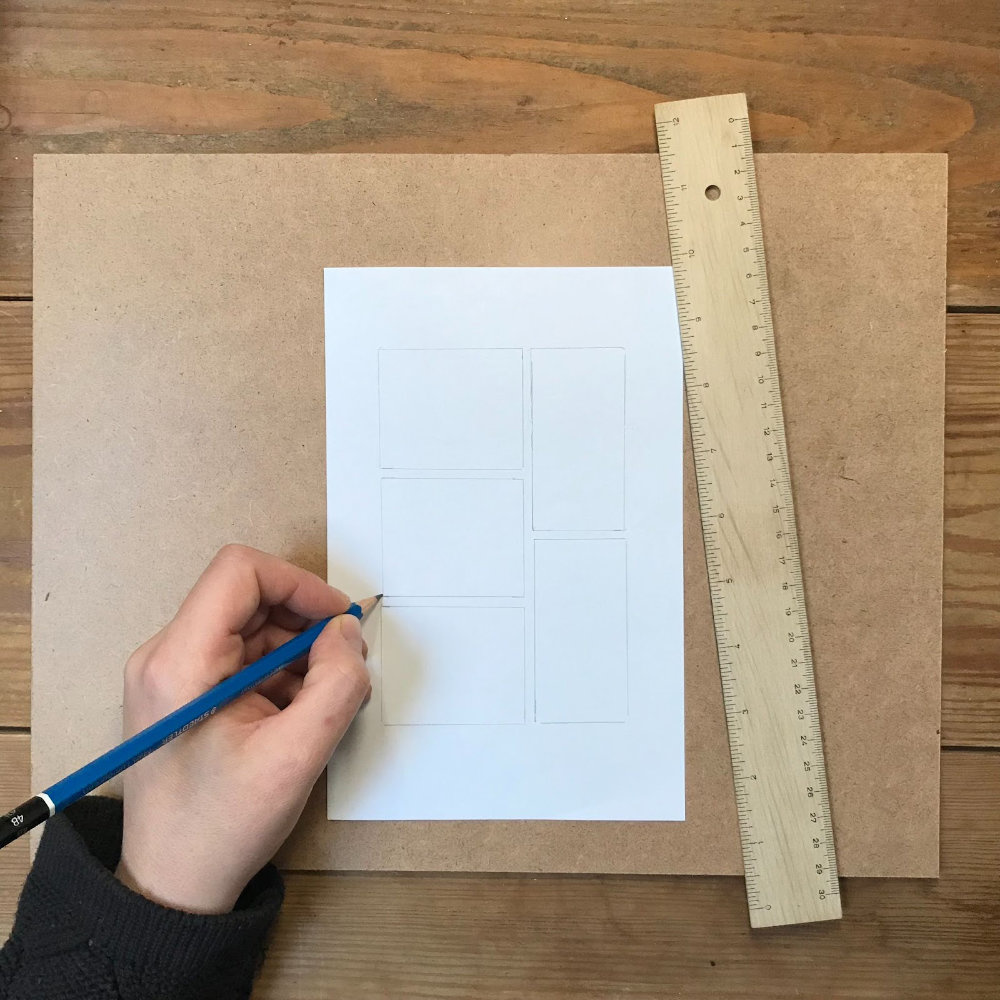
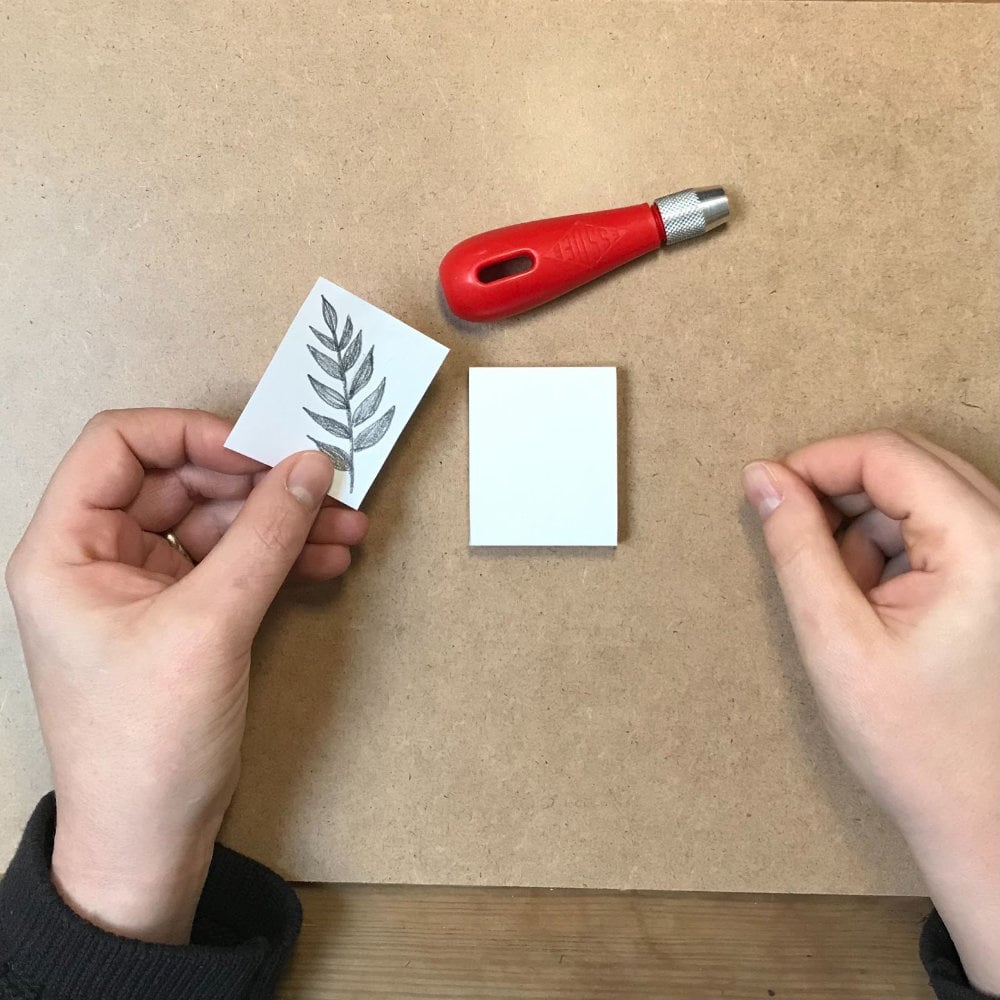
Step 1: Make a template.
Using a 2B or softer pencil, draw or trace your lino block shapes on a piece of paper to create your template.
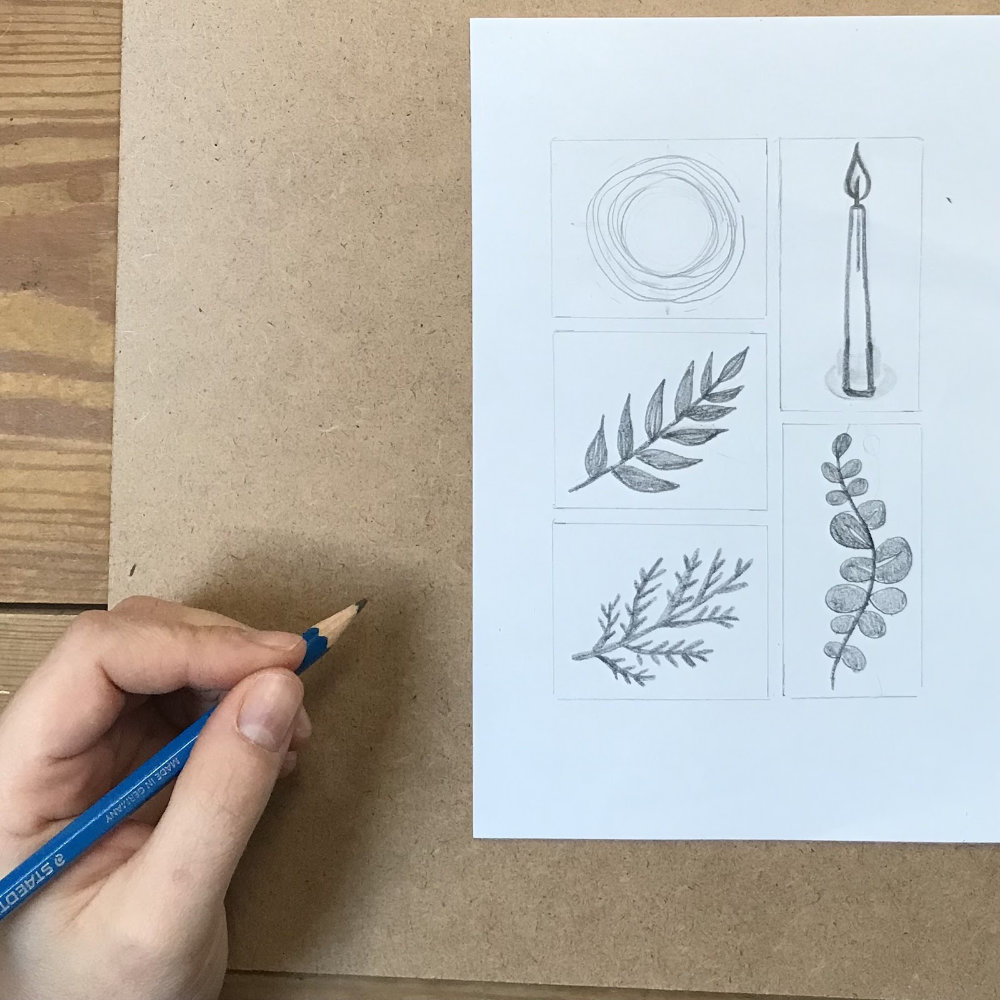
Step 2: Create your stamp designs.
Using the same pencil, draw your design outlines within the boundaries of your template. Don’t extend your designs to the edge—leave a little room. Also, be sure to keep your lines on the thicker side: no thinner than a paperclip. This will ensure there’s enough material left when you carve your stamps. Once you have your designs outlined, shade in the areas that you want to see printed in ink.
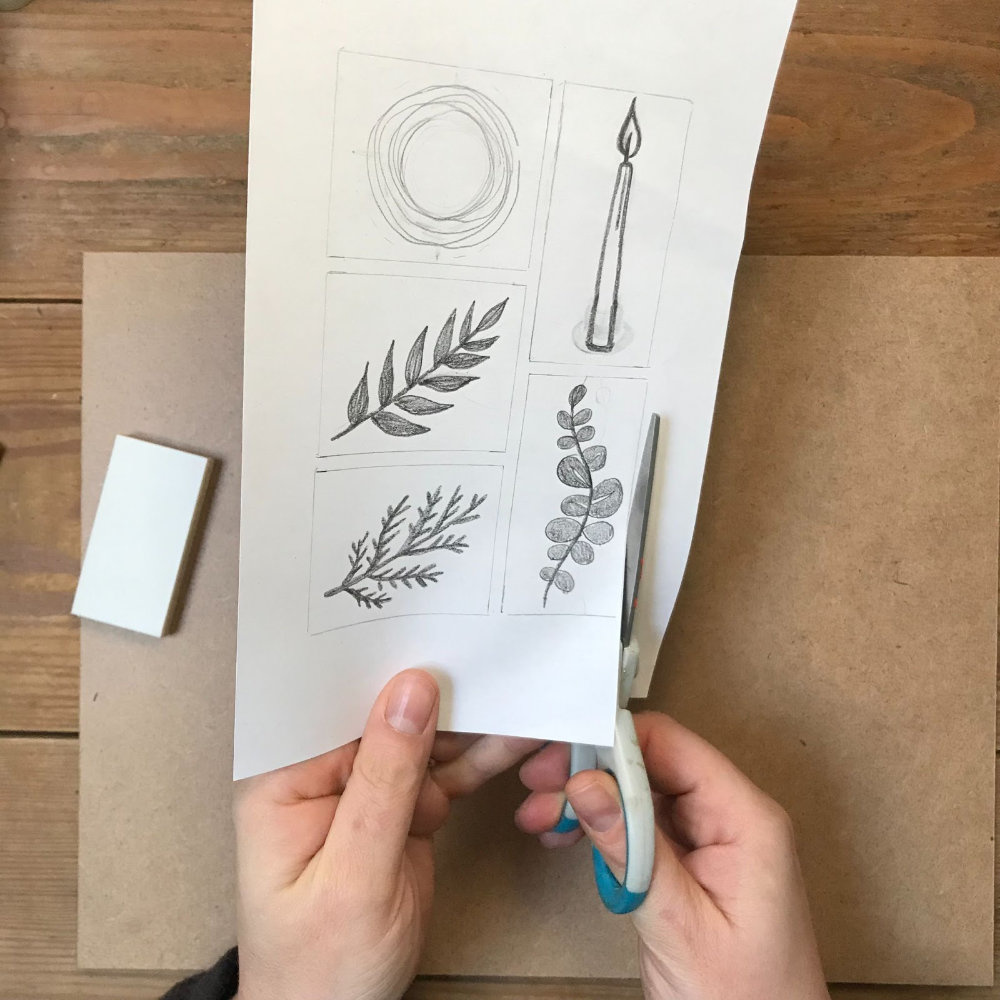
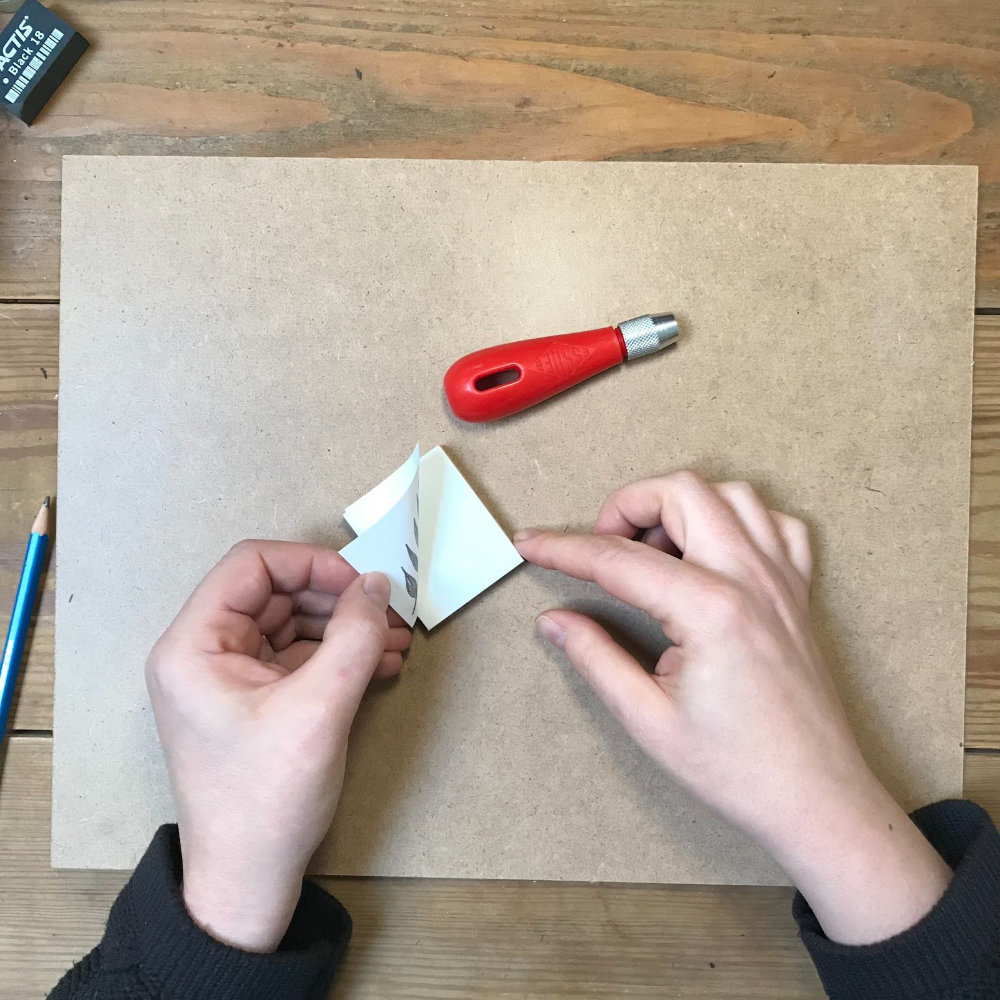
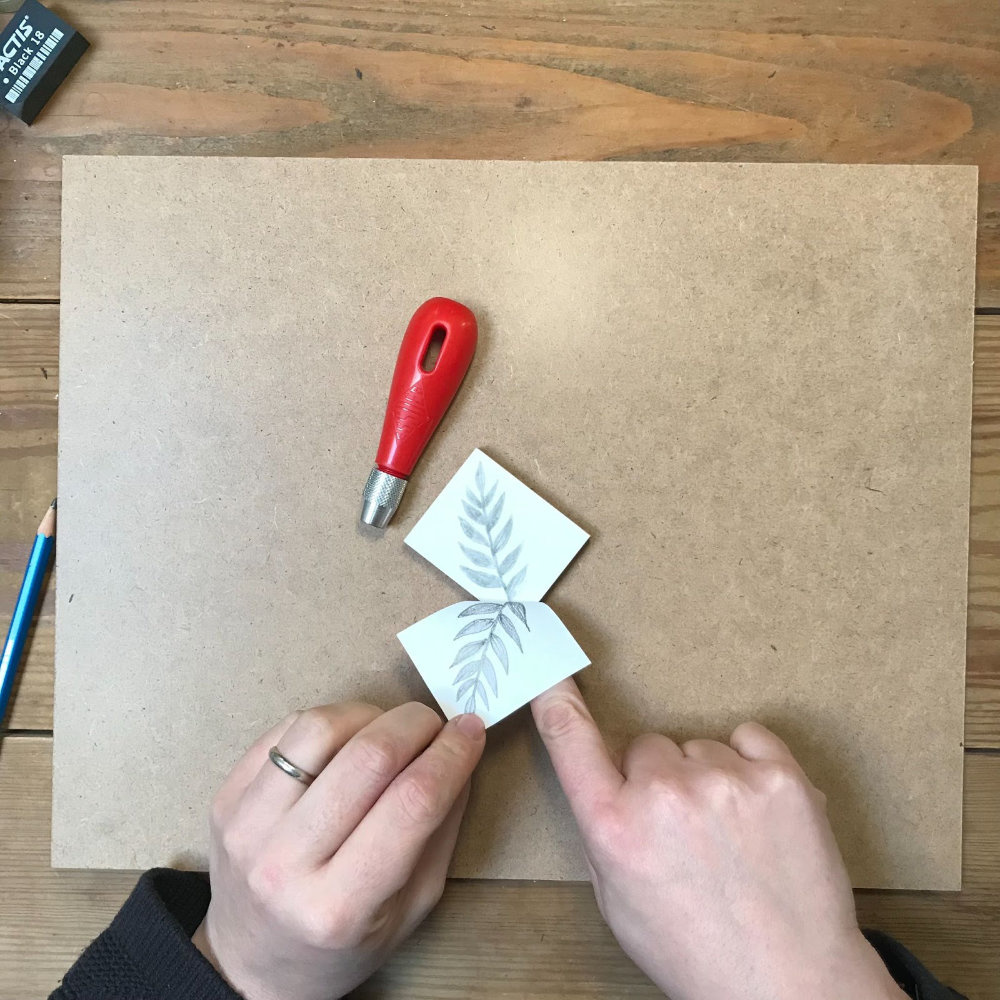
Step 3: Cut out your template.
Now that you’ve completed your designs on paper, you can cut them out. By making the paper the same size as your stamp block, it makes it easier to line up for a perfect image transfer.
Step 4: Line up your template and stamp block
Take your paper template and place it face down onto your stamp block, taking extra care to line up the edges.
Step 5: Transfer your image.
Using the handle of your cutting tool, press and rub the back of your drawing in circular motions. This will transfer a mirror image of your design onto the lino block in preparation for carving. If your design includes letters, you’ll notice they’re reversed—this is okay! You’re on the right track!

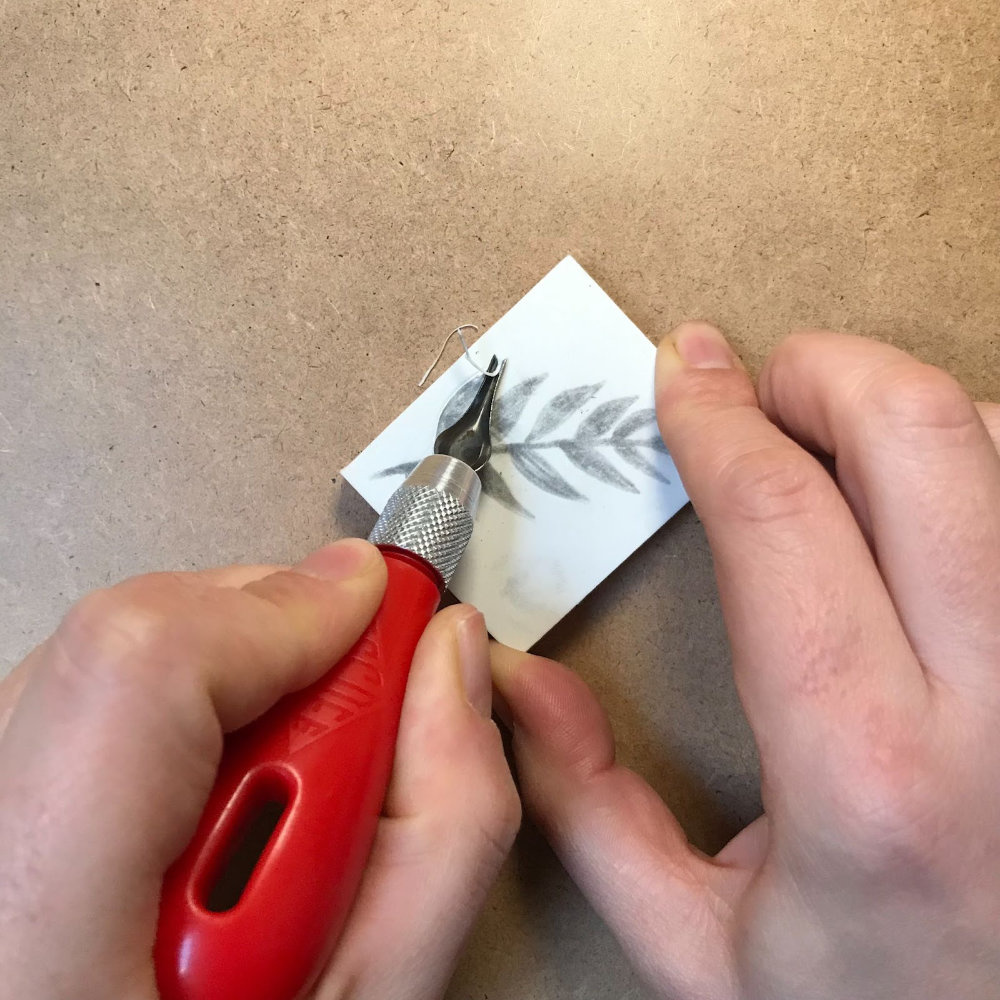
Step 6: Let’s start carving!
Use the V-shaped fine blade to carve an outline around your design. This creates a channel that protects your design when carving out the lino around it. Be careful; the blade is sharp! To be safe, carve away from your hands, not towards. Rotate your block to facilitate this, so that your blade is always pointing away from you.
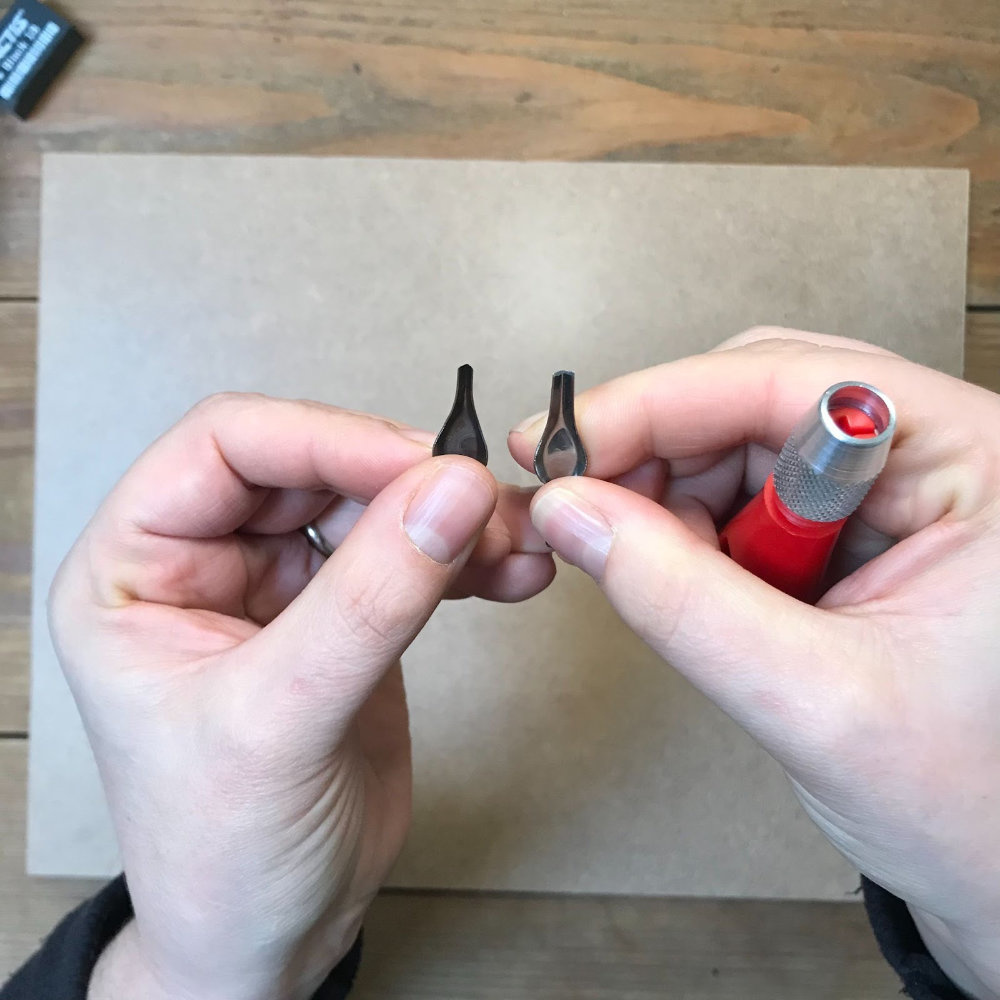
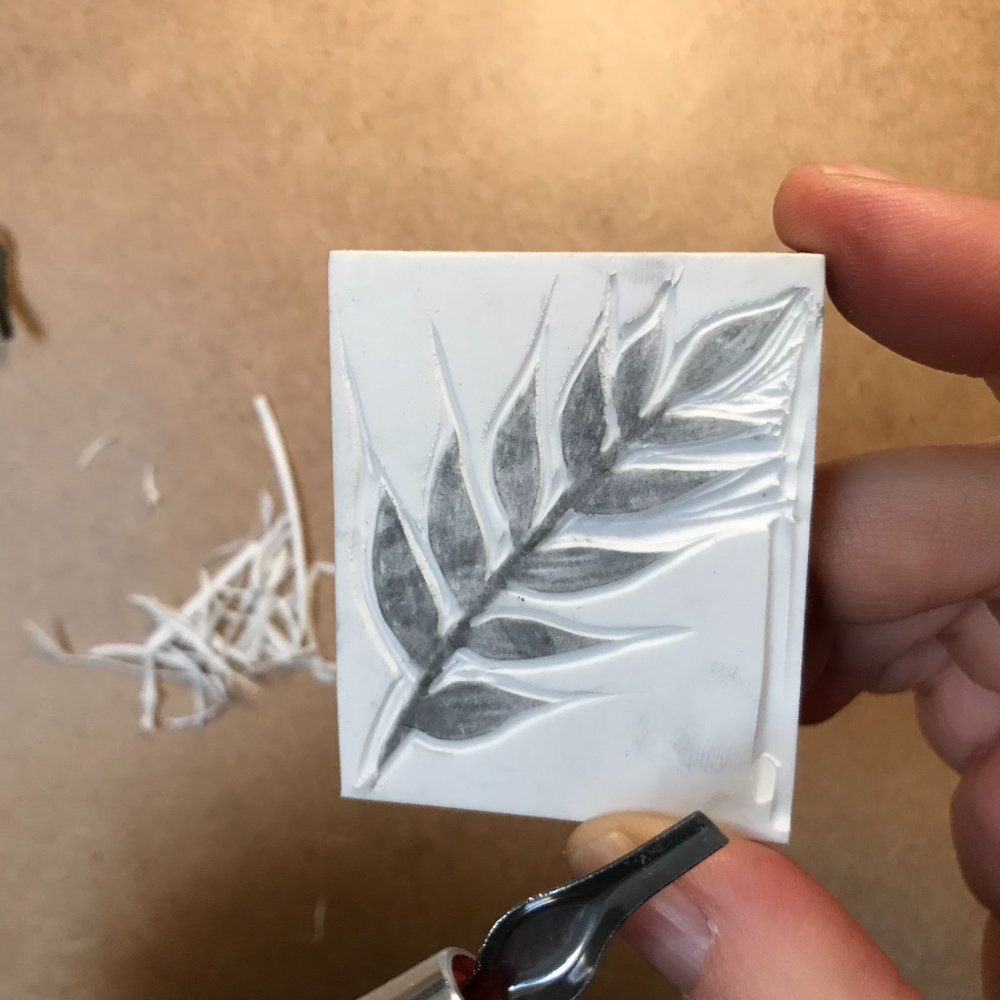
Step 7: Keep carving!
Using the wider blade, carve away from the outline channel to remove the remaining lino surface around your design. Be careful not to carve too deep, or you risk tearing the lino block.

Step 8: Carve some more!
The idea is to carve away anything that you don’t want to see printed with ink. Take care to carve the lino slowly: once it's removed, it can’t be put back! When you’ve carved away all the negative space around your design, it’s time to print!

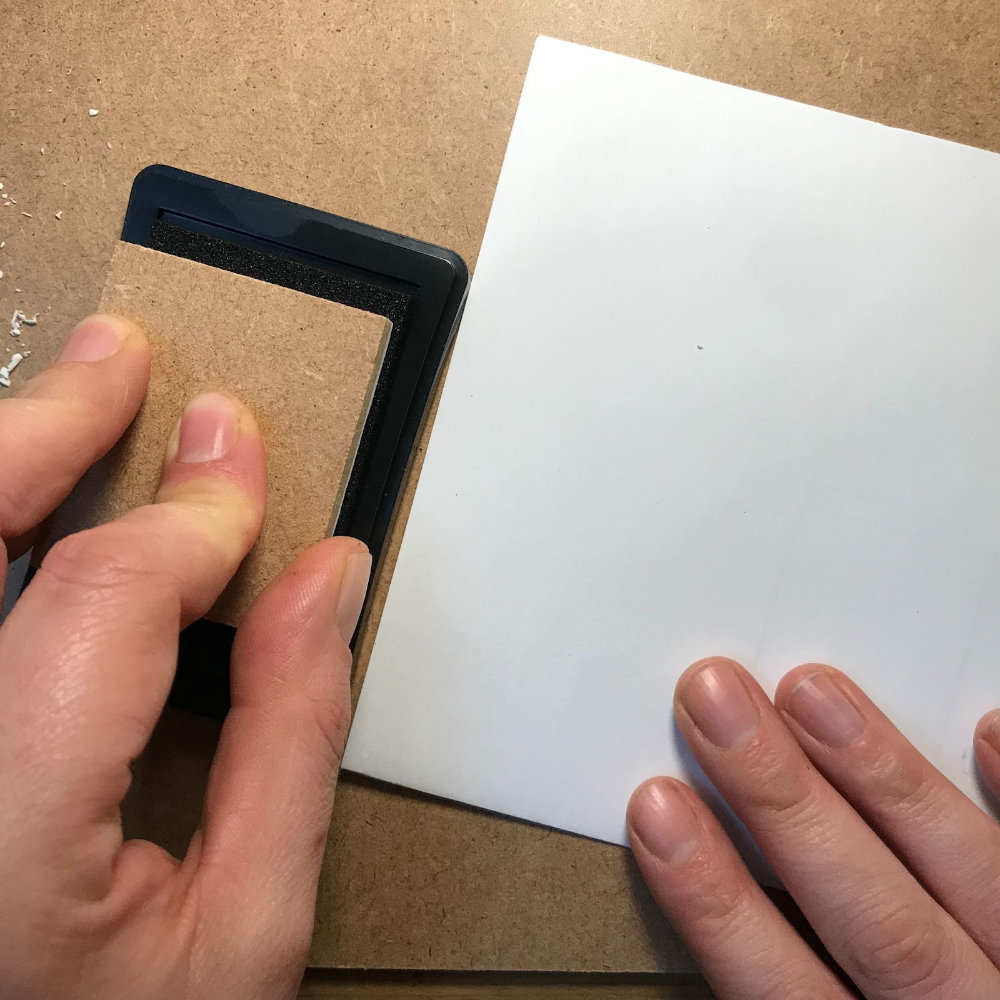
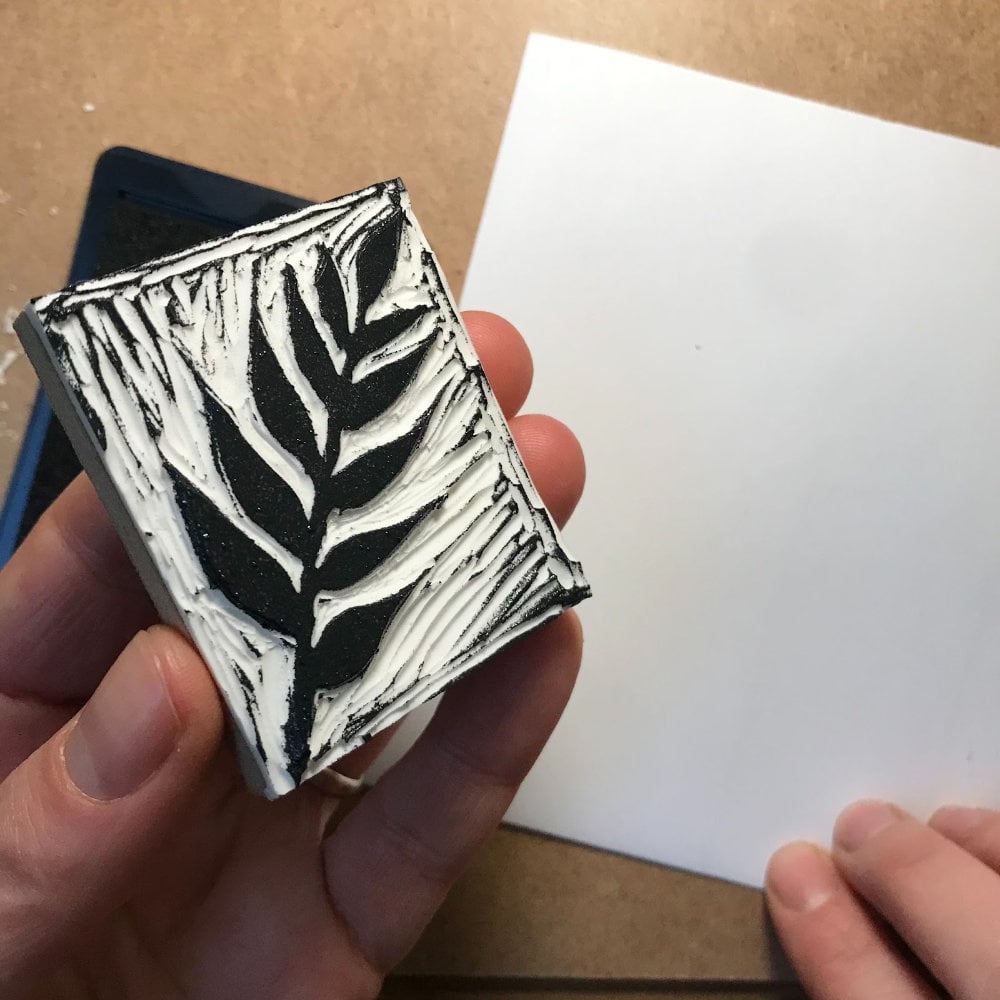
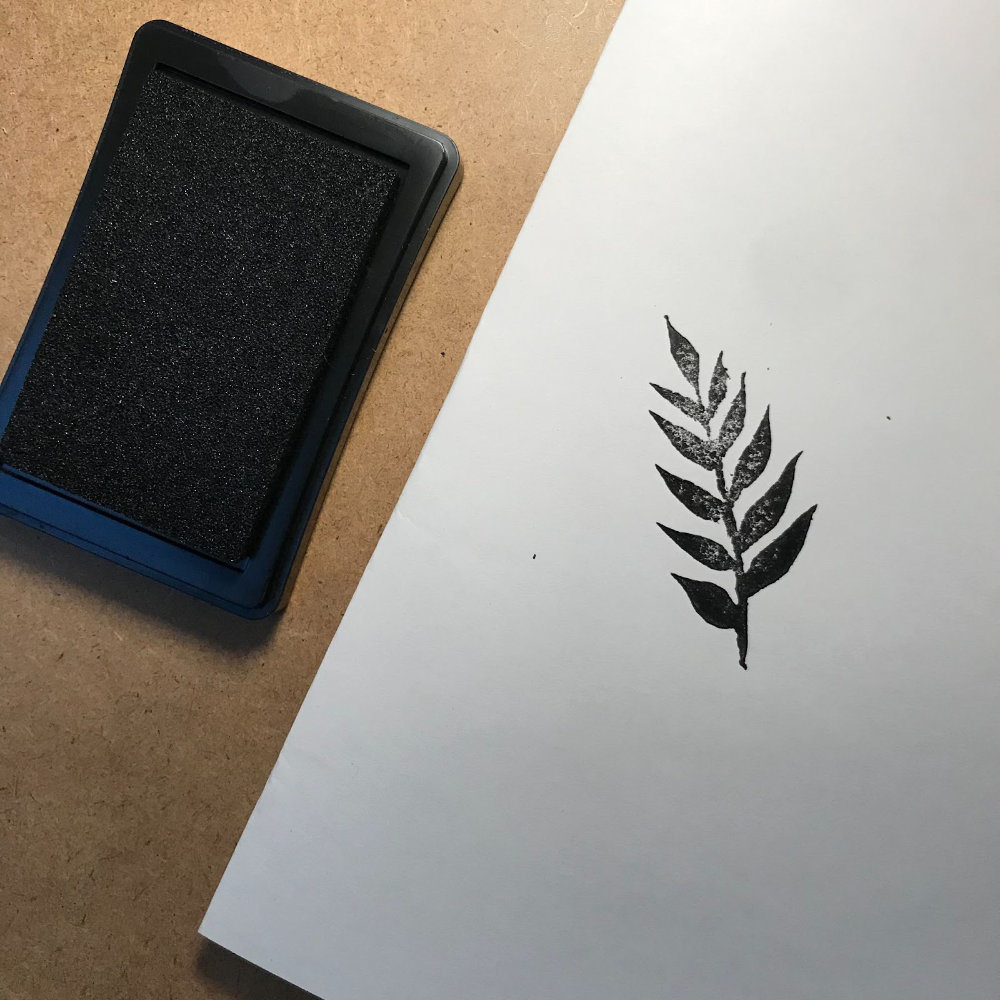
Step 9: Let’s print!
Ink up your stamp by pressing it firmly onto your stamp pad. Look for a shiny, consistent layer of ink. Usually, with the first couple of prints, the ink is uneven. So I recommend you make a couple of test prints first. These test prints can also help you see if you need to carve away any more lino.
*The Essdee kit comes with a small piece of foam that you can place under your paper, providing an extra bit of cushion for your stamp.
Step 10: Clean your stamp.
When you’re finished printing, it’s time to clean your stamp. Carefully rinse with warm water and a bit of soap, and then “print” onto a piece of paper towel. Repeat until you no longer see the image printed on the paper towel. Let the stamp dry completely before printing again. Remember: have fun with your designs! Create with an open heart and enjoy the process.
About ARTiculations
Serving artists across Canada, ARTiculations carries a curated selection of fine art supplies including printmaking inks, relief printing tools and papers. Visit our online store, or contact us if you have questions about what products are right for your next creative project.
Our Pocket Guide Series
We created this series for absolute beginners. It is meant to serve as an introduction to some basic art materials and technique instruction without being too overwhelming. Each post is accompanied by a free, printable, pocket guide that you can keep with your supplies and take with you wherever creativity strikes. Think of these pocket guides as little reminders to stop thinking about it and MAKE ART EVERY DAY.
Recent articles
View all
Introducing Our Complimentary Gift Curator Service
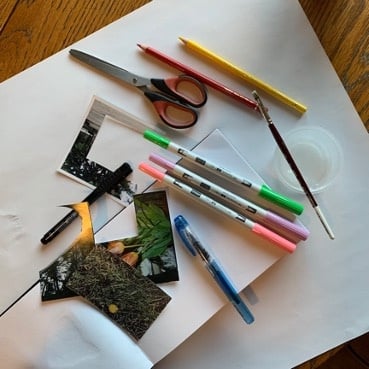
How to Start a Mixed Media Collage Sketchbook : A Step by Step Tutorial
