Login
Log in if you have an account
Register
By creating an account with our store, you will be able to move through the checkout process faster, store multiple addresses, view and track your orders in your account, and more.
Create an accountHow to Make Ghosts with Air Dry Clay and Acrylic Gouache
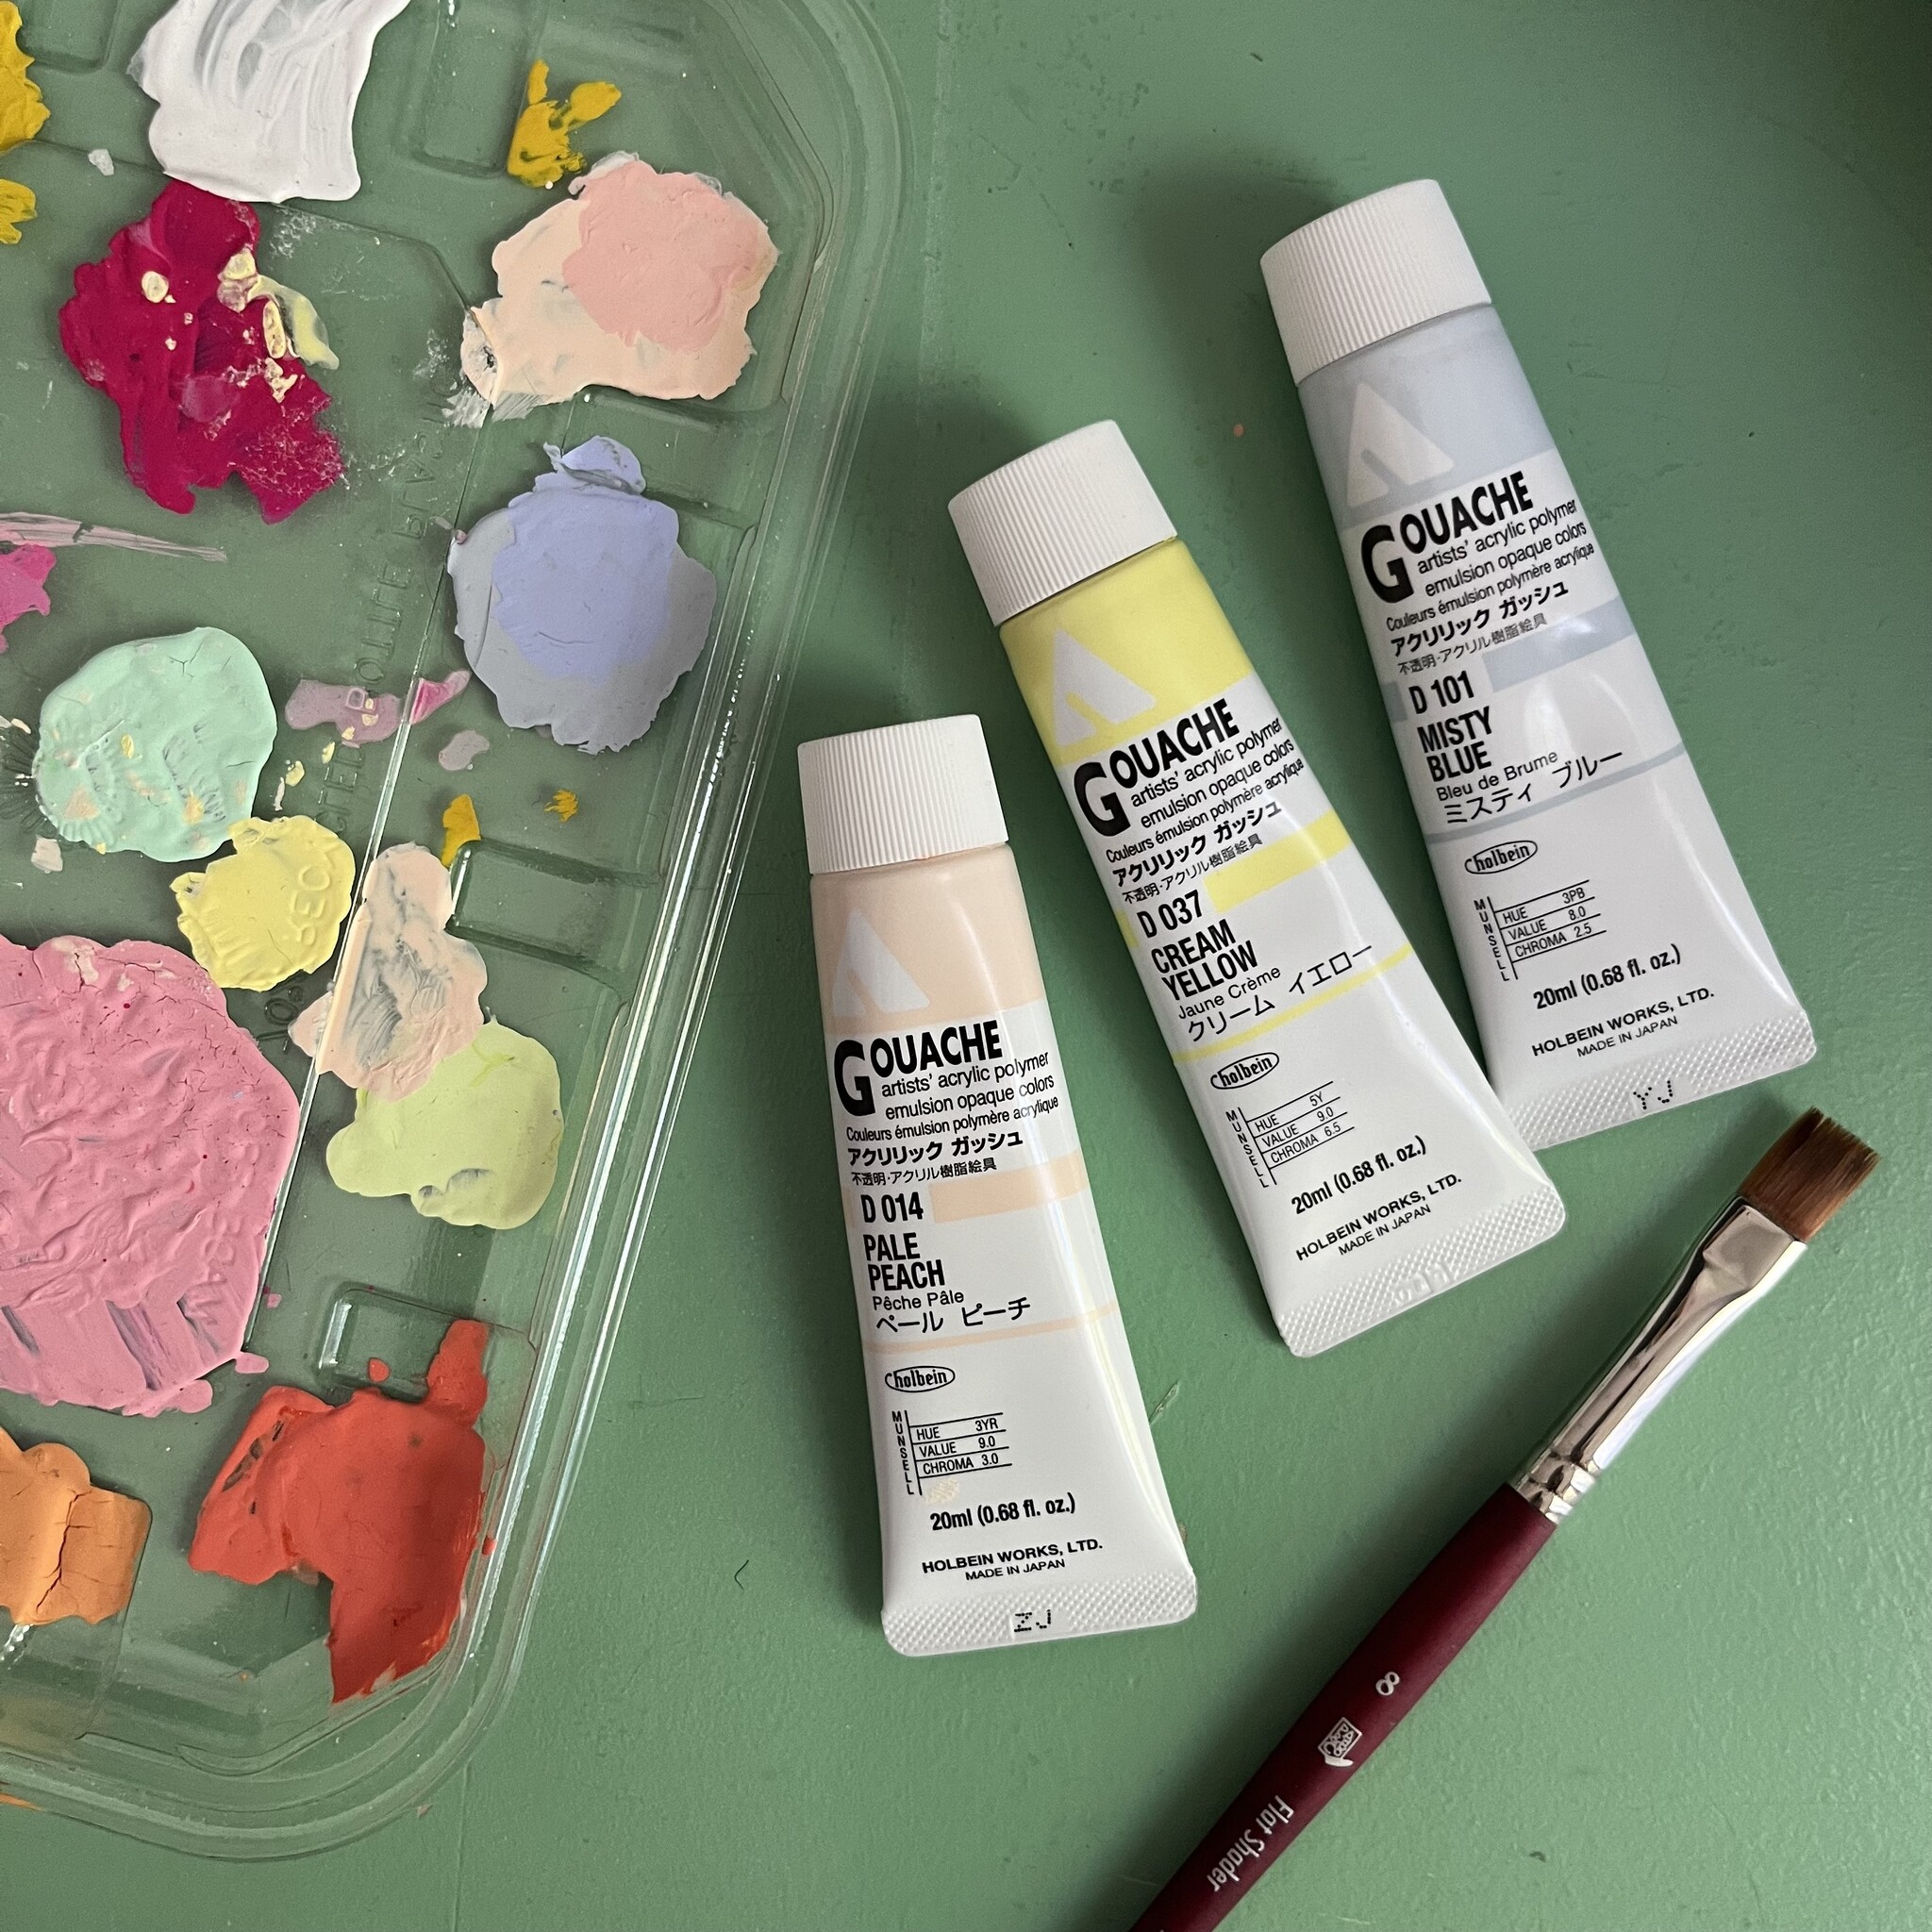
What do you do if you love Halloween but black and orange just isn't your palette of choice? You pick up your favourite Holbein Acryla Gouache colours and you make your own spooky seasonal decorations, in pastel!
I love these gouache paints because the finish is very matte, so they keep some of the feel of clay but still dry permanent like an acrylic paint. Also, the colour options are chef's kiss. These paints are very easy to work with - they're water-based so you can thin them out for a looser application, and are opaque to provide great coverage. Clean up is easy and while they're not non-toxic they are kid-friendly (just avoid getting on fabric).
We have Taklon Brushes and Demco Gesso in our store that would be perfect for this project. Strathmore Palette Paper is not necessary but could be handy for mixing your own colours.
Here are some step-by-step instructions on how I built a little haunting of ghosts, let us know if you try this project by tagging us on Instagram: @articulations_to
Also, if you'd like to learn this process in person (but with polymer clay), I am offering a Sculpting for Illustration workshop on December 10.


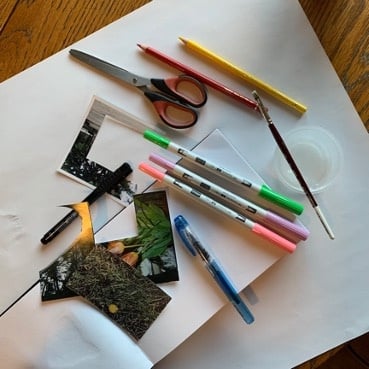
What you'll need to get started:
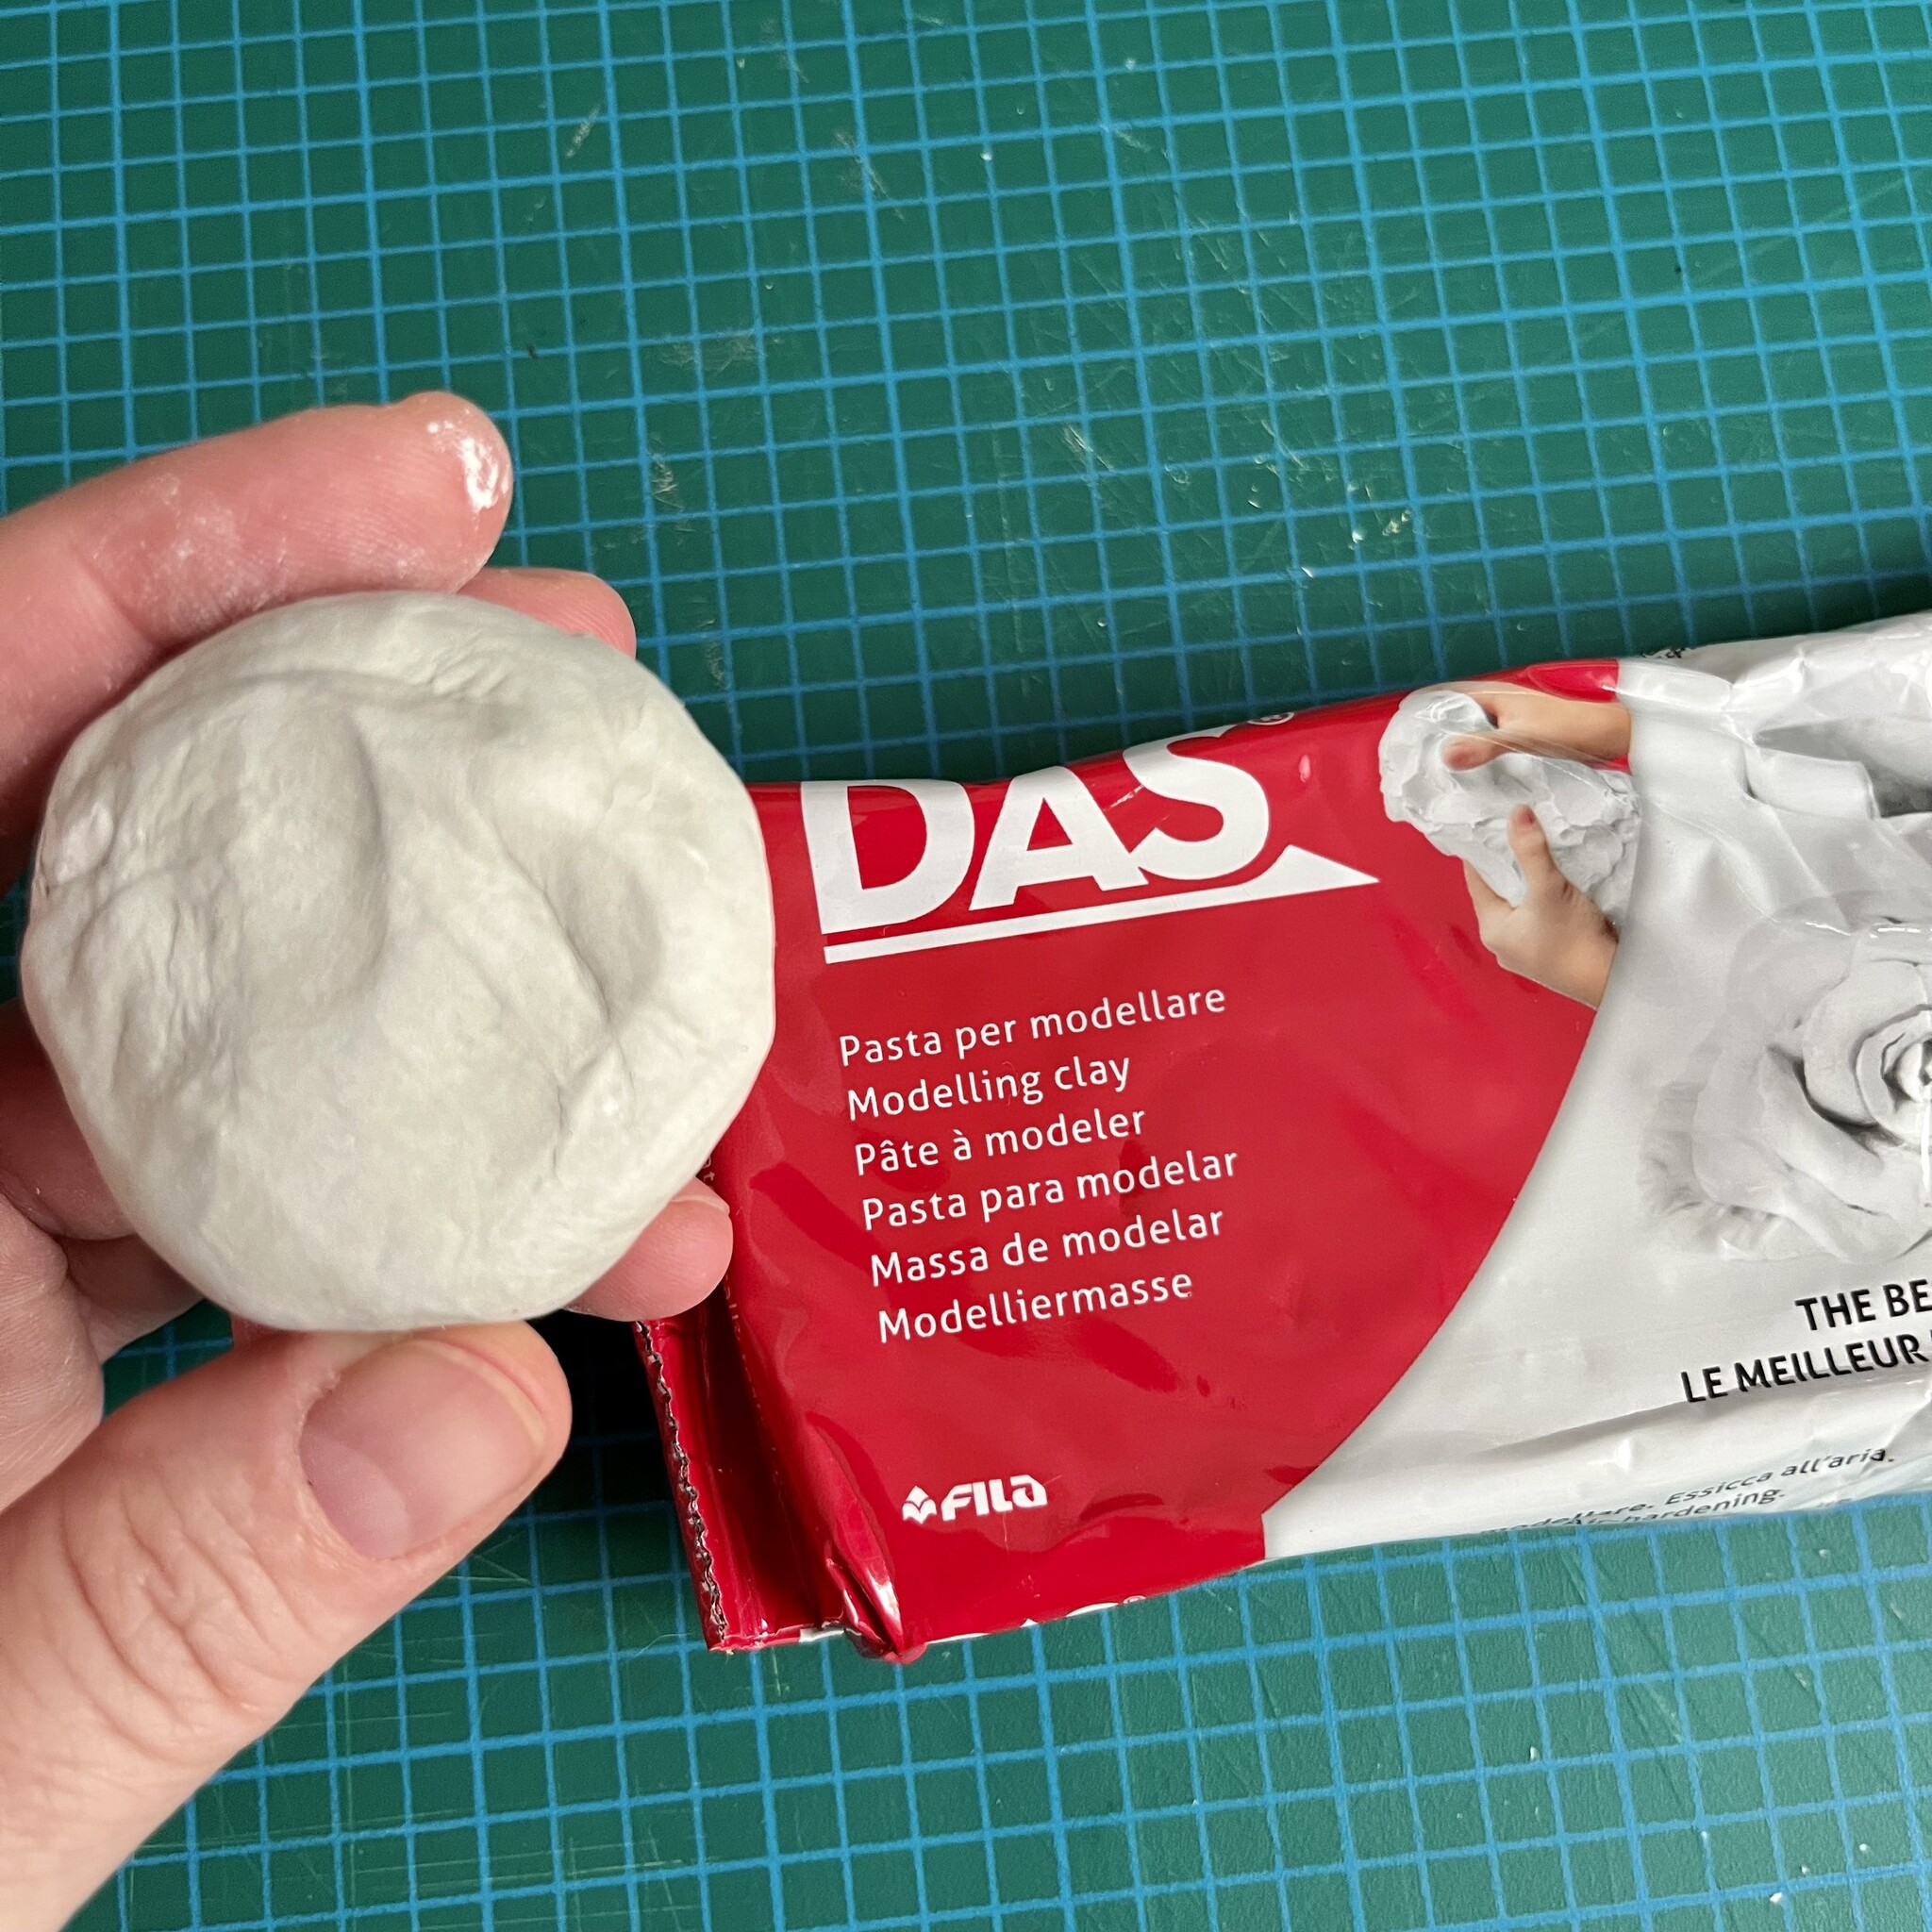
1. Clay: I used DAS air dry modelling clay for this project but you could also use polymer clay
2. Styrofoam balls (to shape the head)
3. Wood dowels or skewers
4. A pot full of soil to use as a base while sculpting
5. A saw (only if you need to trim your dowels)
6. Some kind of jabby tool for shaping eyes and mouths
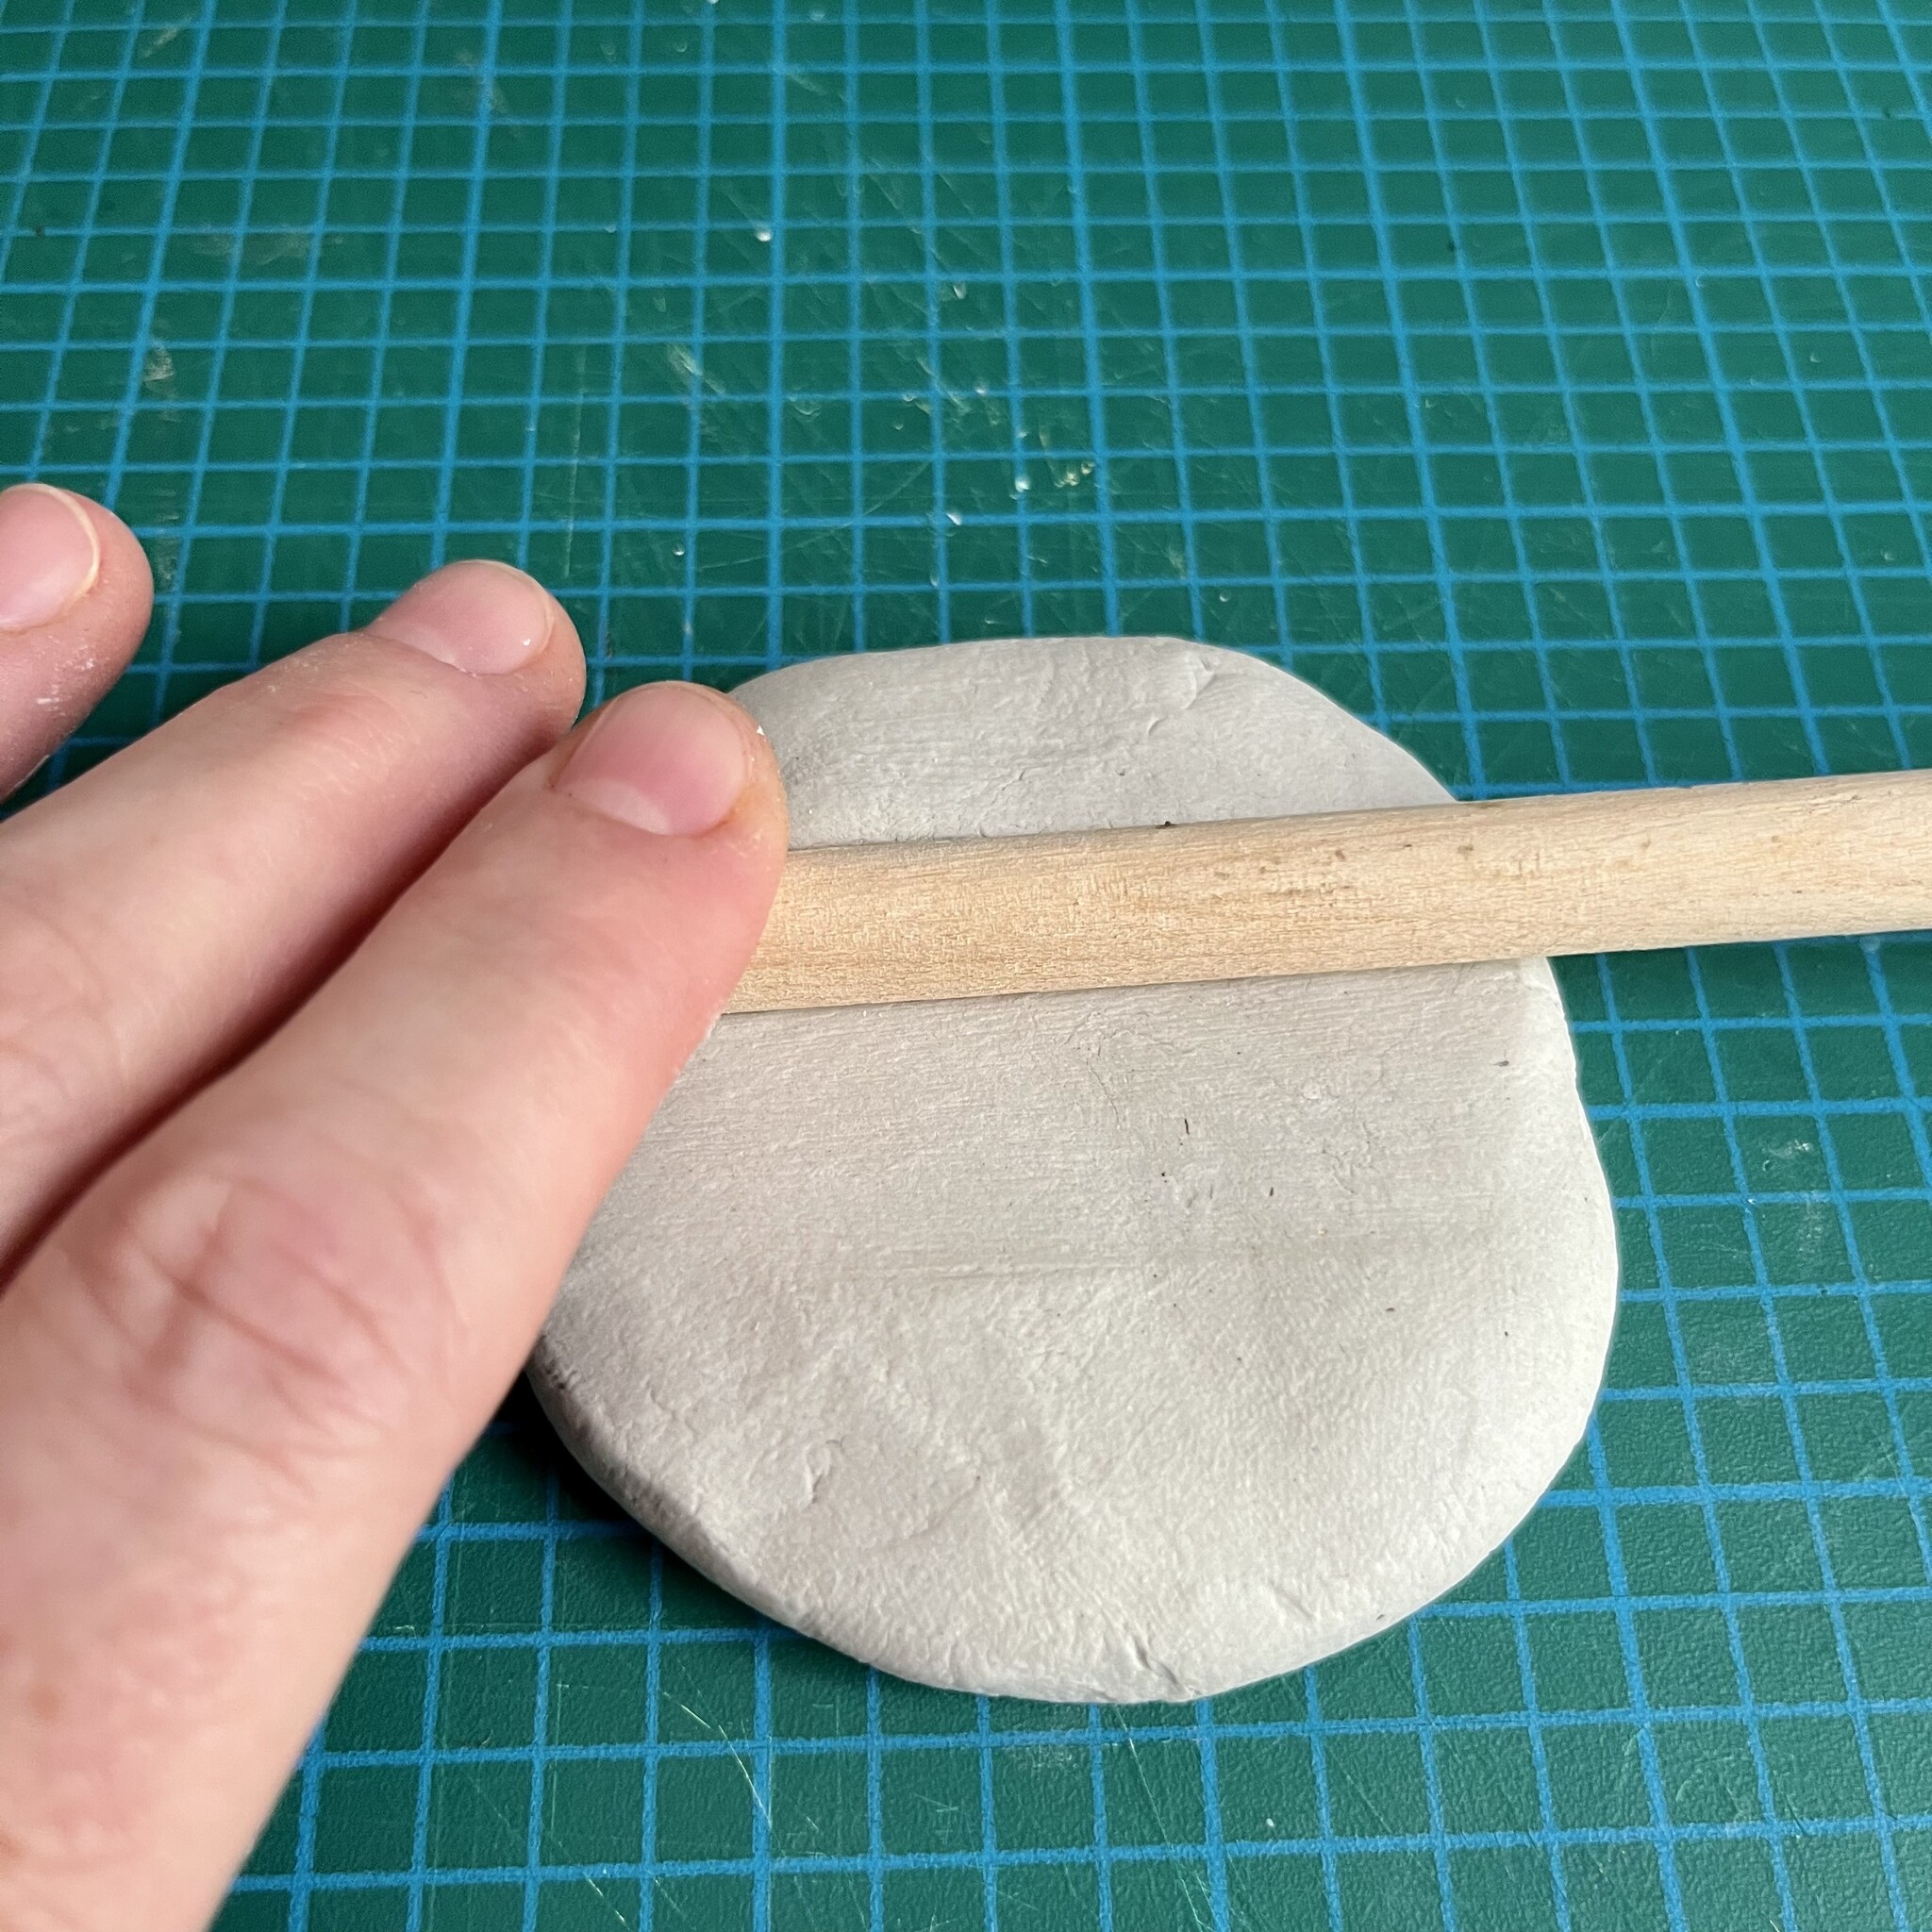


1. Roll Out The Clay
Roll out your clay of choice until it's a smooth as possible and about 1/4" thick. You do need a bit of thickness here or you risk tearing the clay, especially once you drape it over the styrofoam ball. I used a bowl from my kitchen to cut a circle in the clay. Once the circle was cut, I used a little water to smooth out the edges.
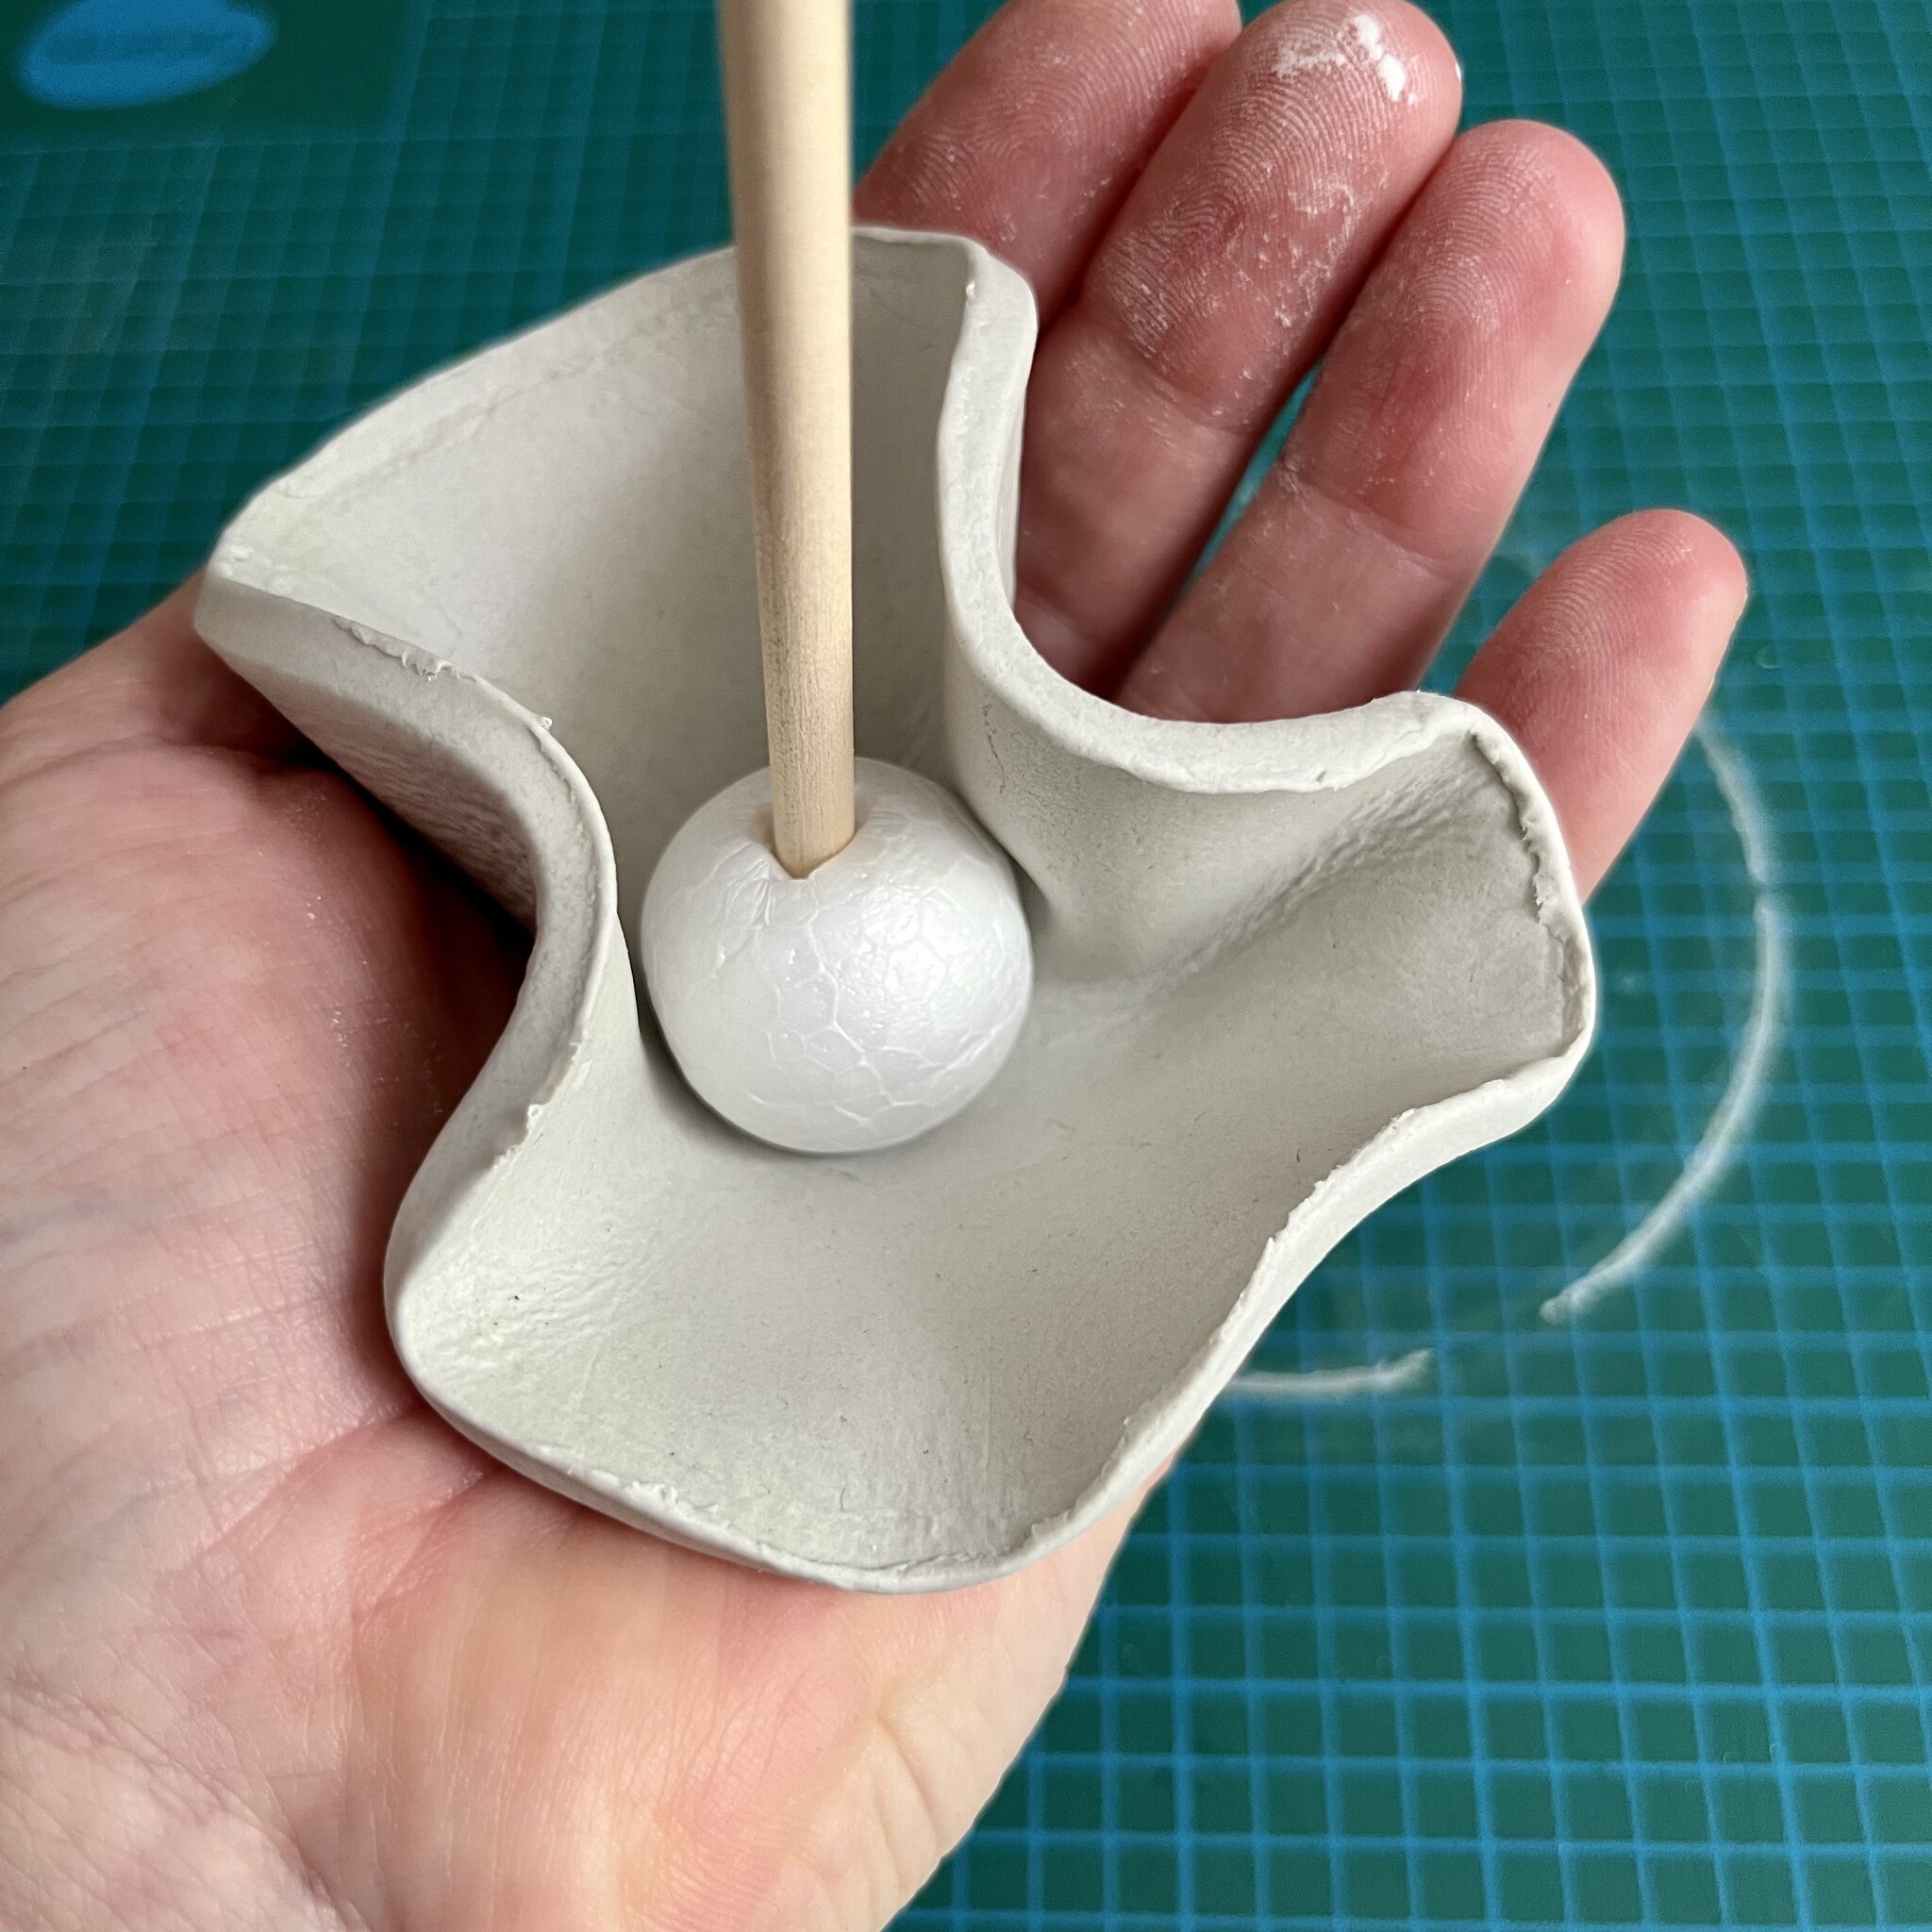
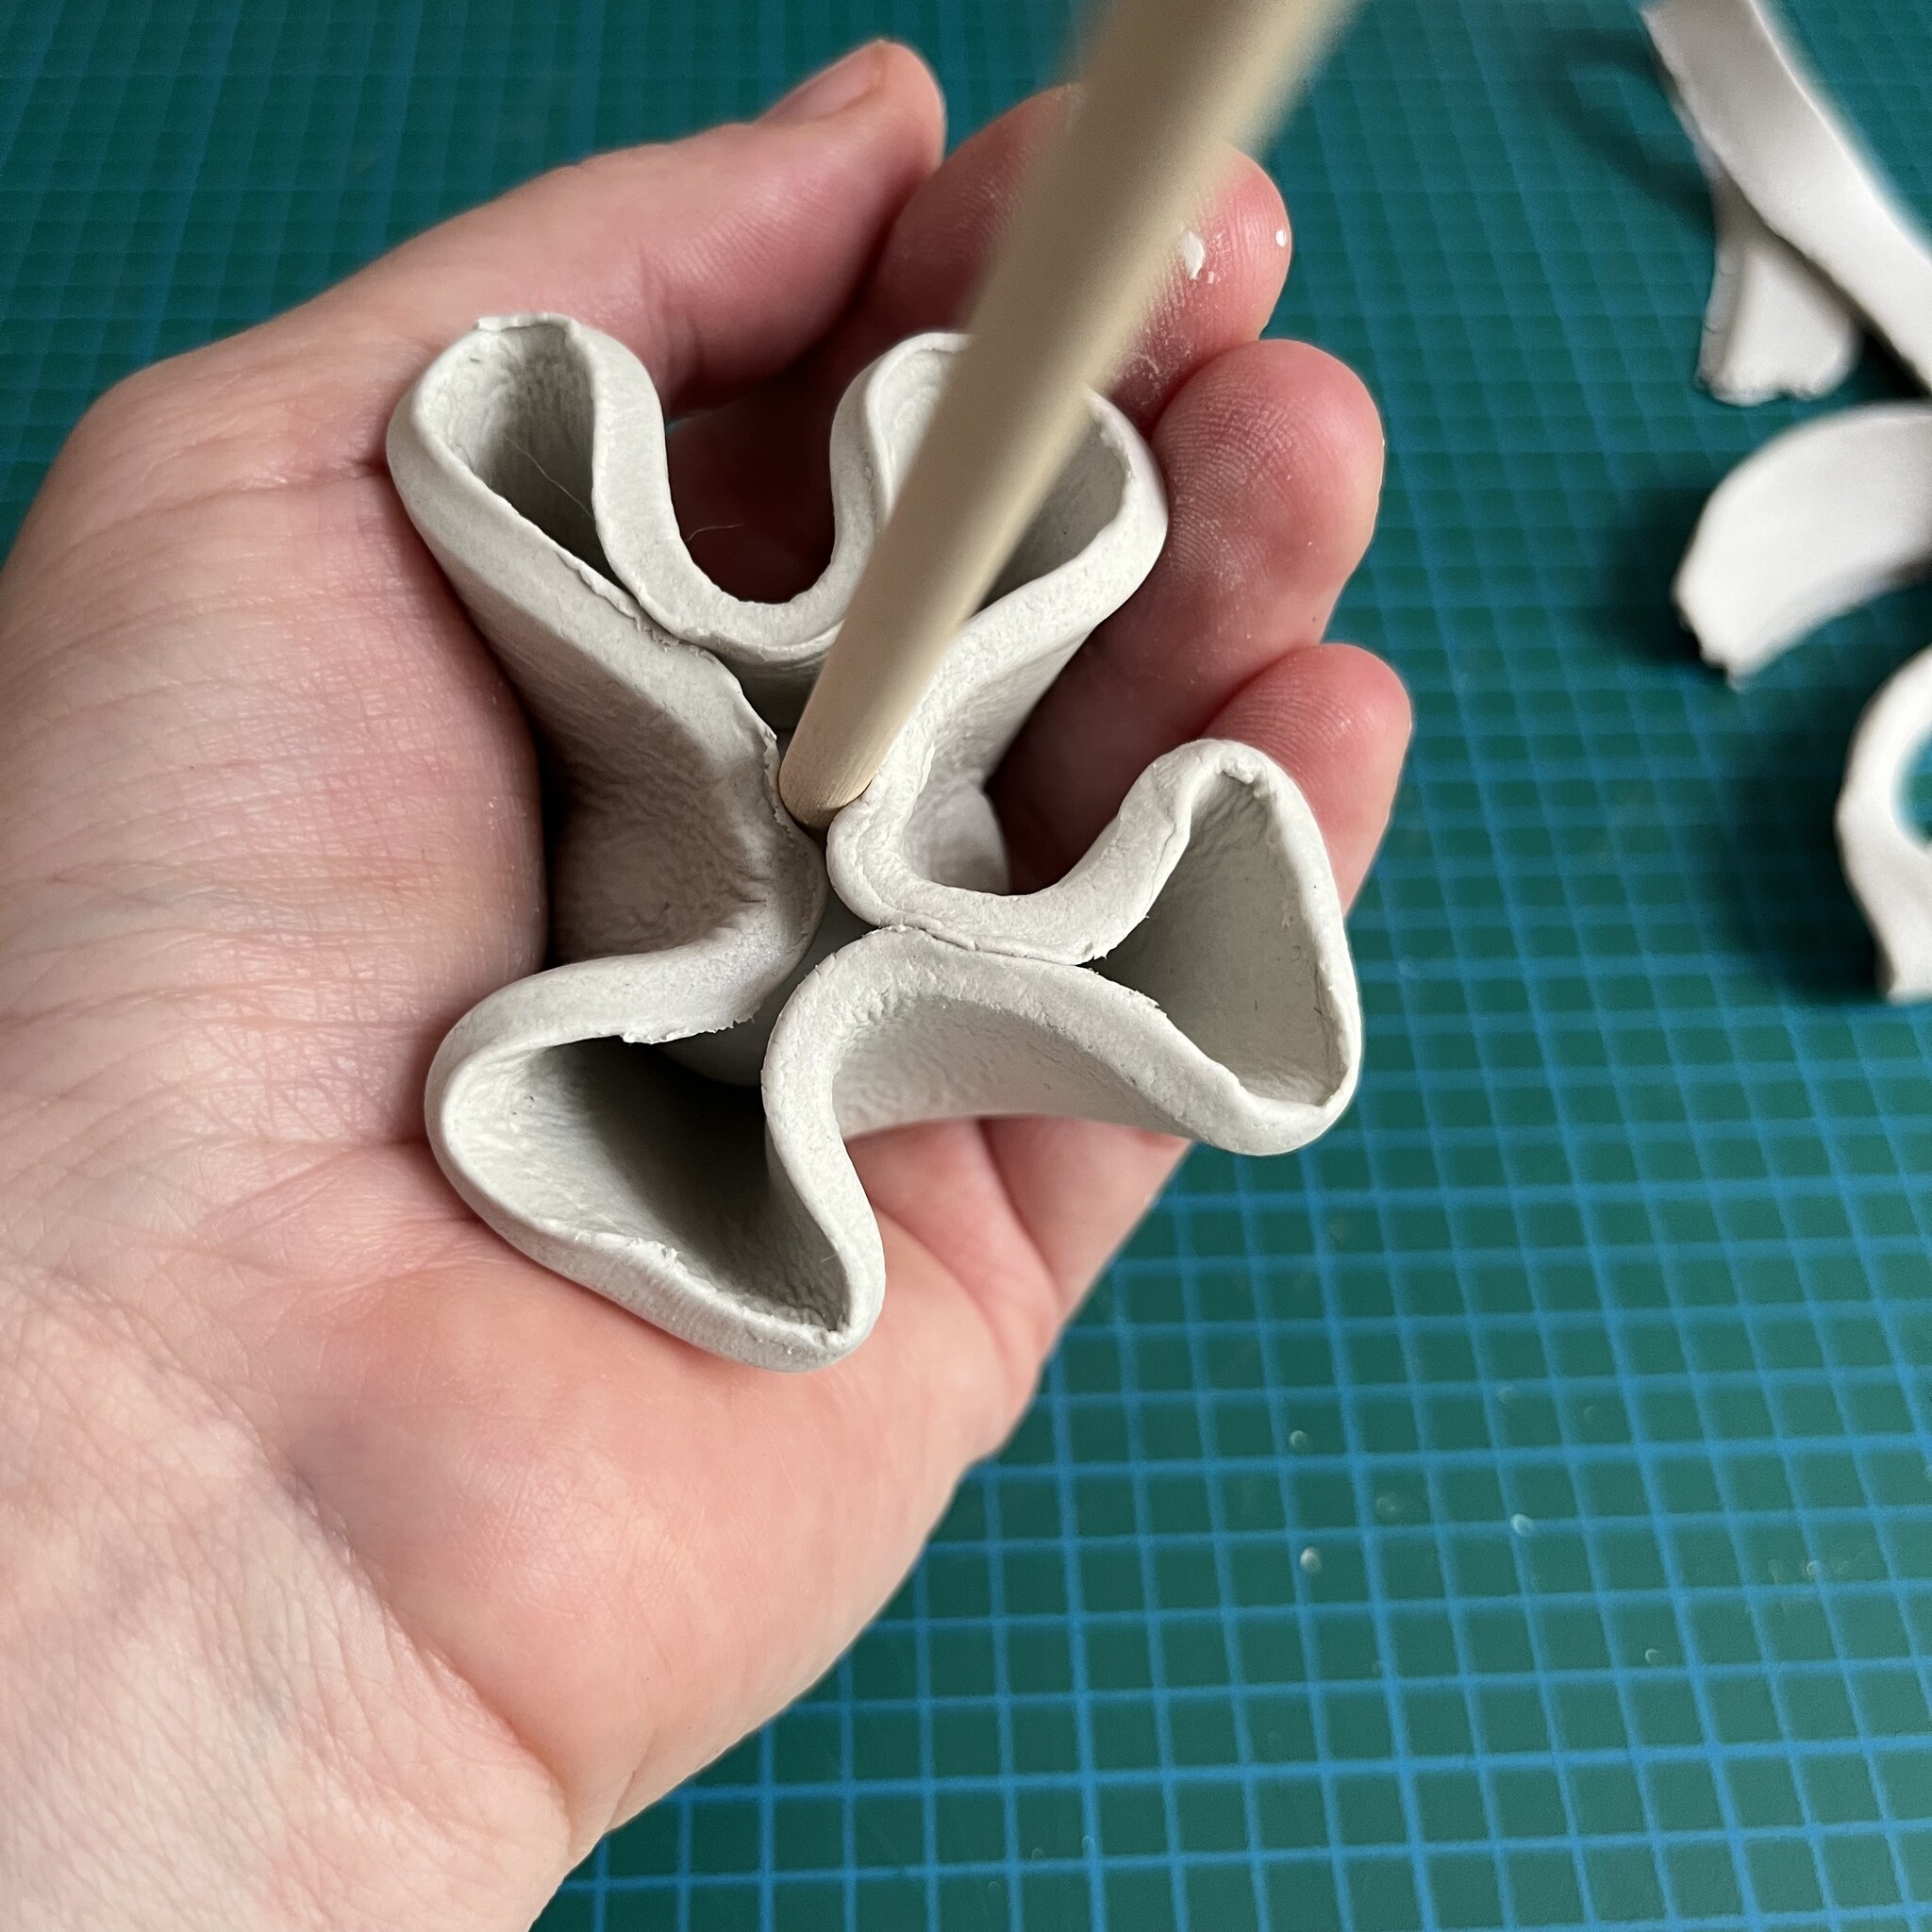
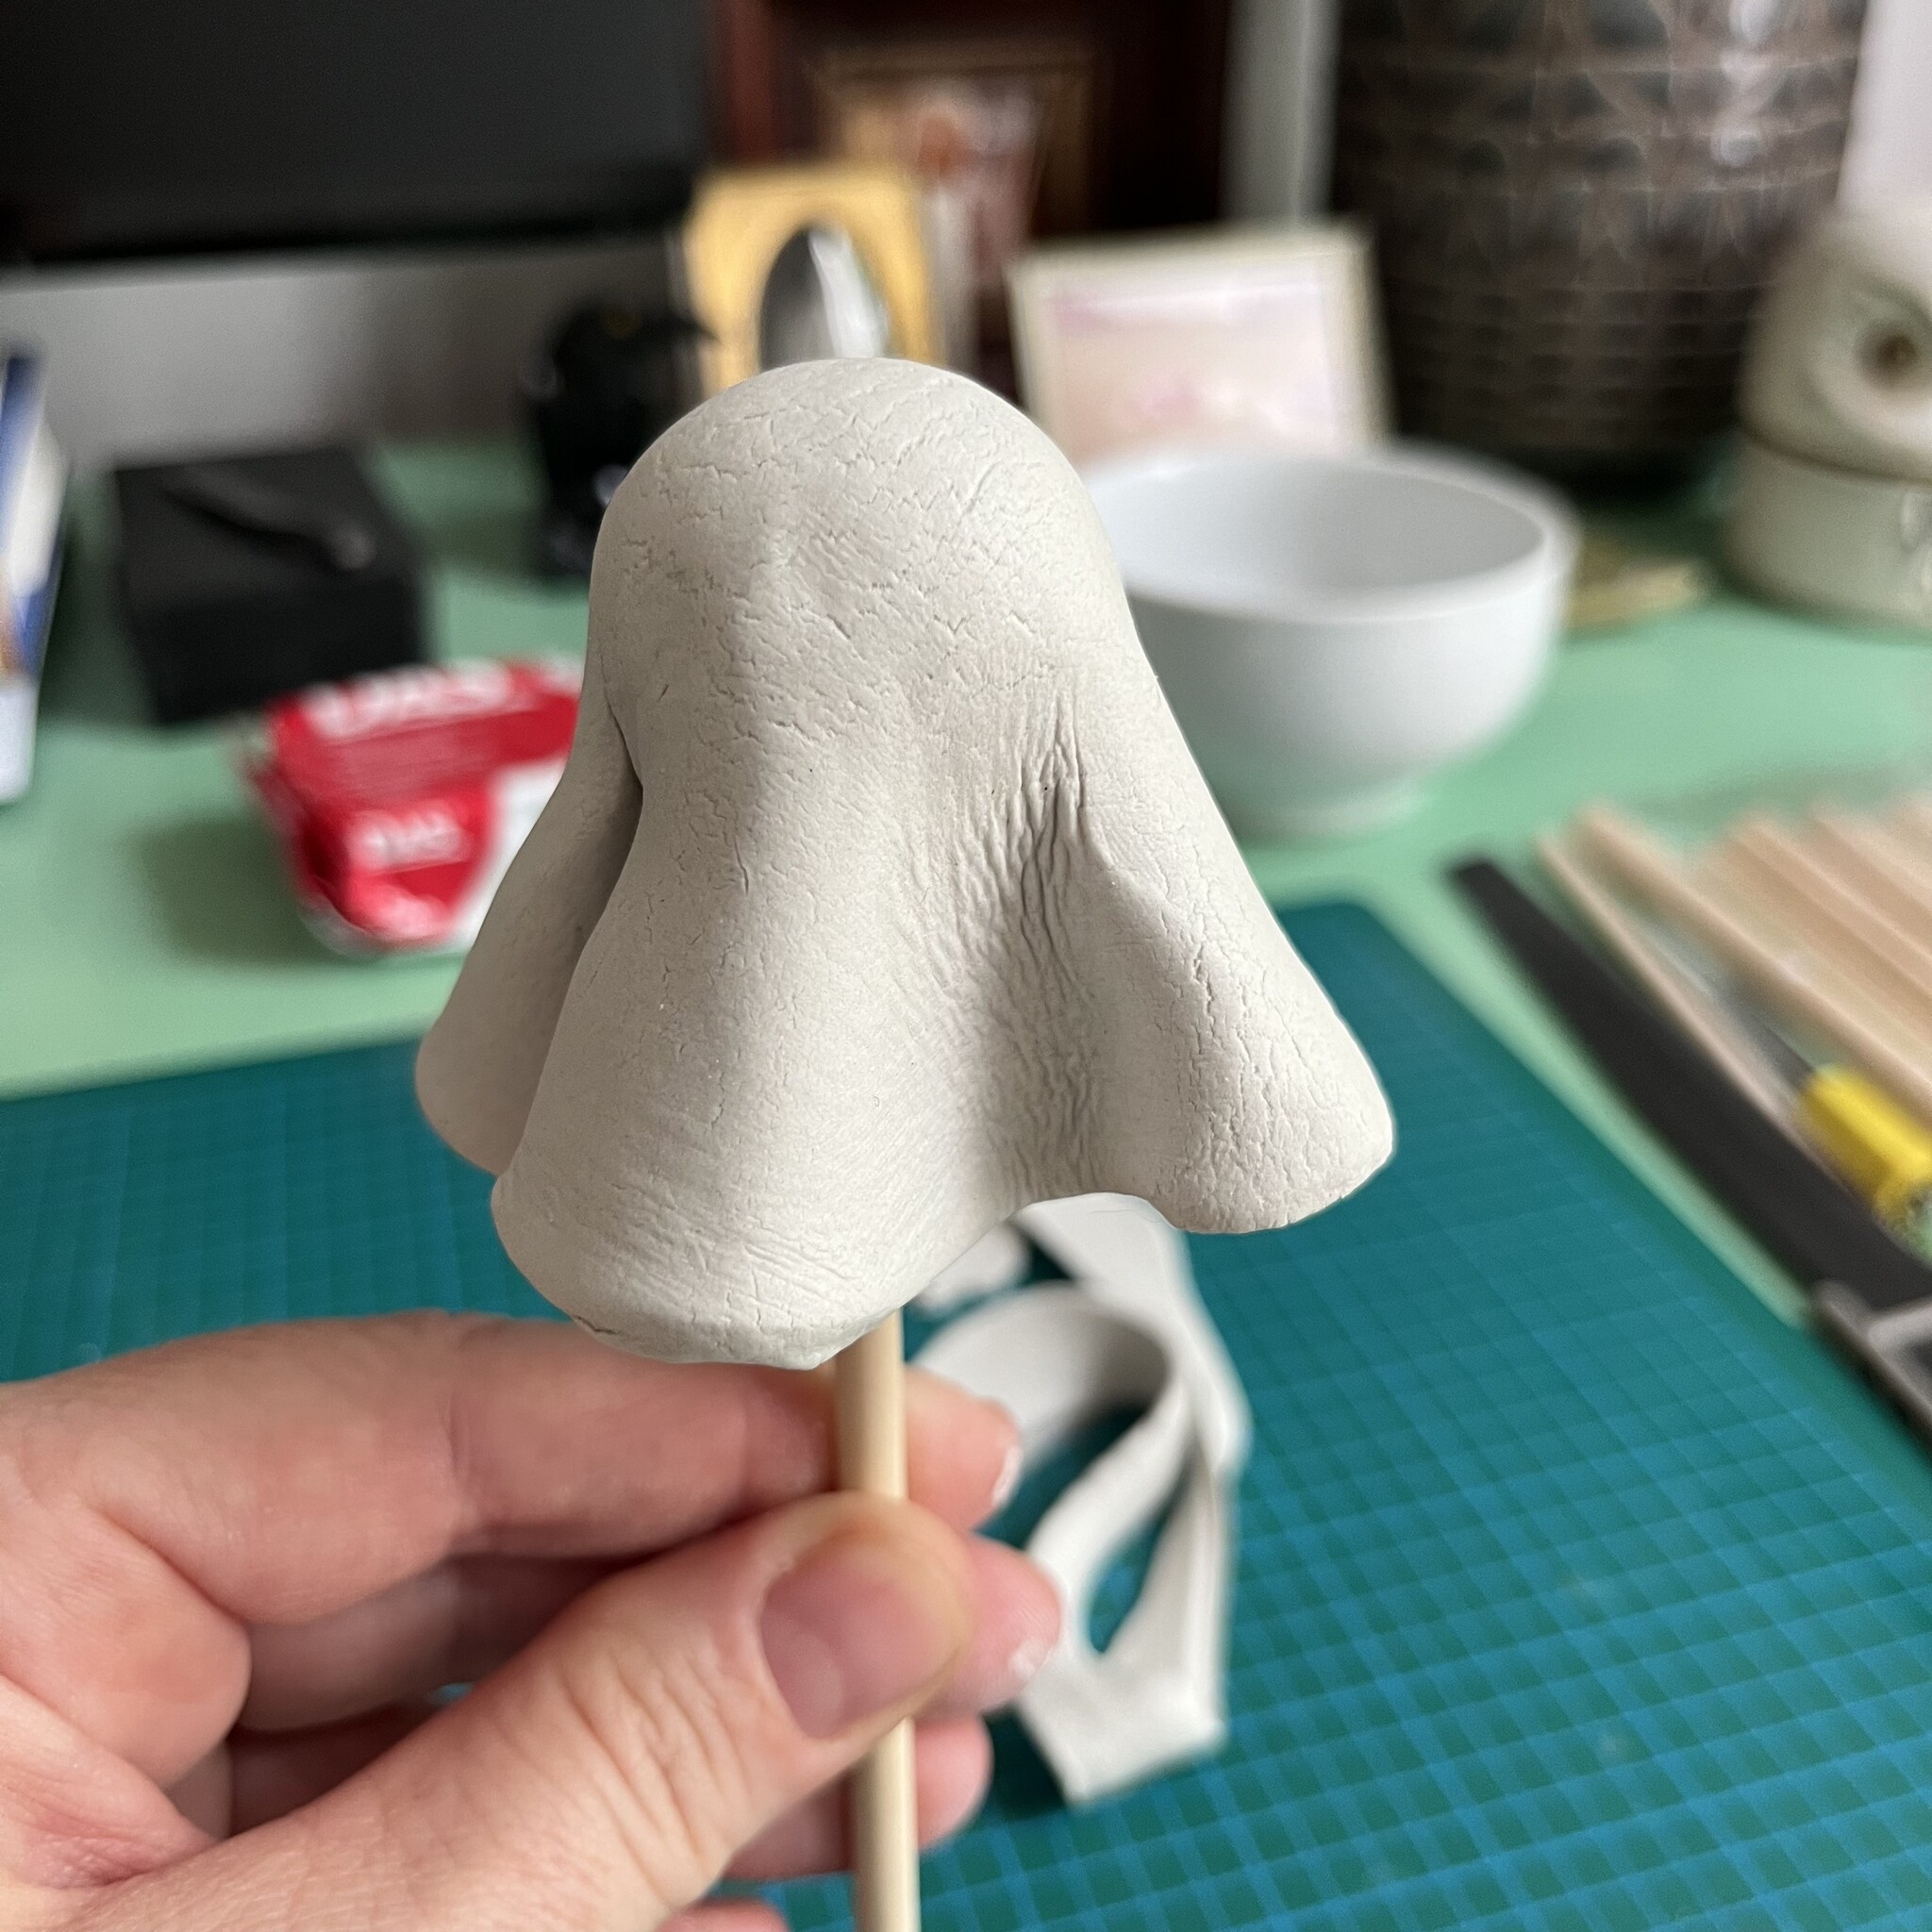
2. Form The Shape
Then take the clay circle in your hand and insert the styrofoam ball on the stick into the centre of the clay. Gently squeeze the clay around the ball and it should naturally fold into large pleats. Tuck around the neck area to form the head. Be careful when doing this part if you're working with the DAS clay as I found this was when it was prone to ripping.
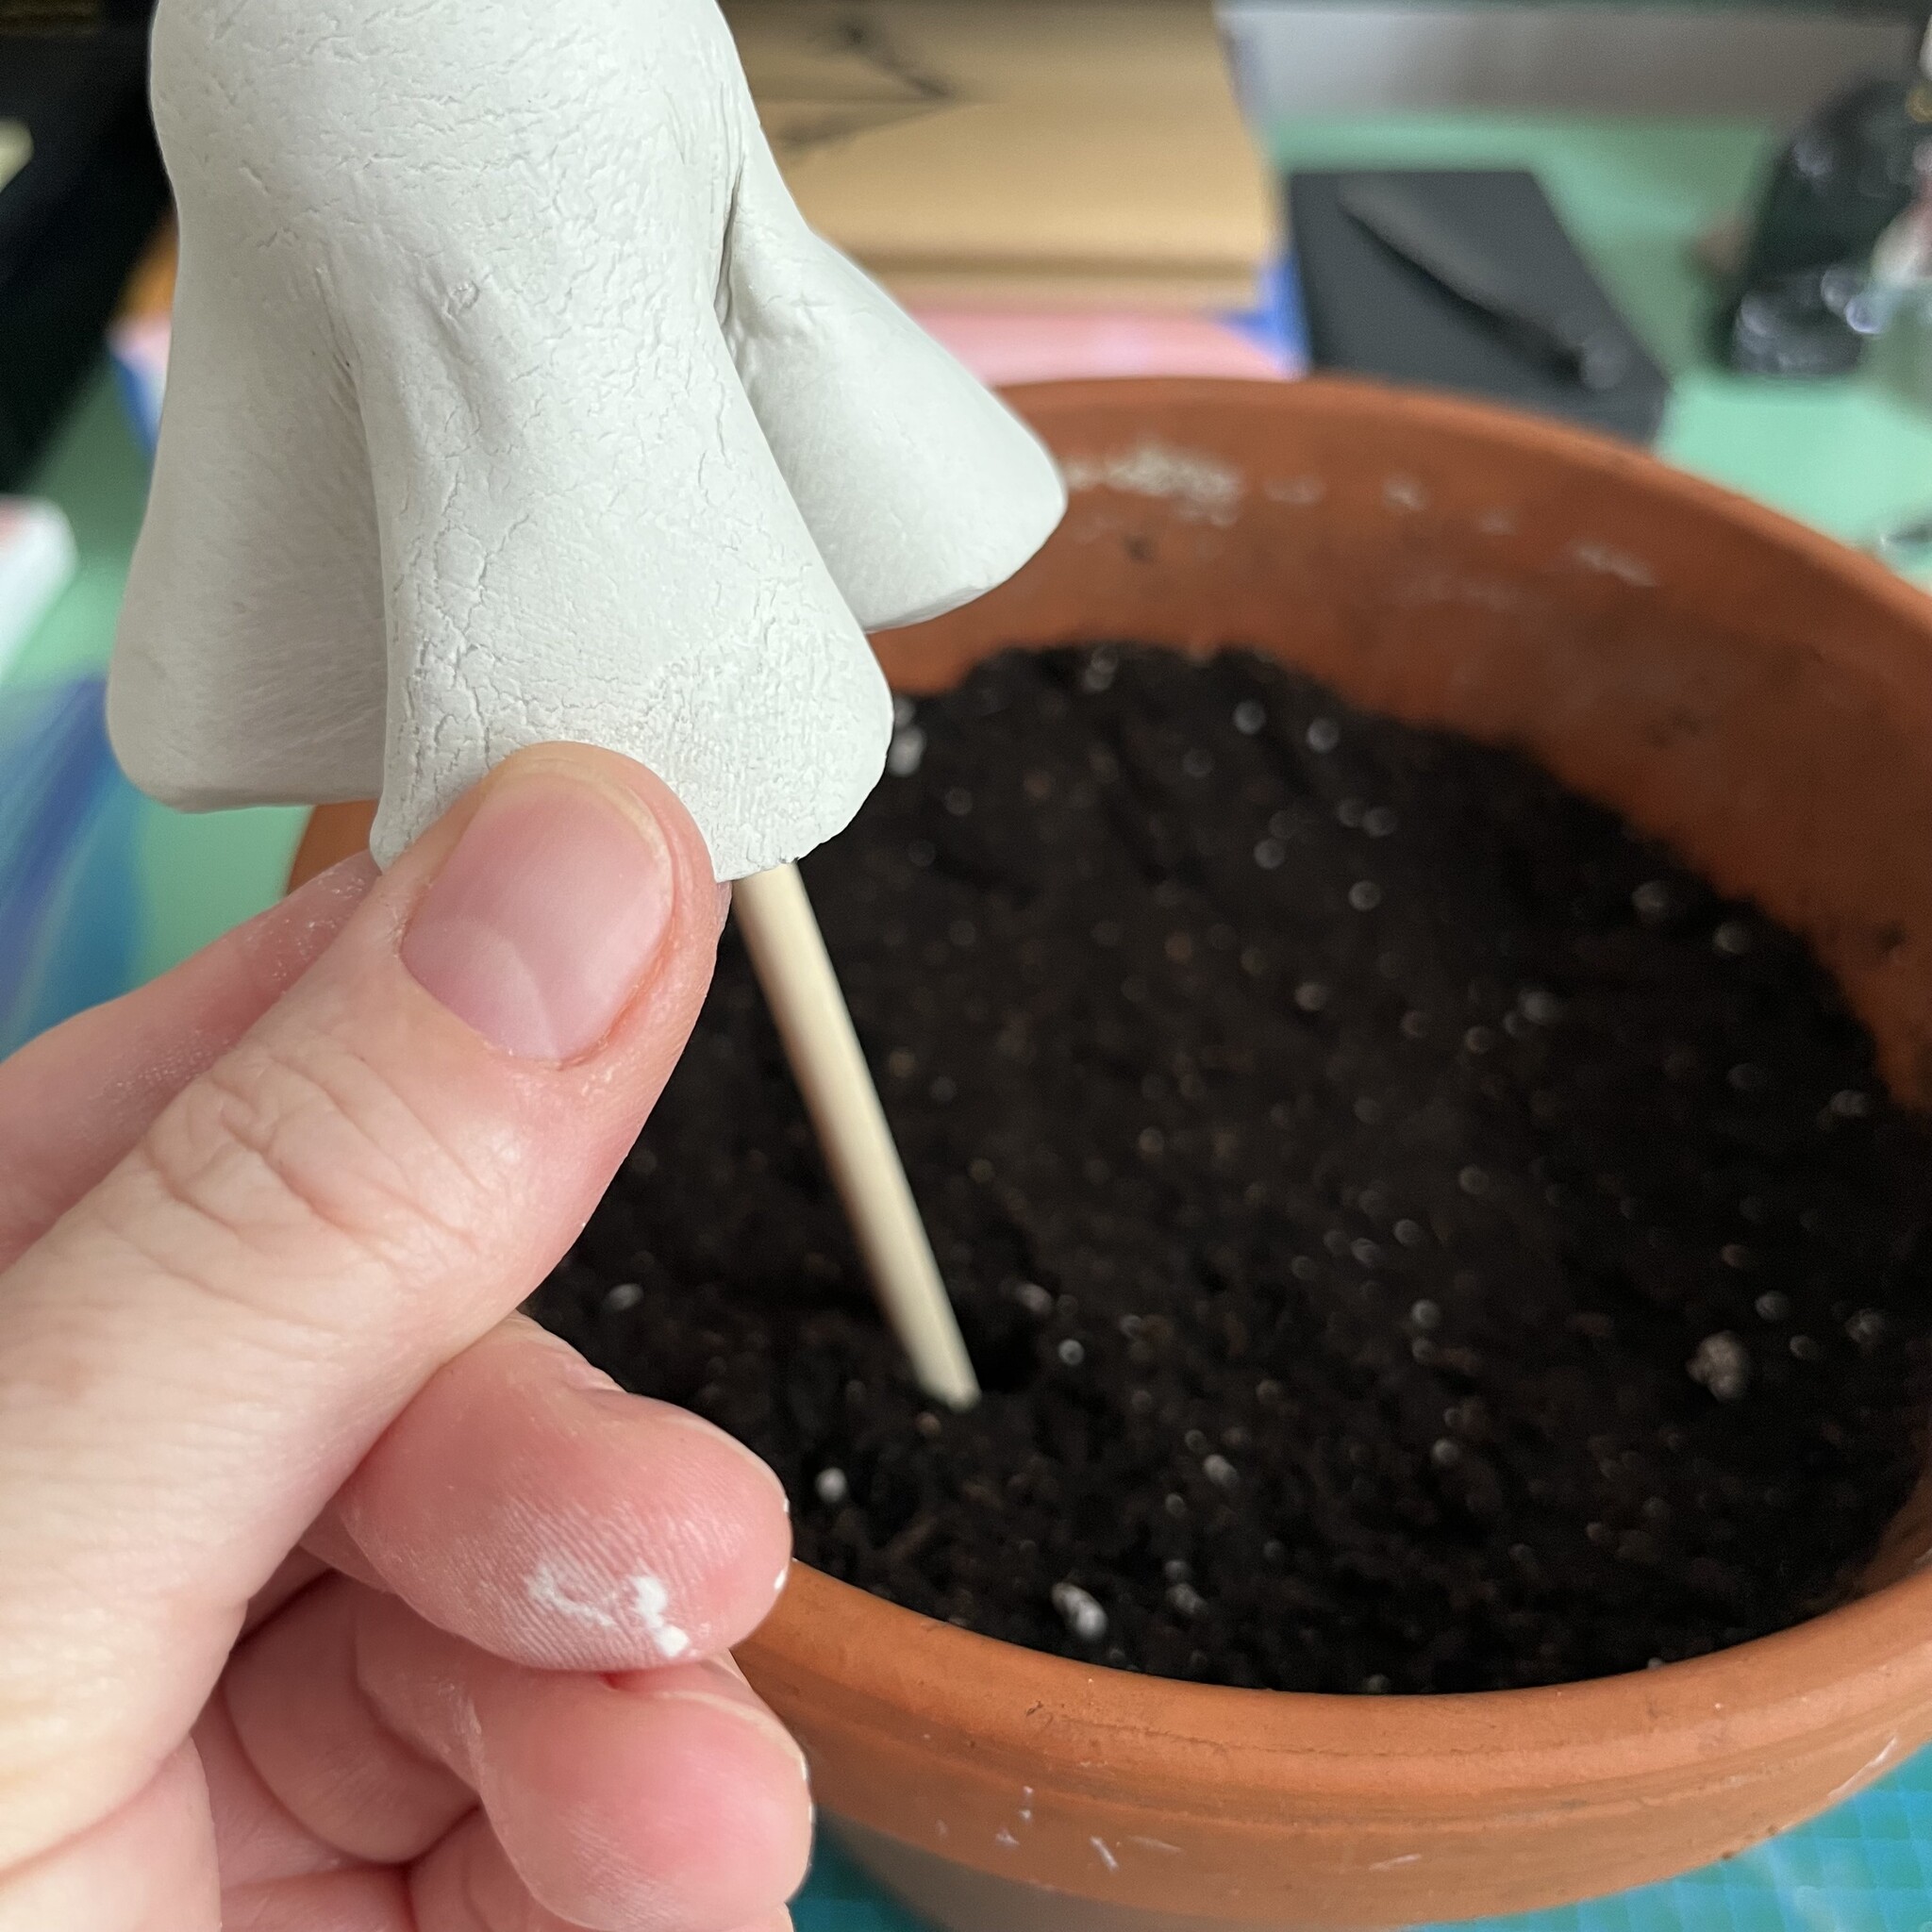
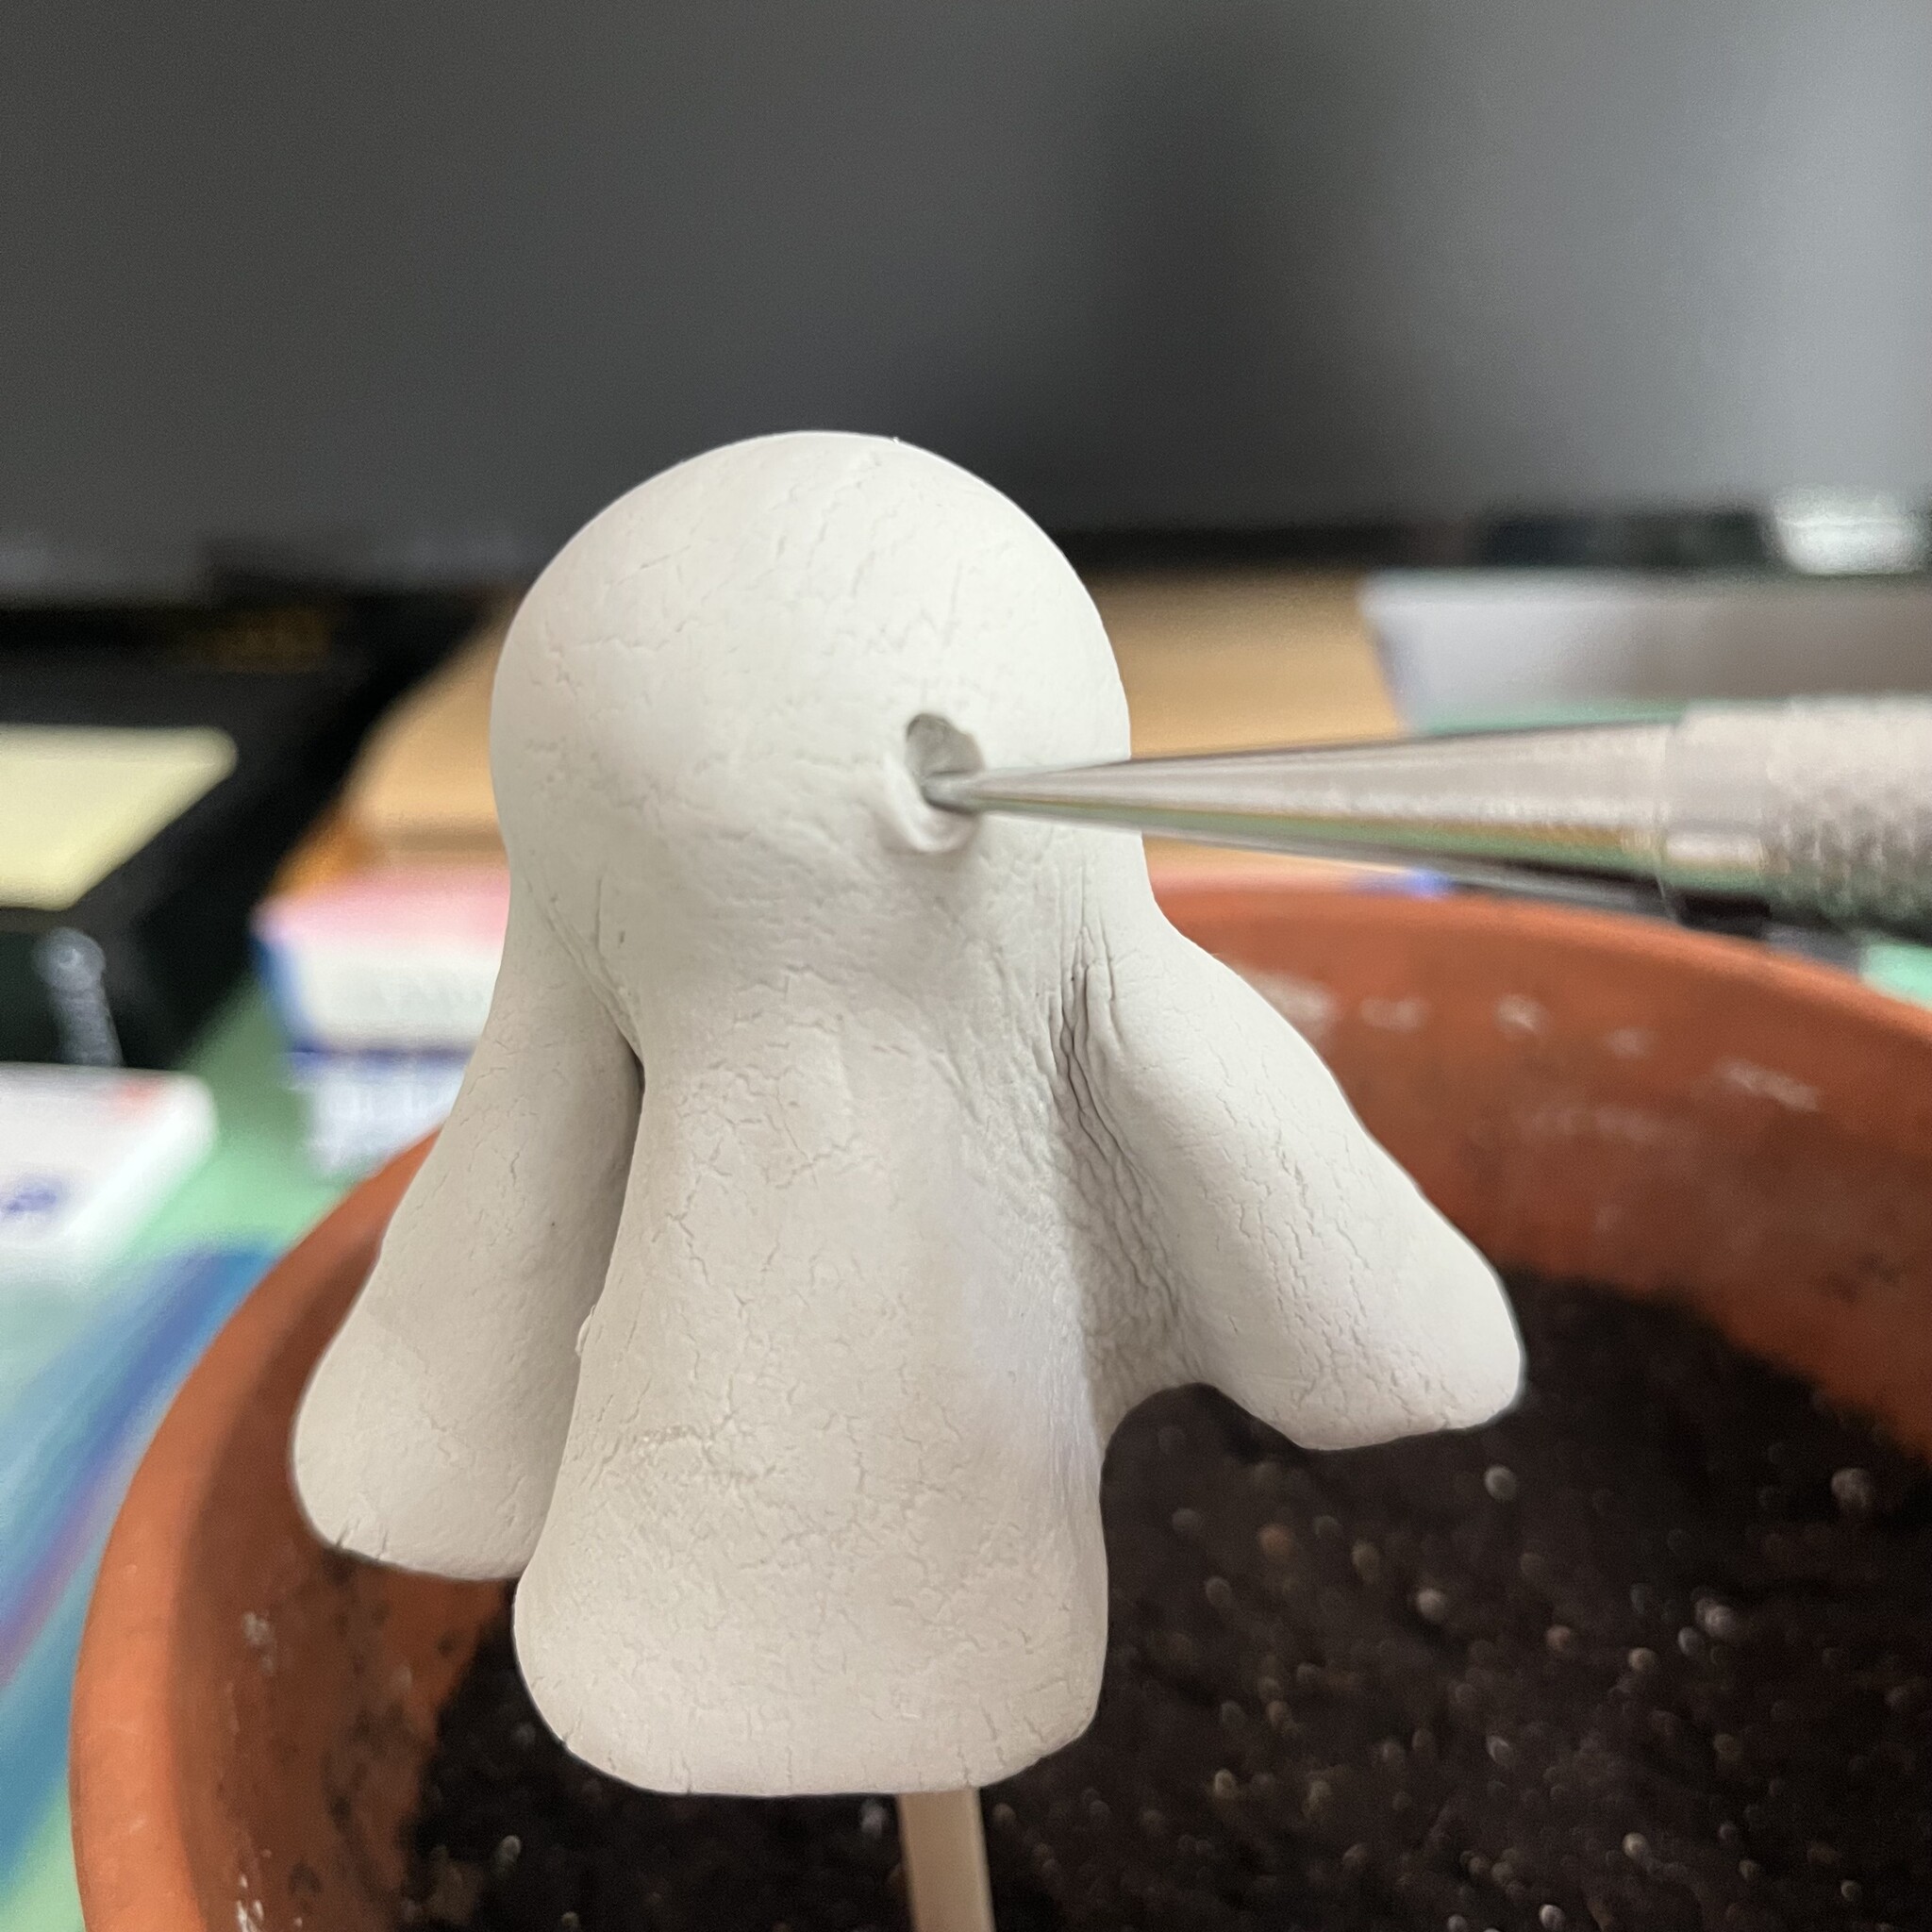
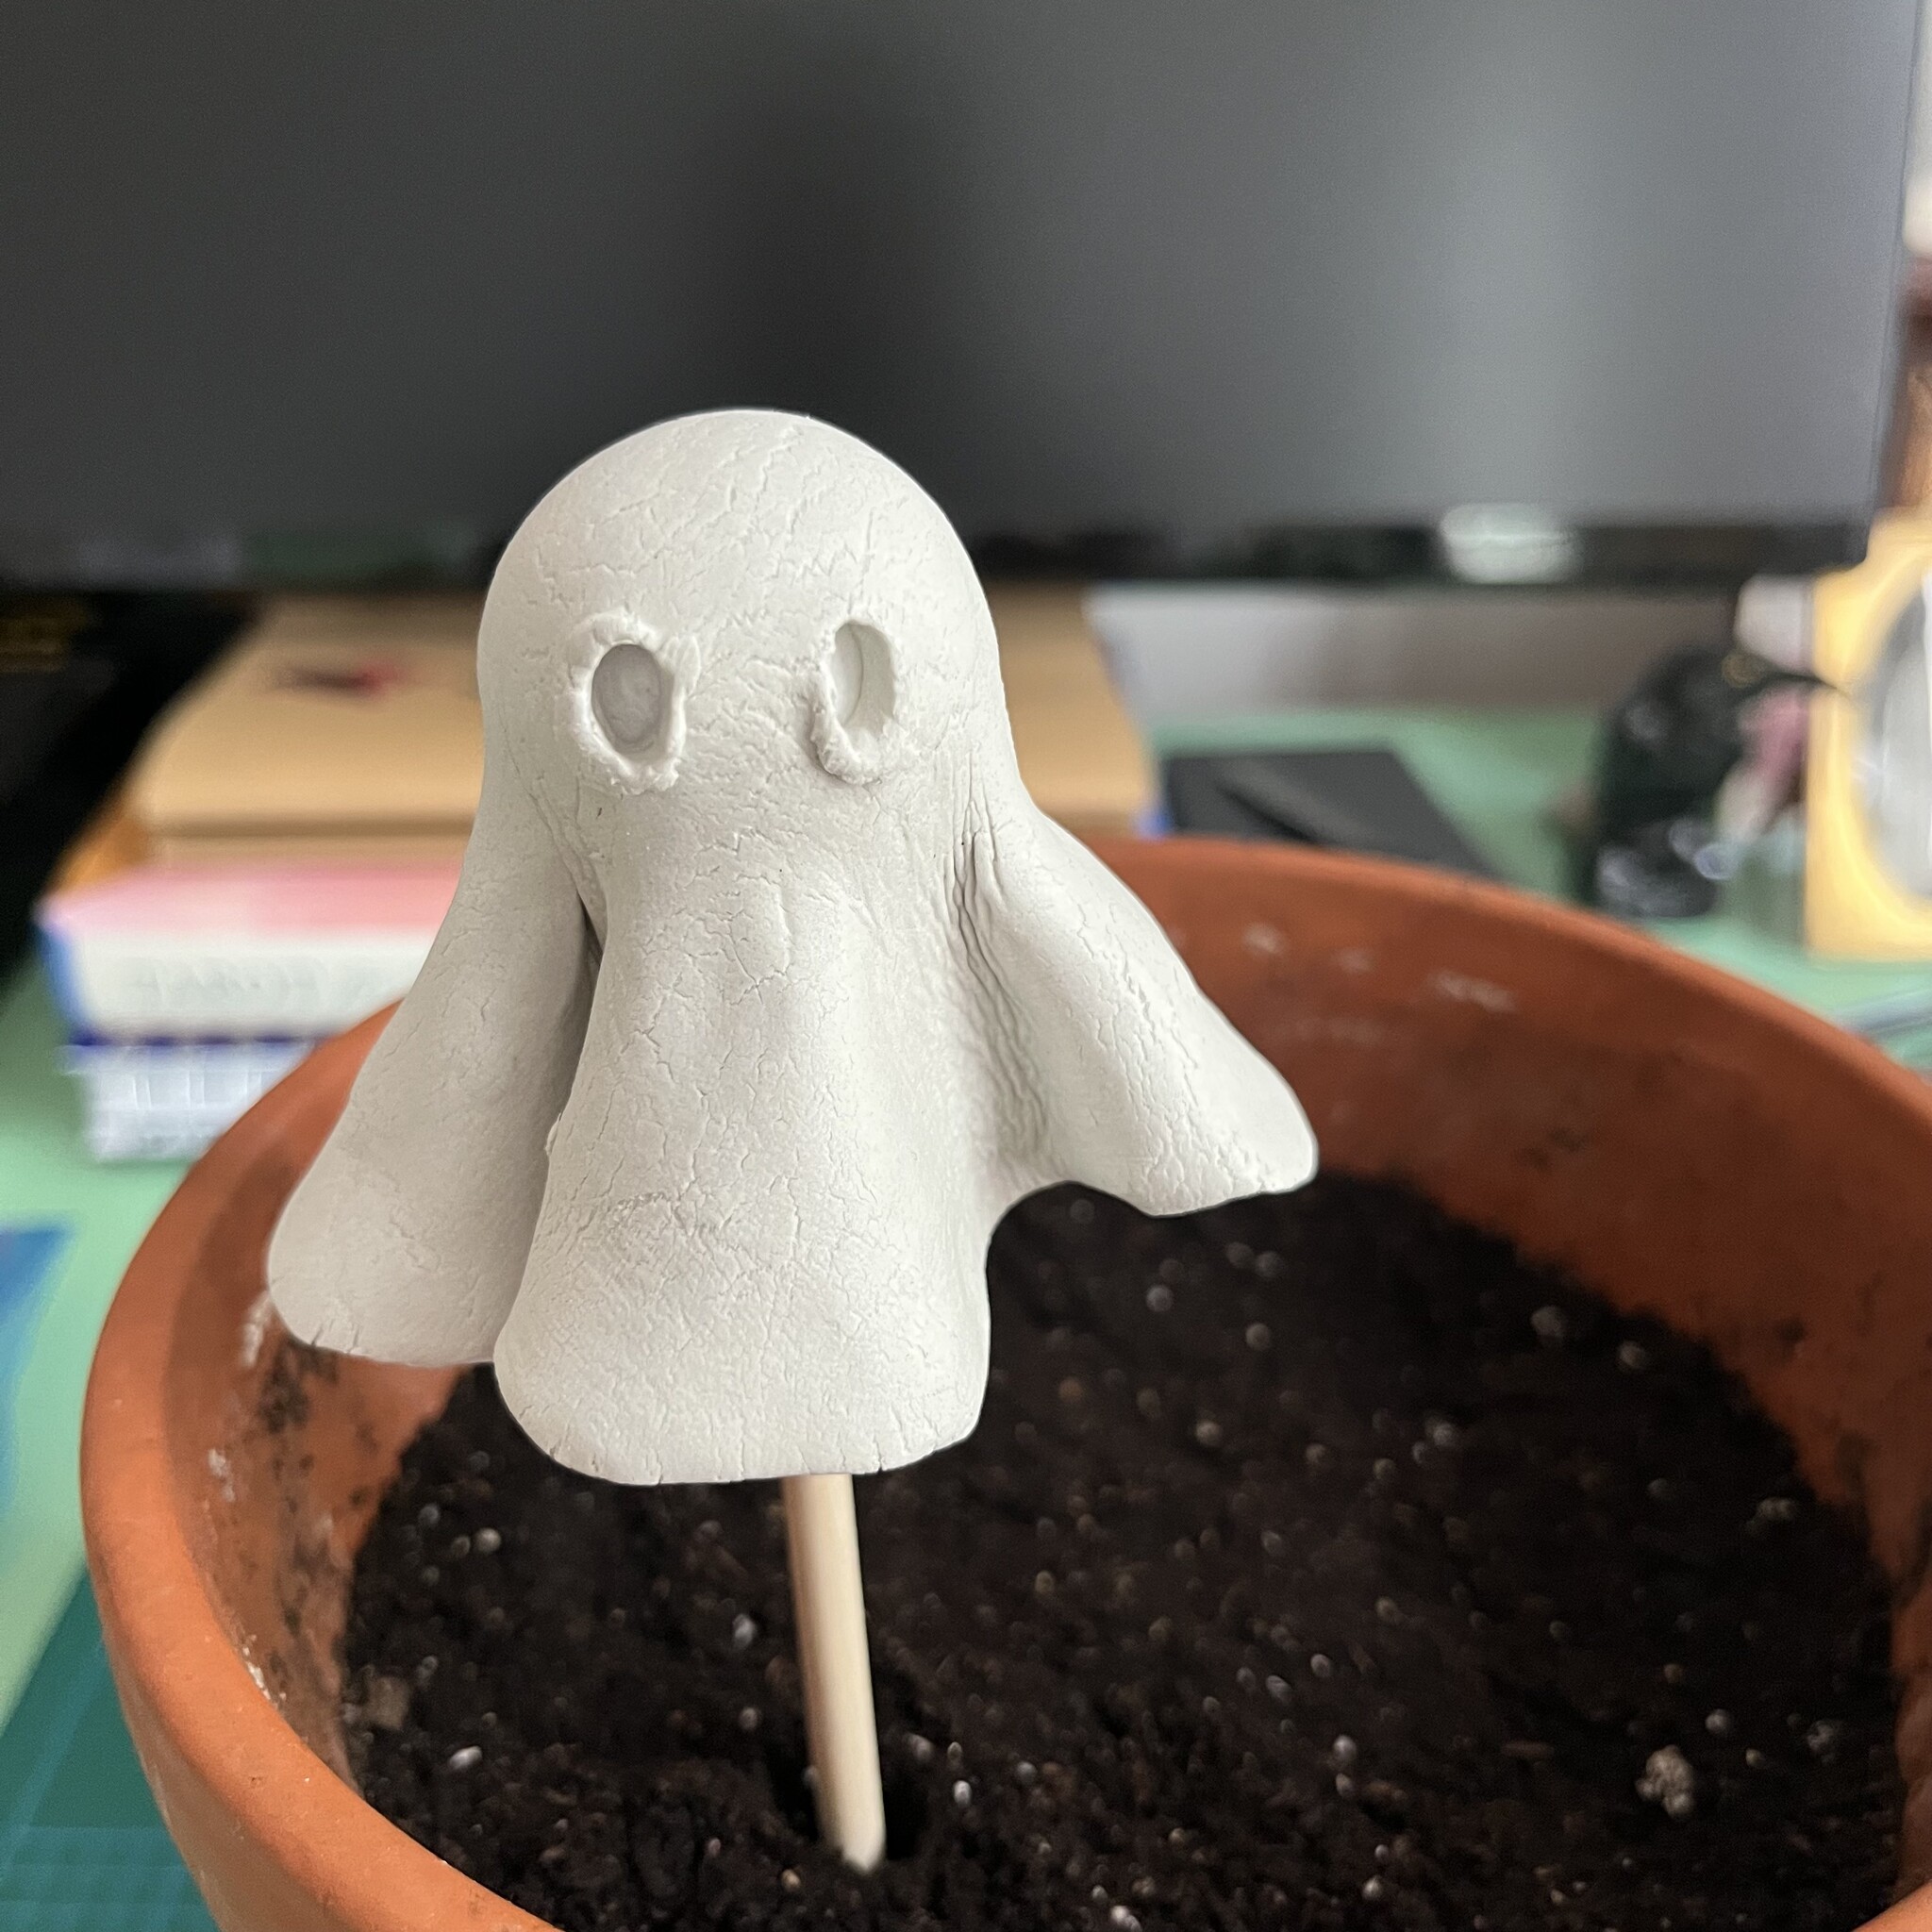
3. Carve The Features
Stick your ghost in the soil so you can shape and form the pleats and use your "jabby" tool of choice to carve out eyes and a mouth.
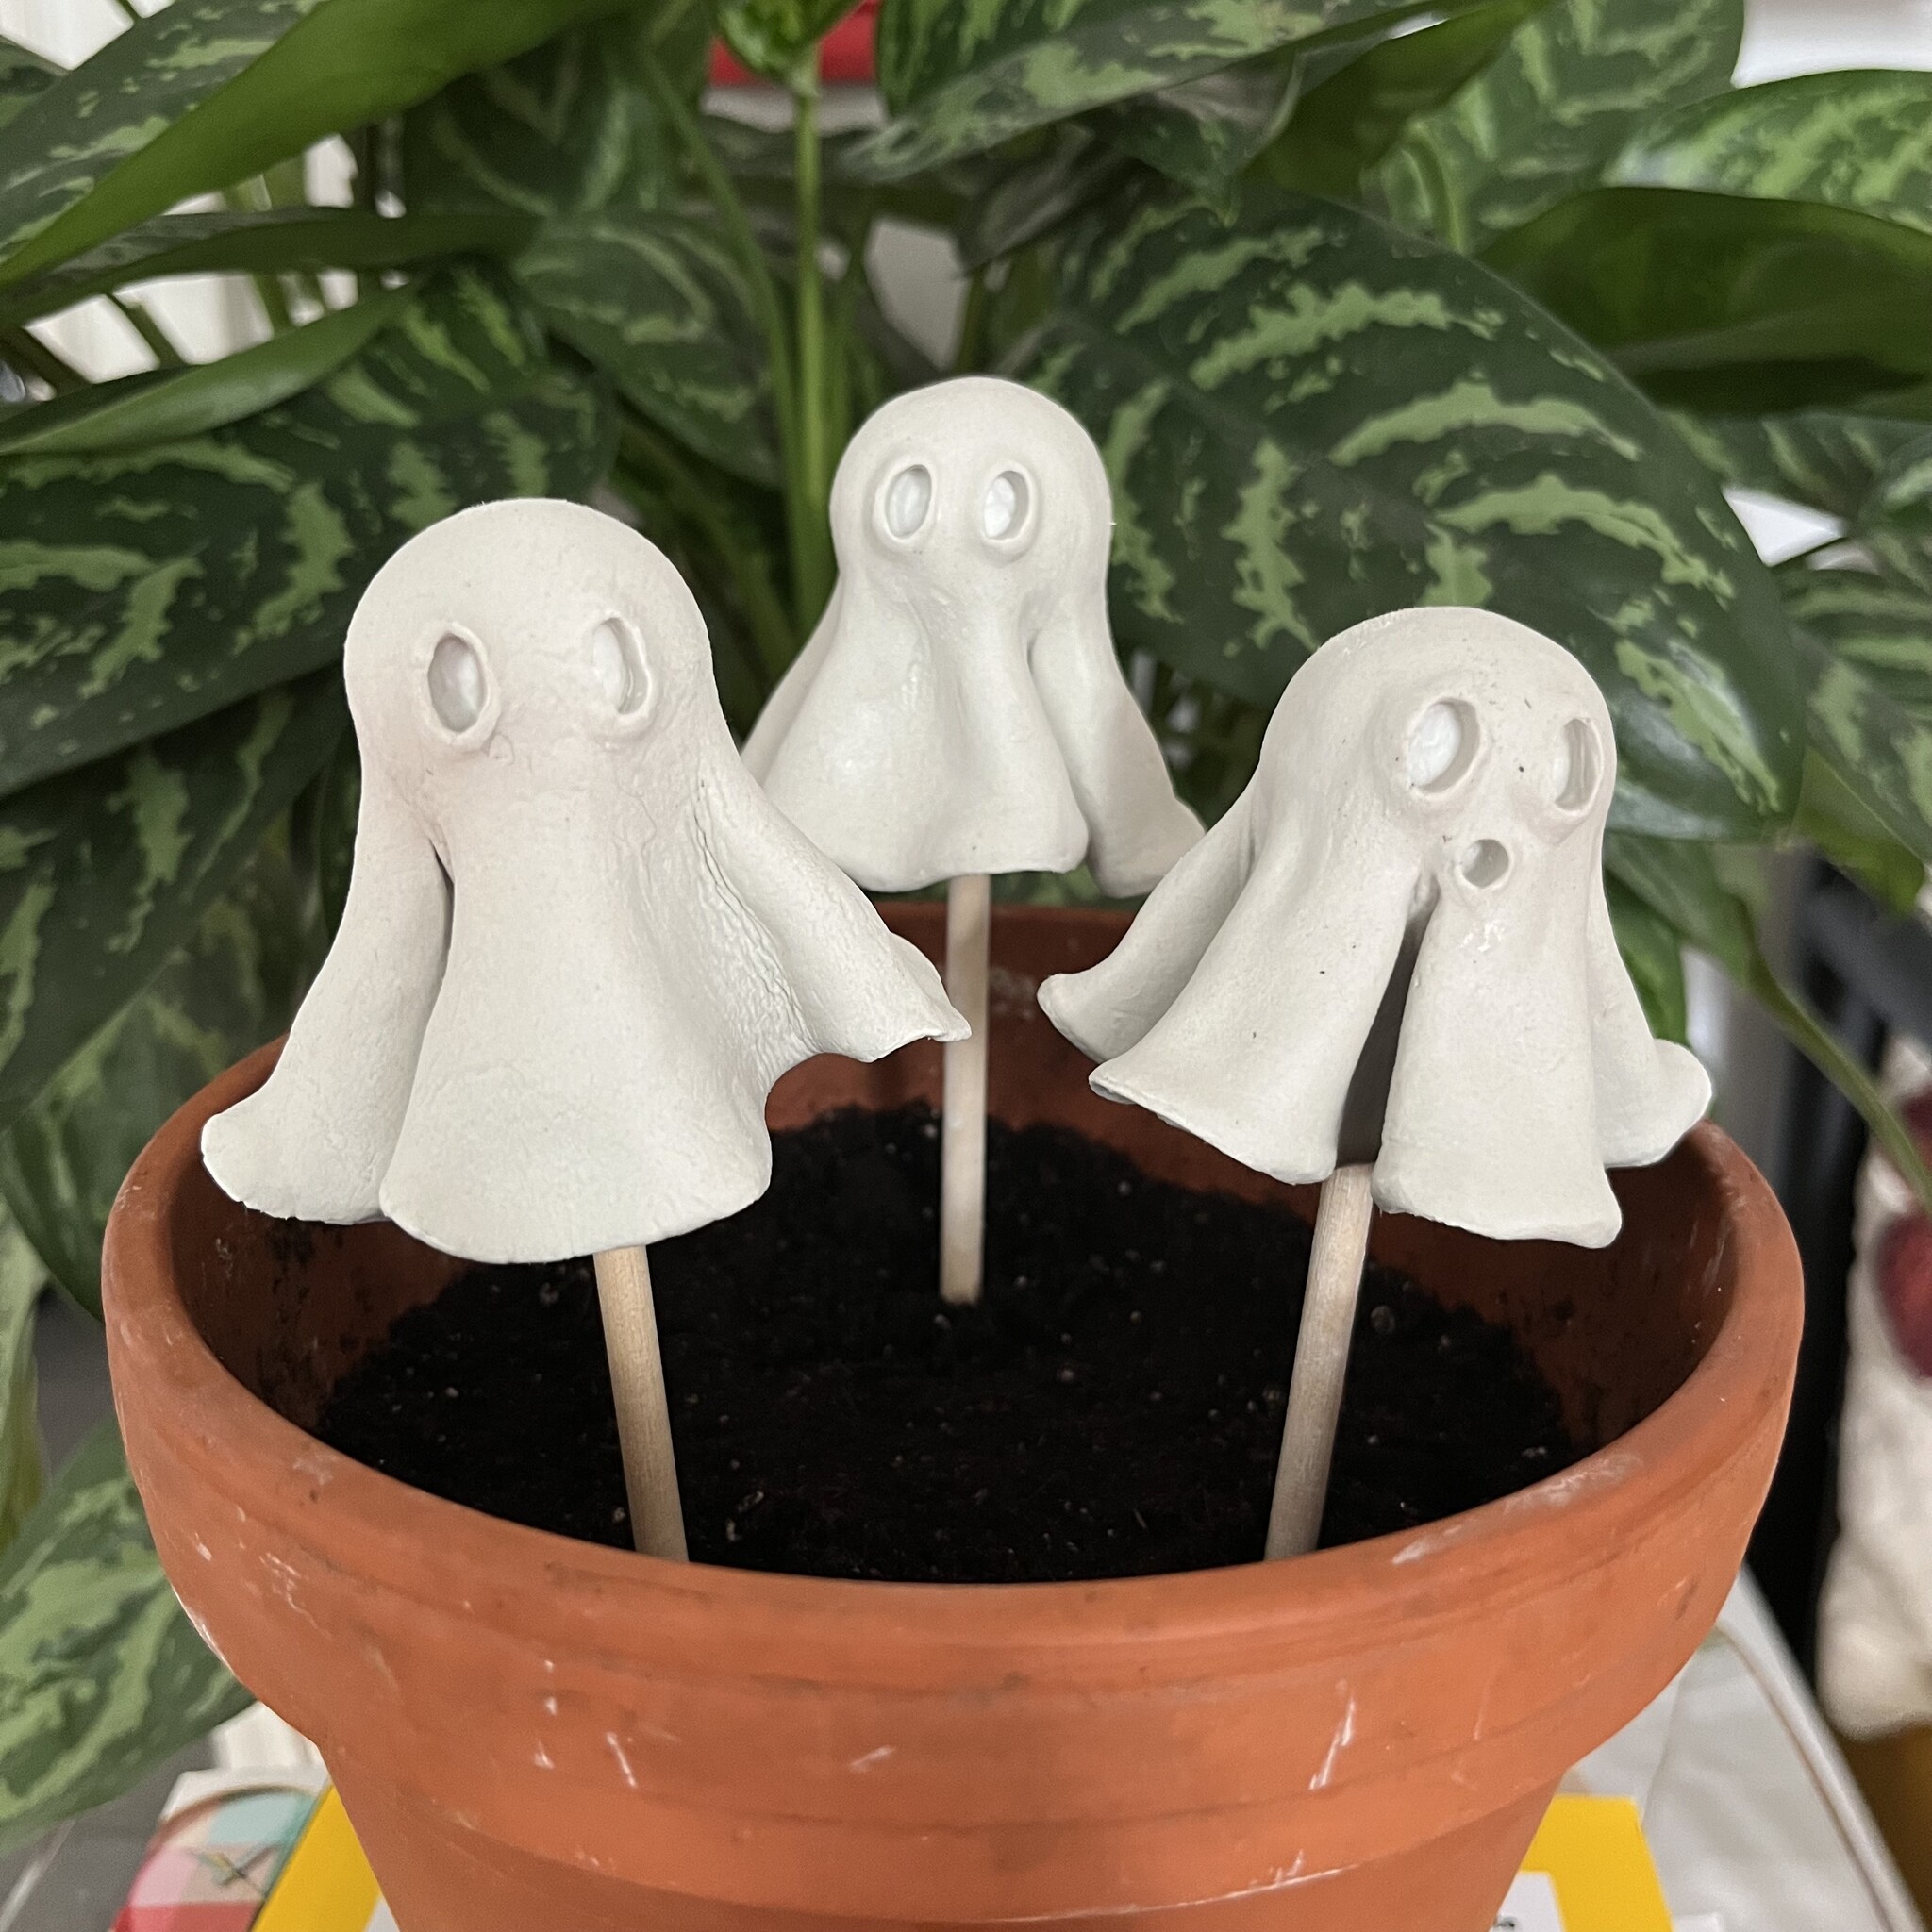
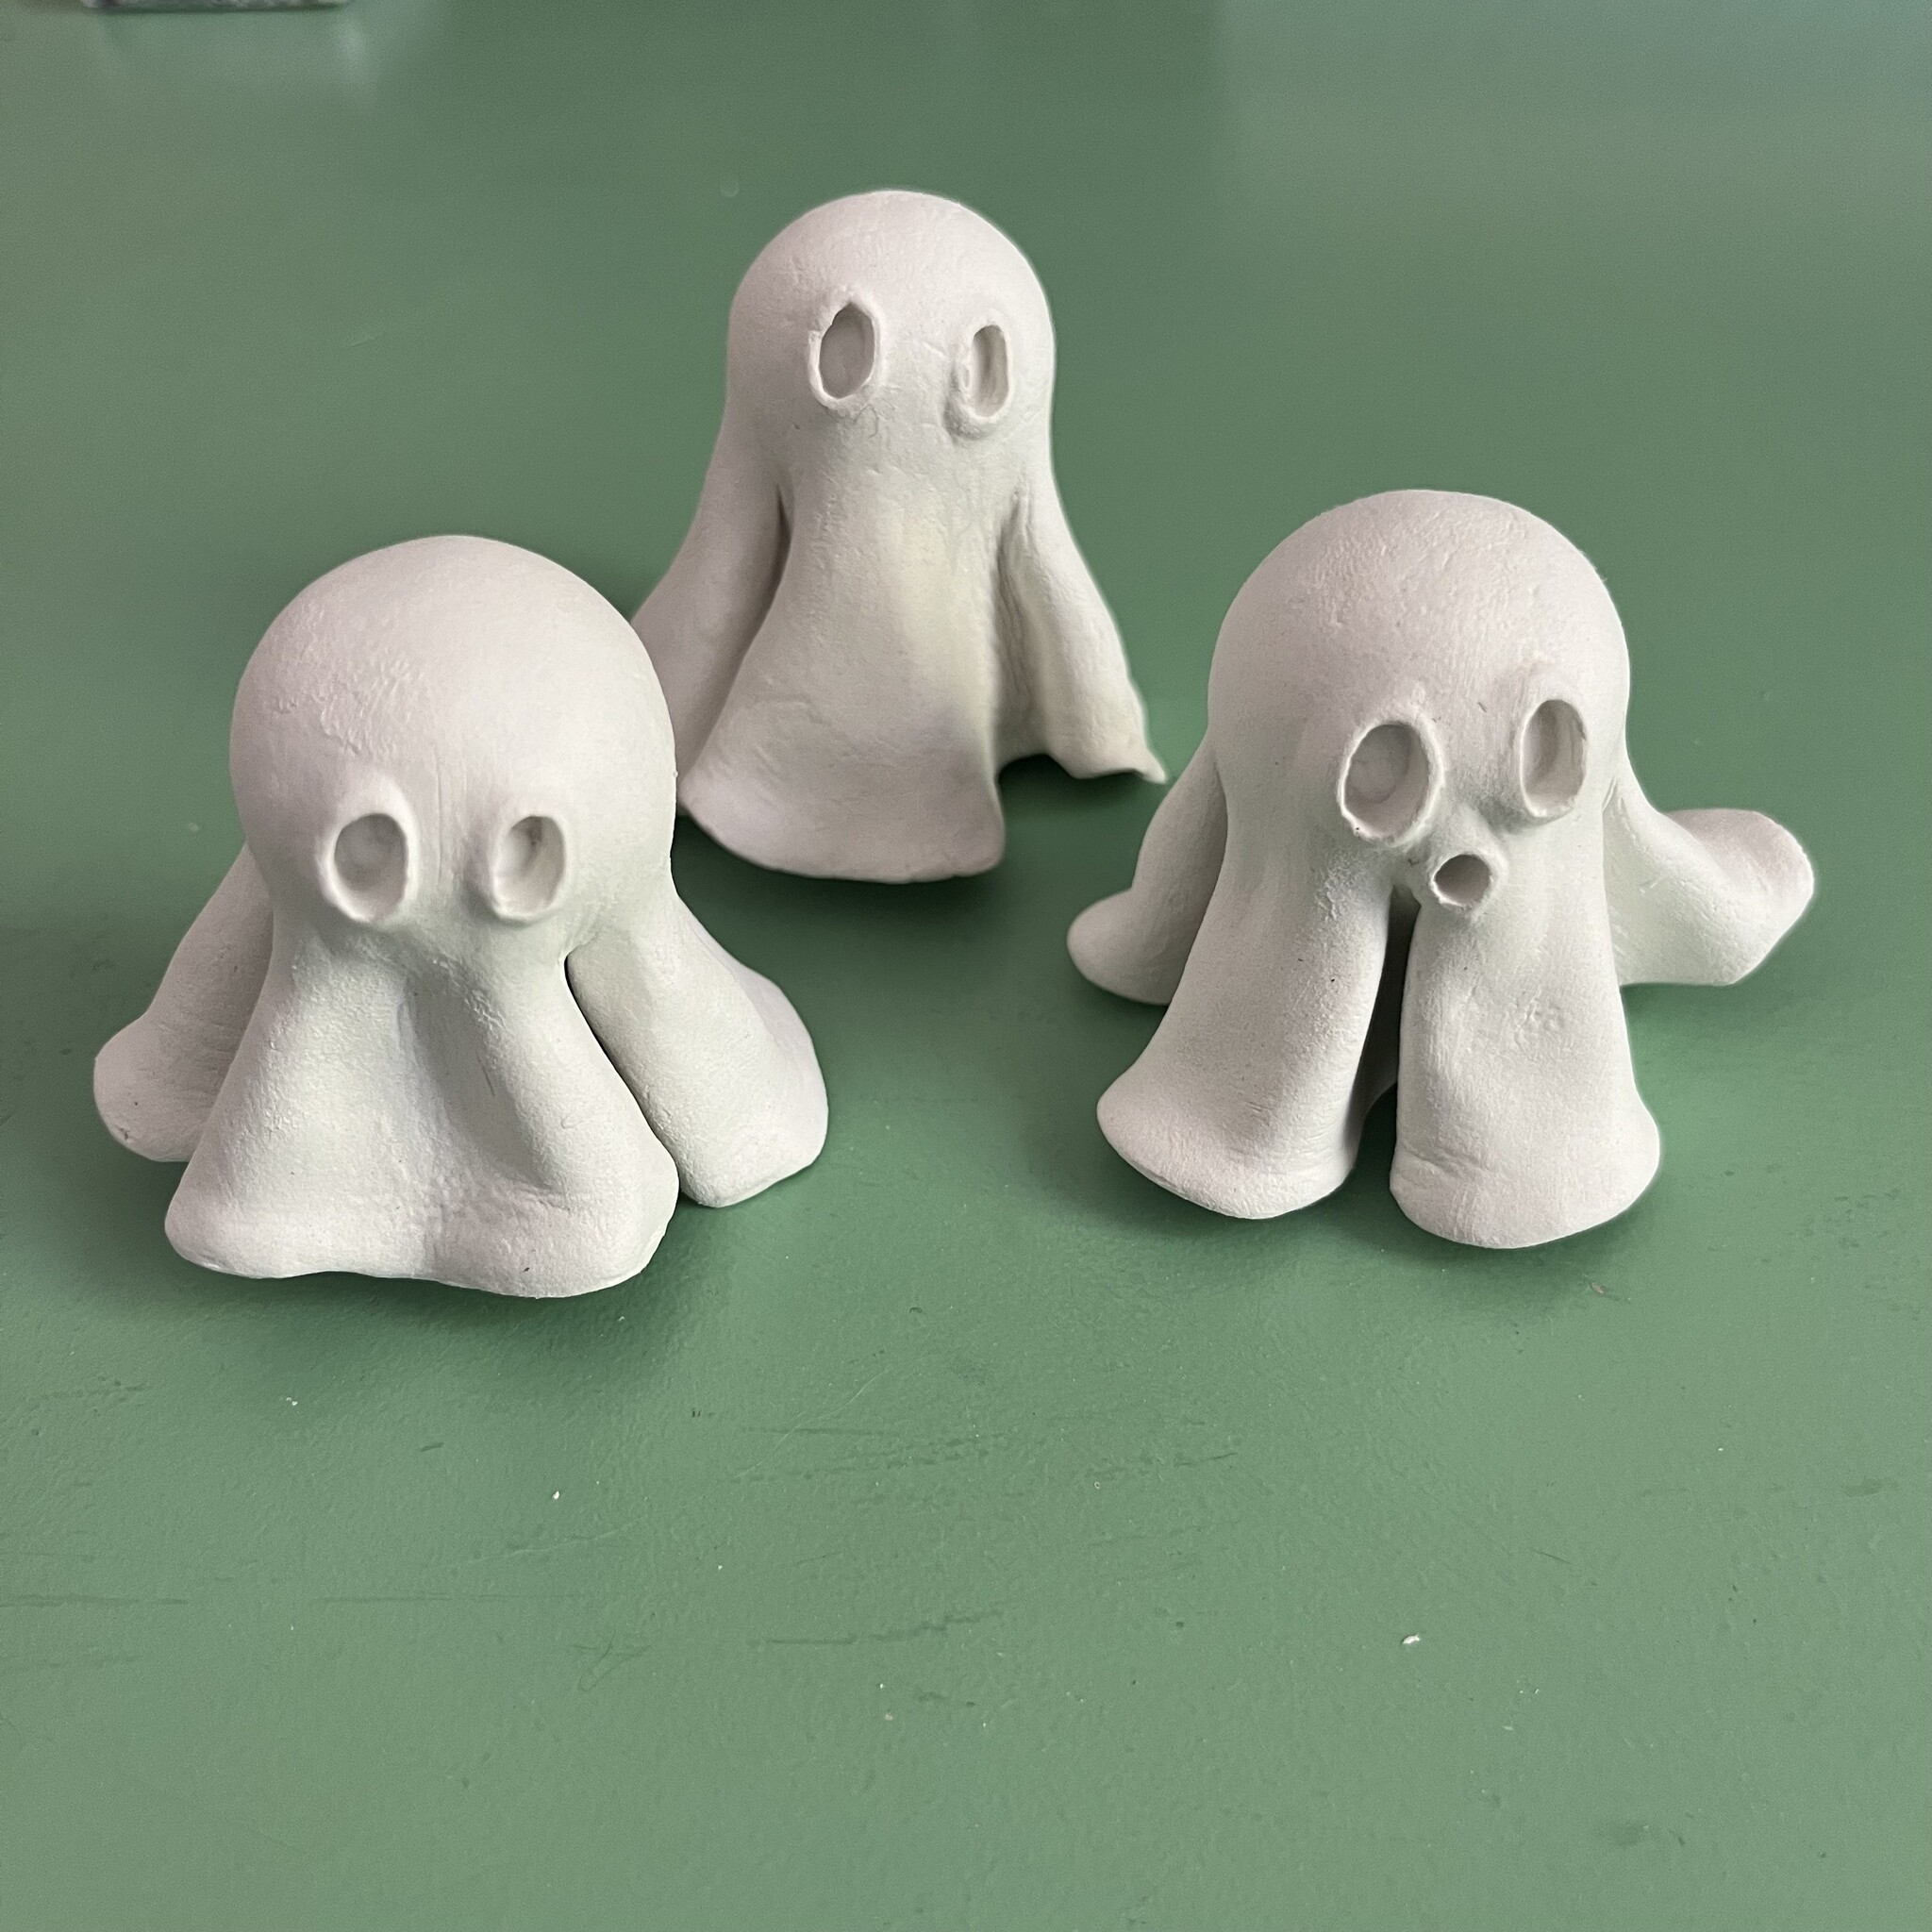
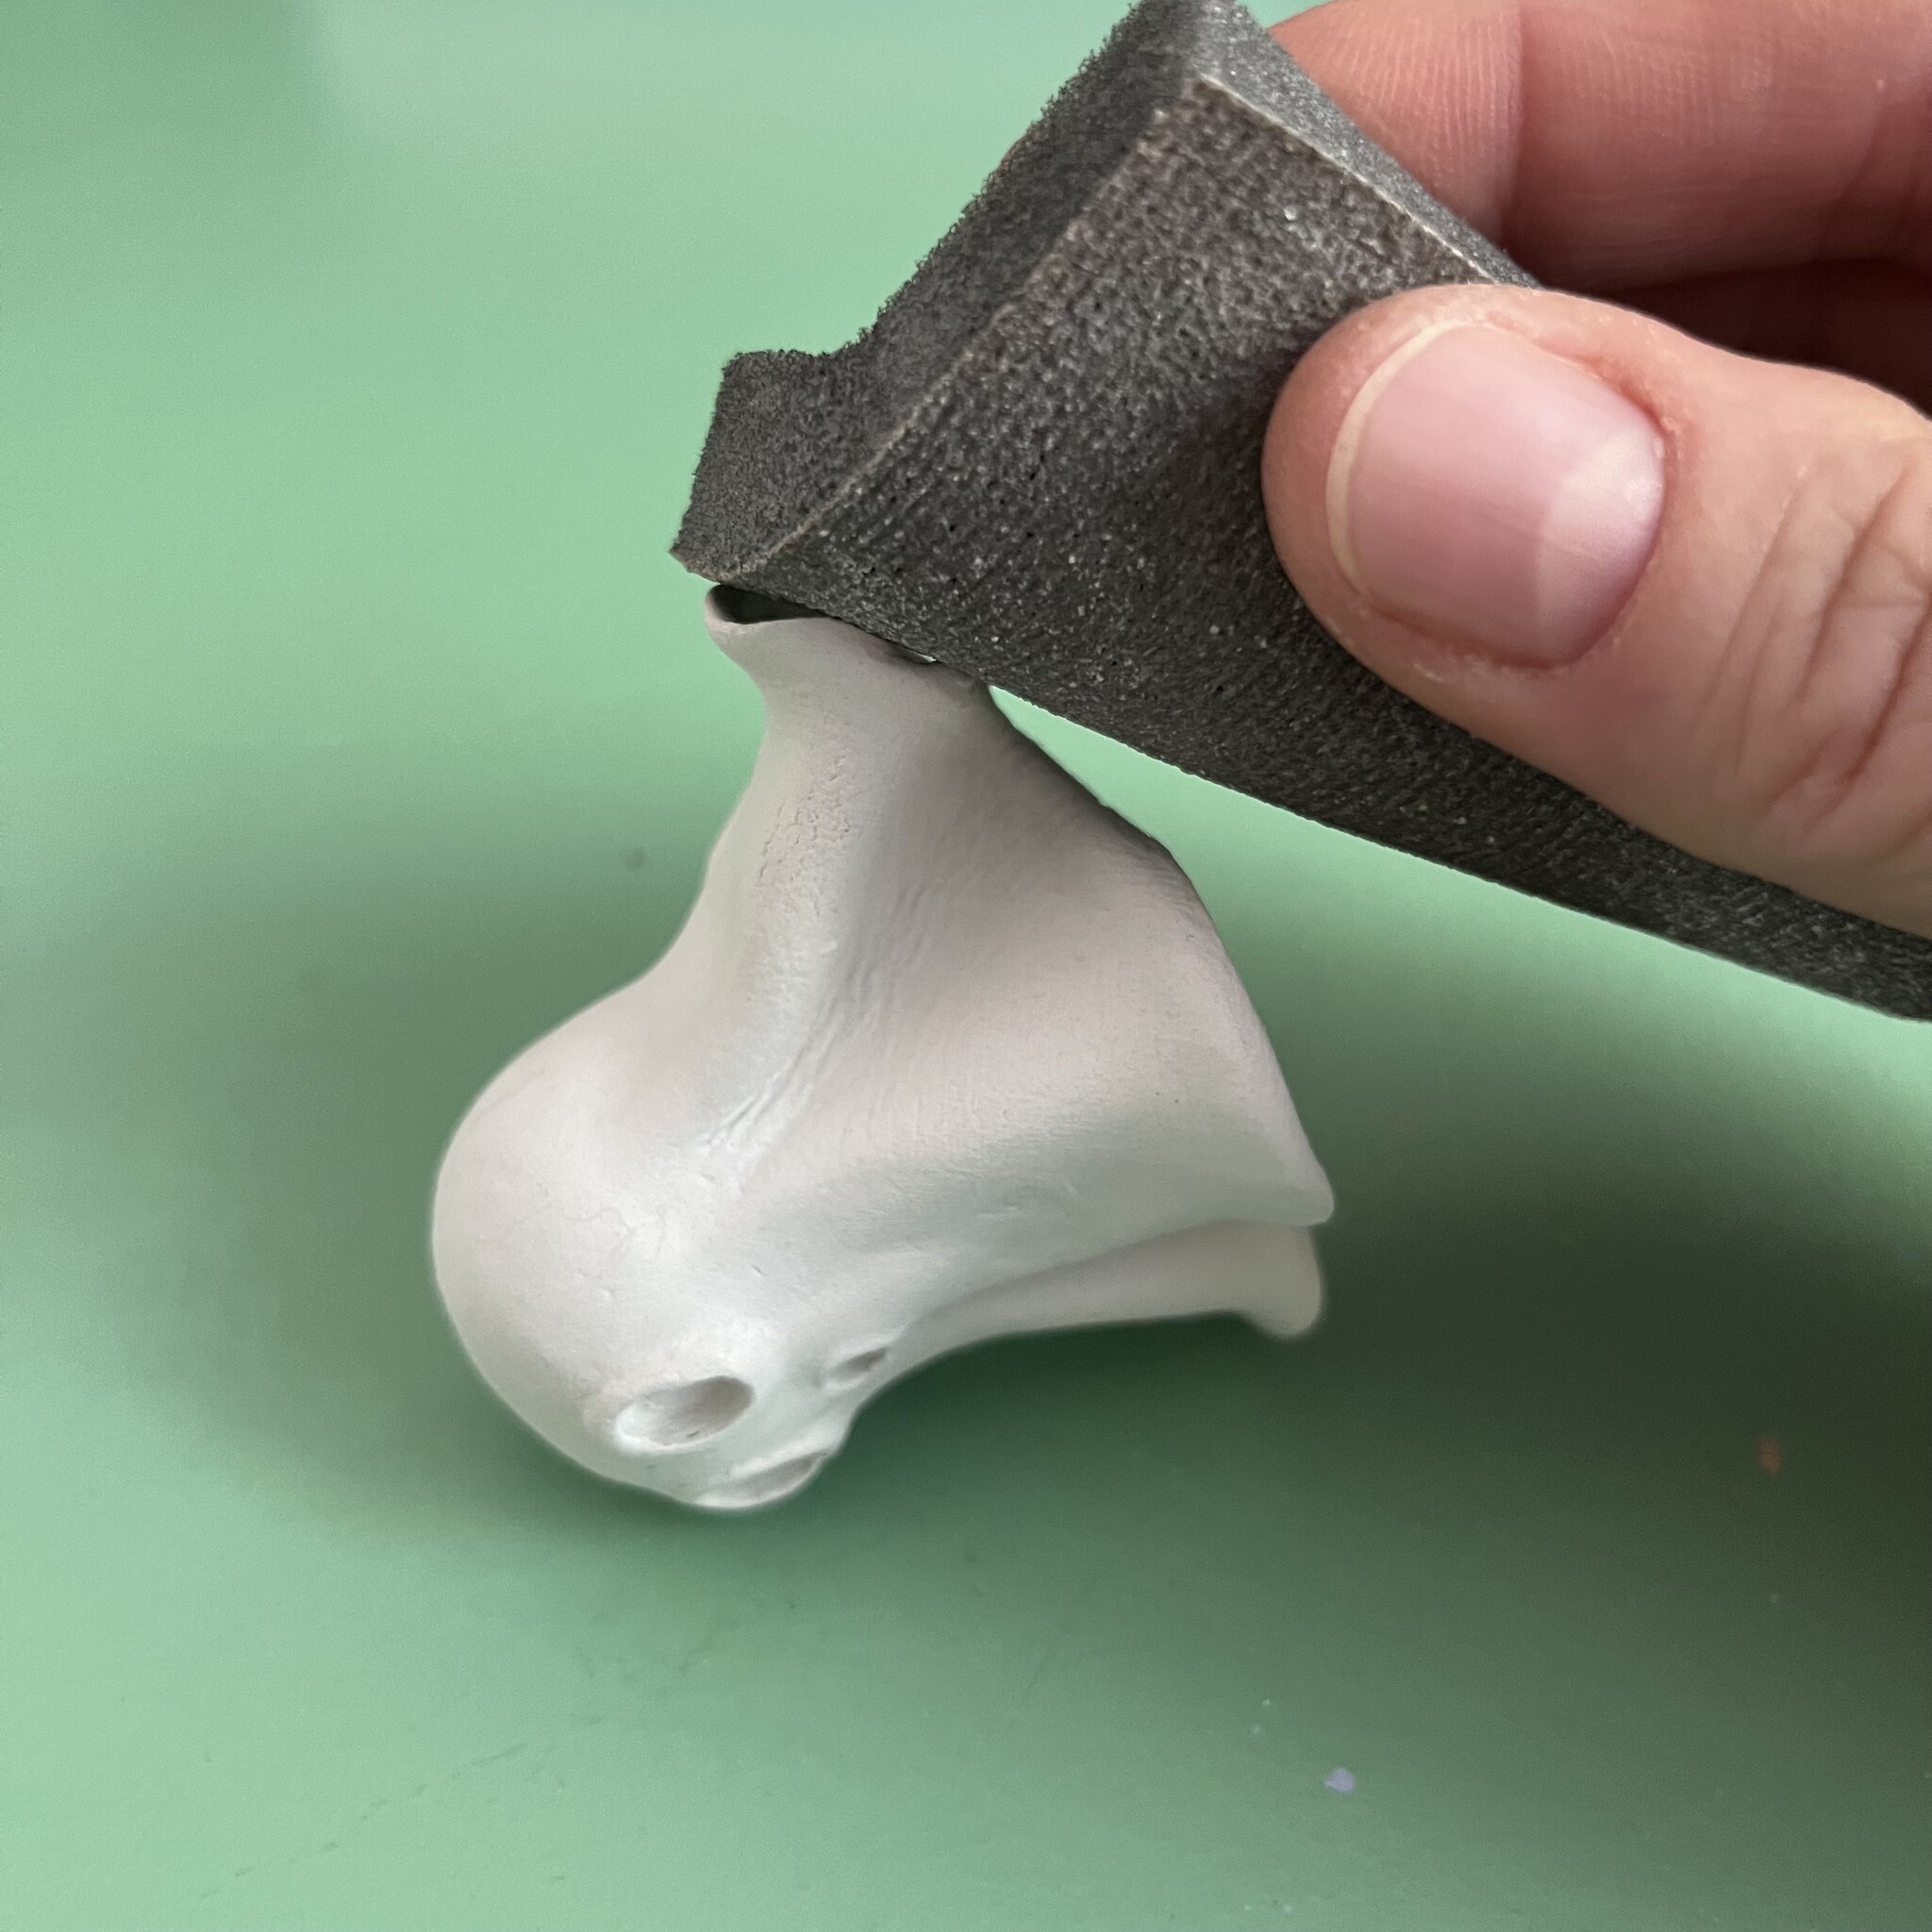
4. Dry, Sand, And Prepare For Painting
Let your ghosts dry in the pot like spooky little flowers. Because these are quite thick and folded, it took at least 48 hours for them to dry. If you're using polymer clay, just follow the directions on the package for baking times. I then gave the dry figures a light sanding to take off any rough bits.
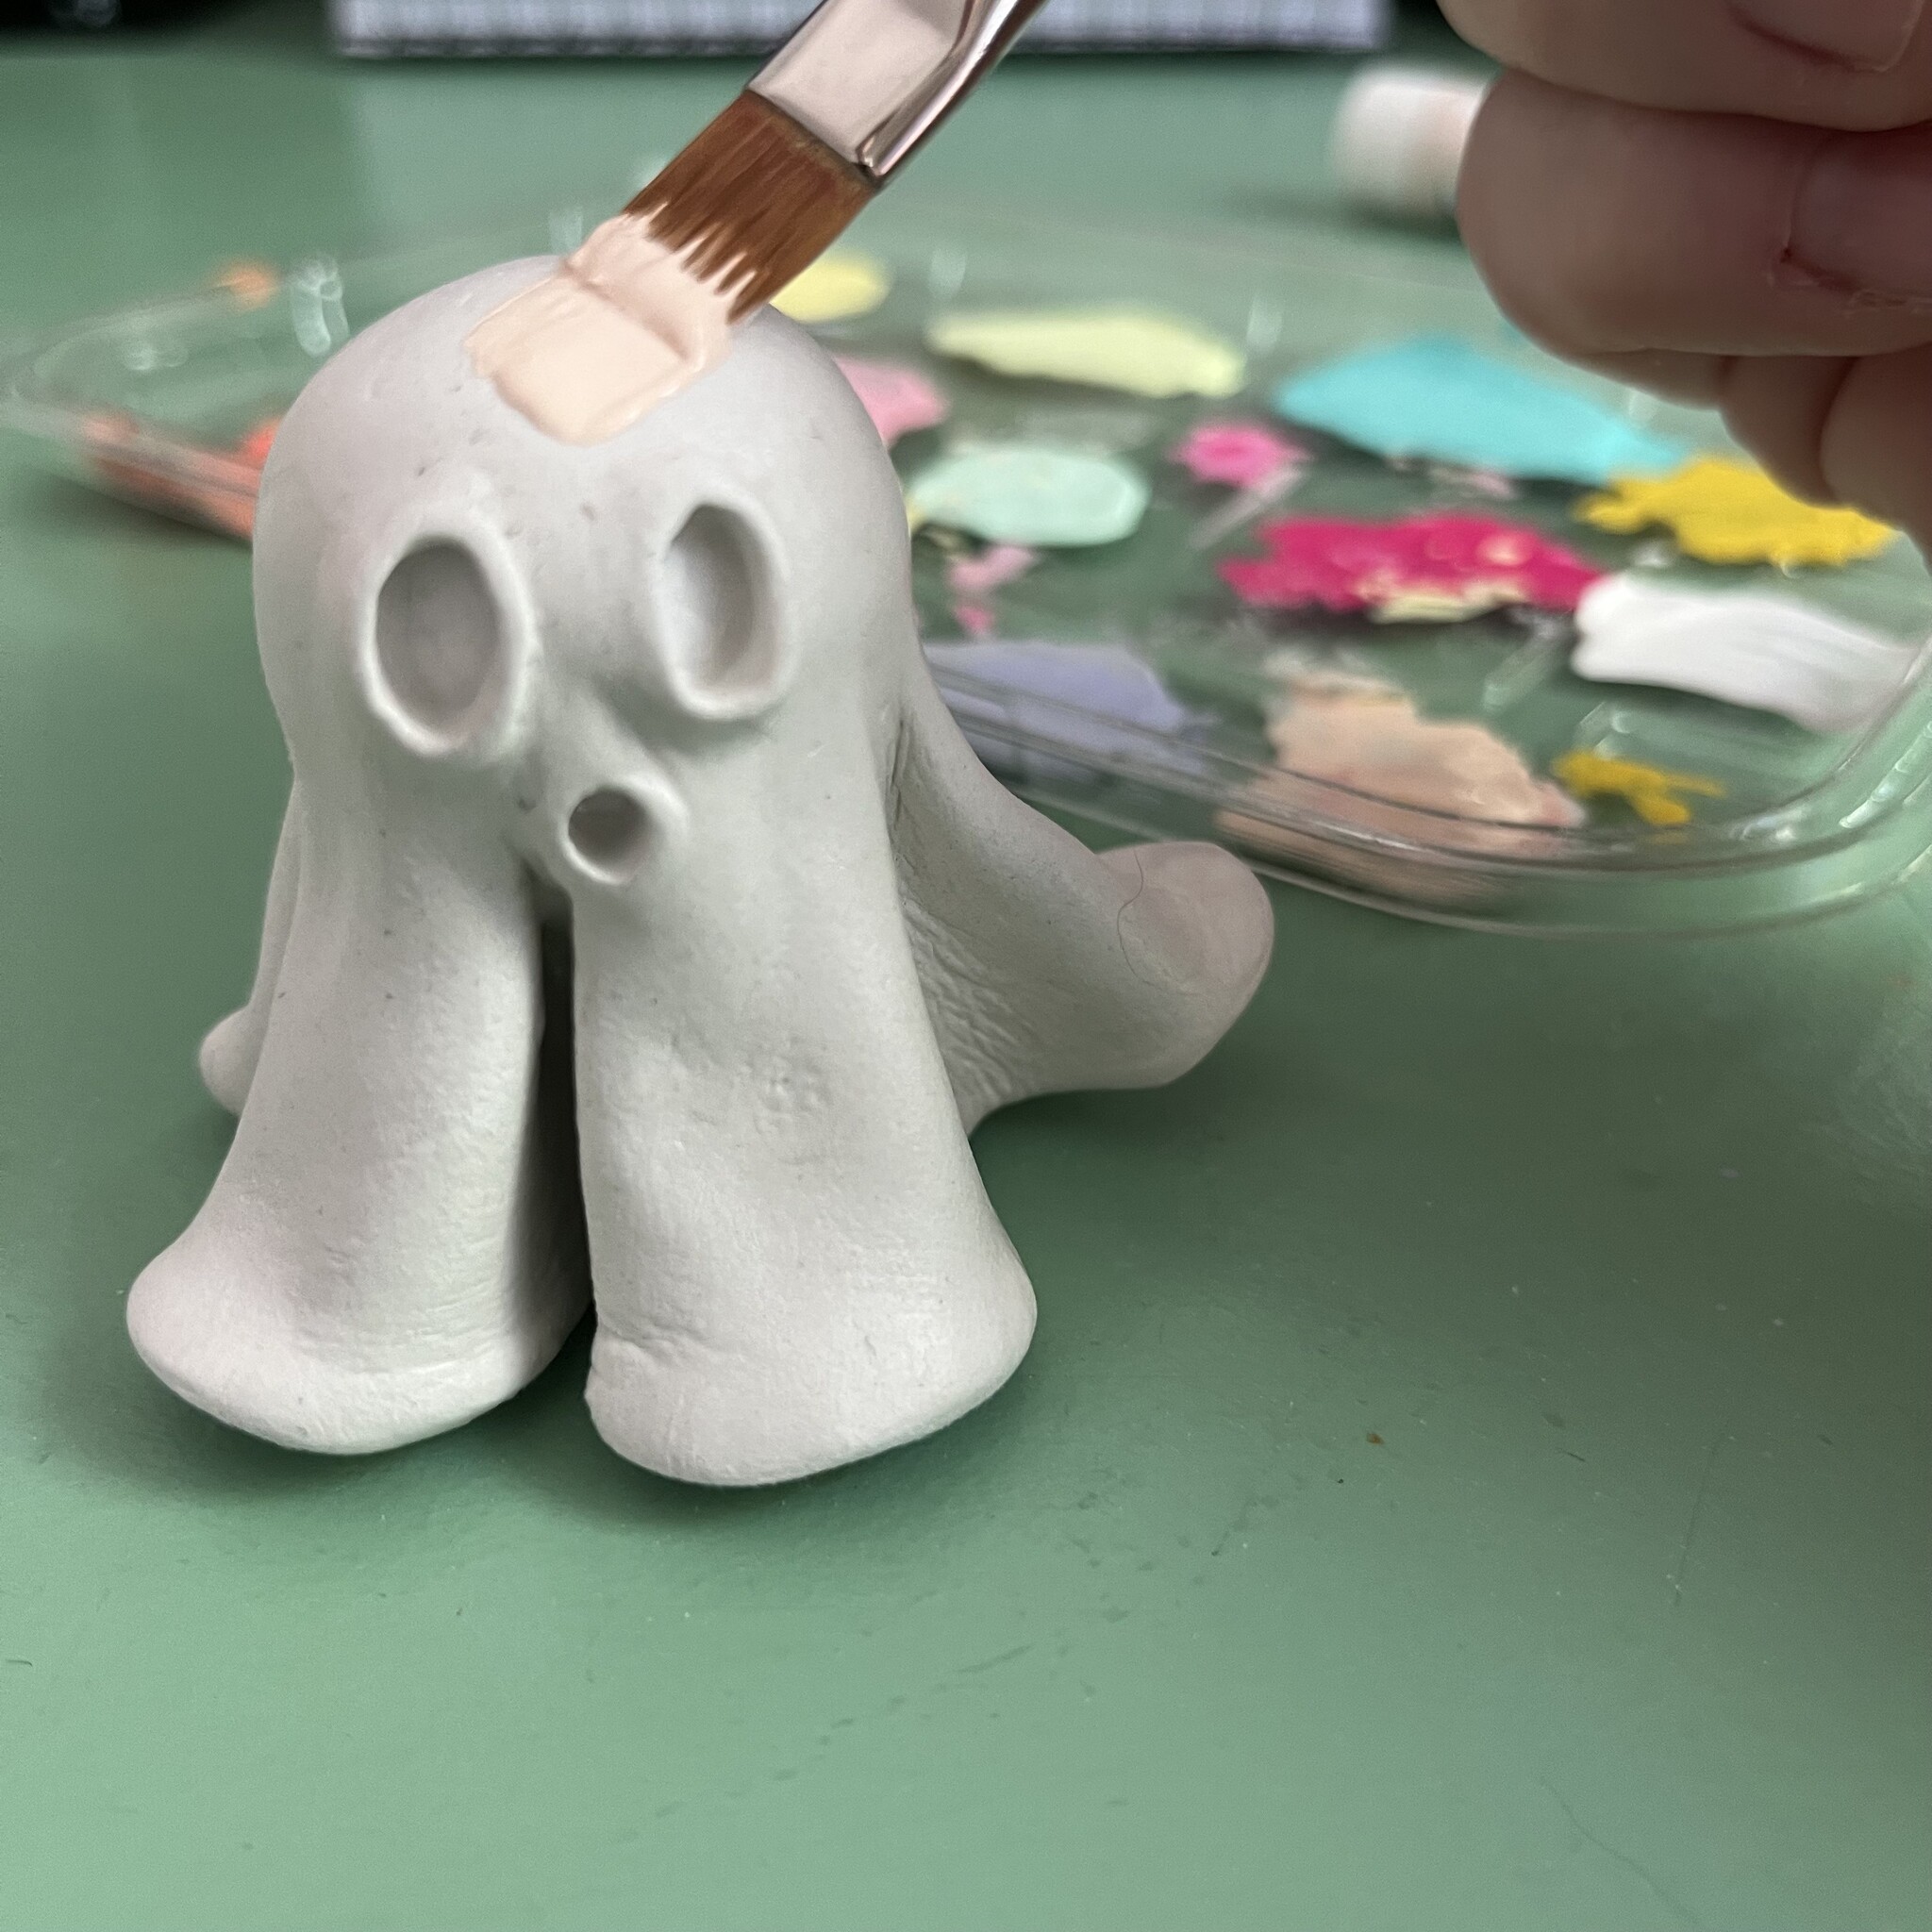
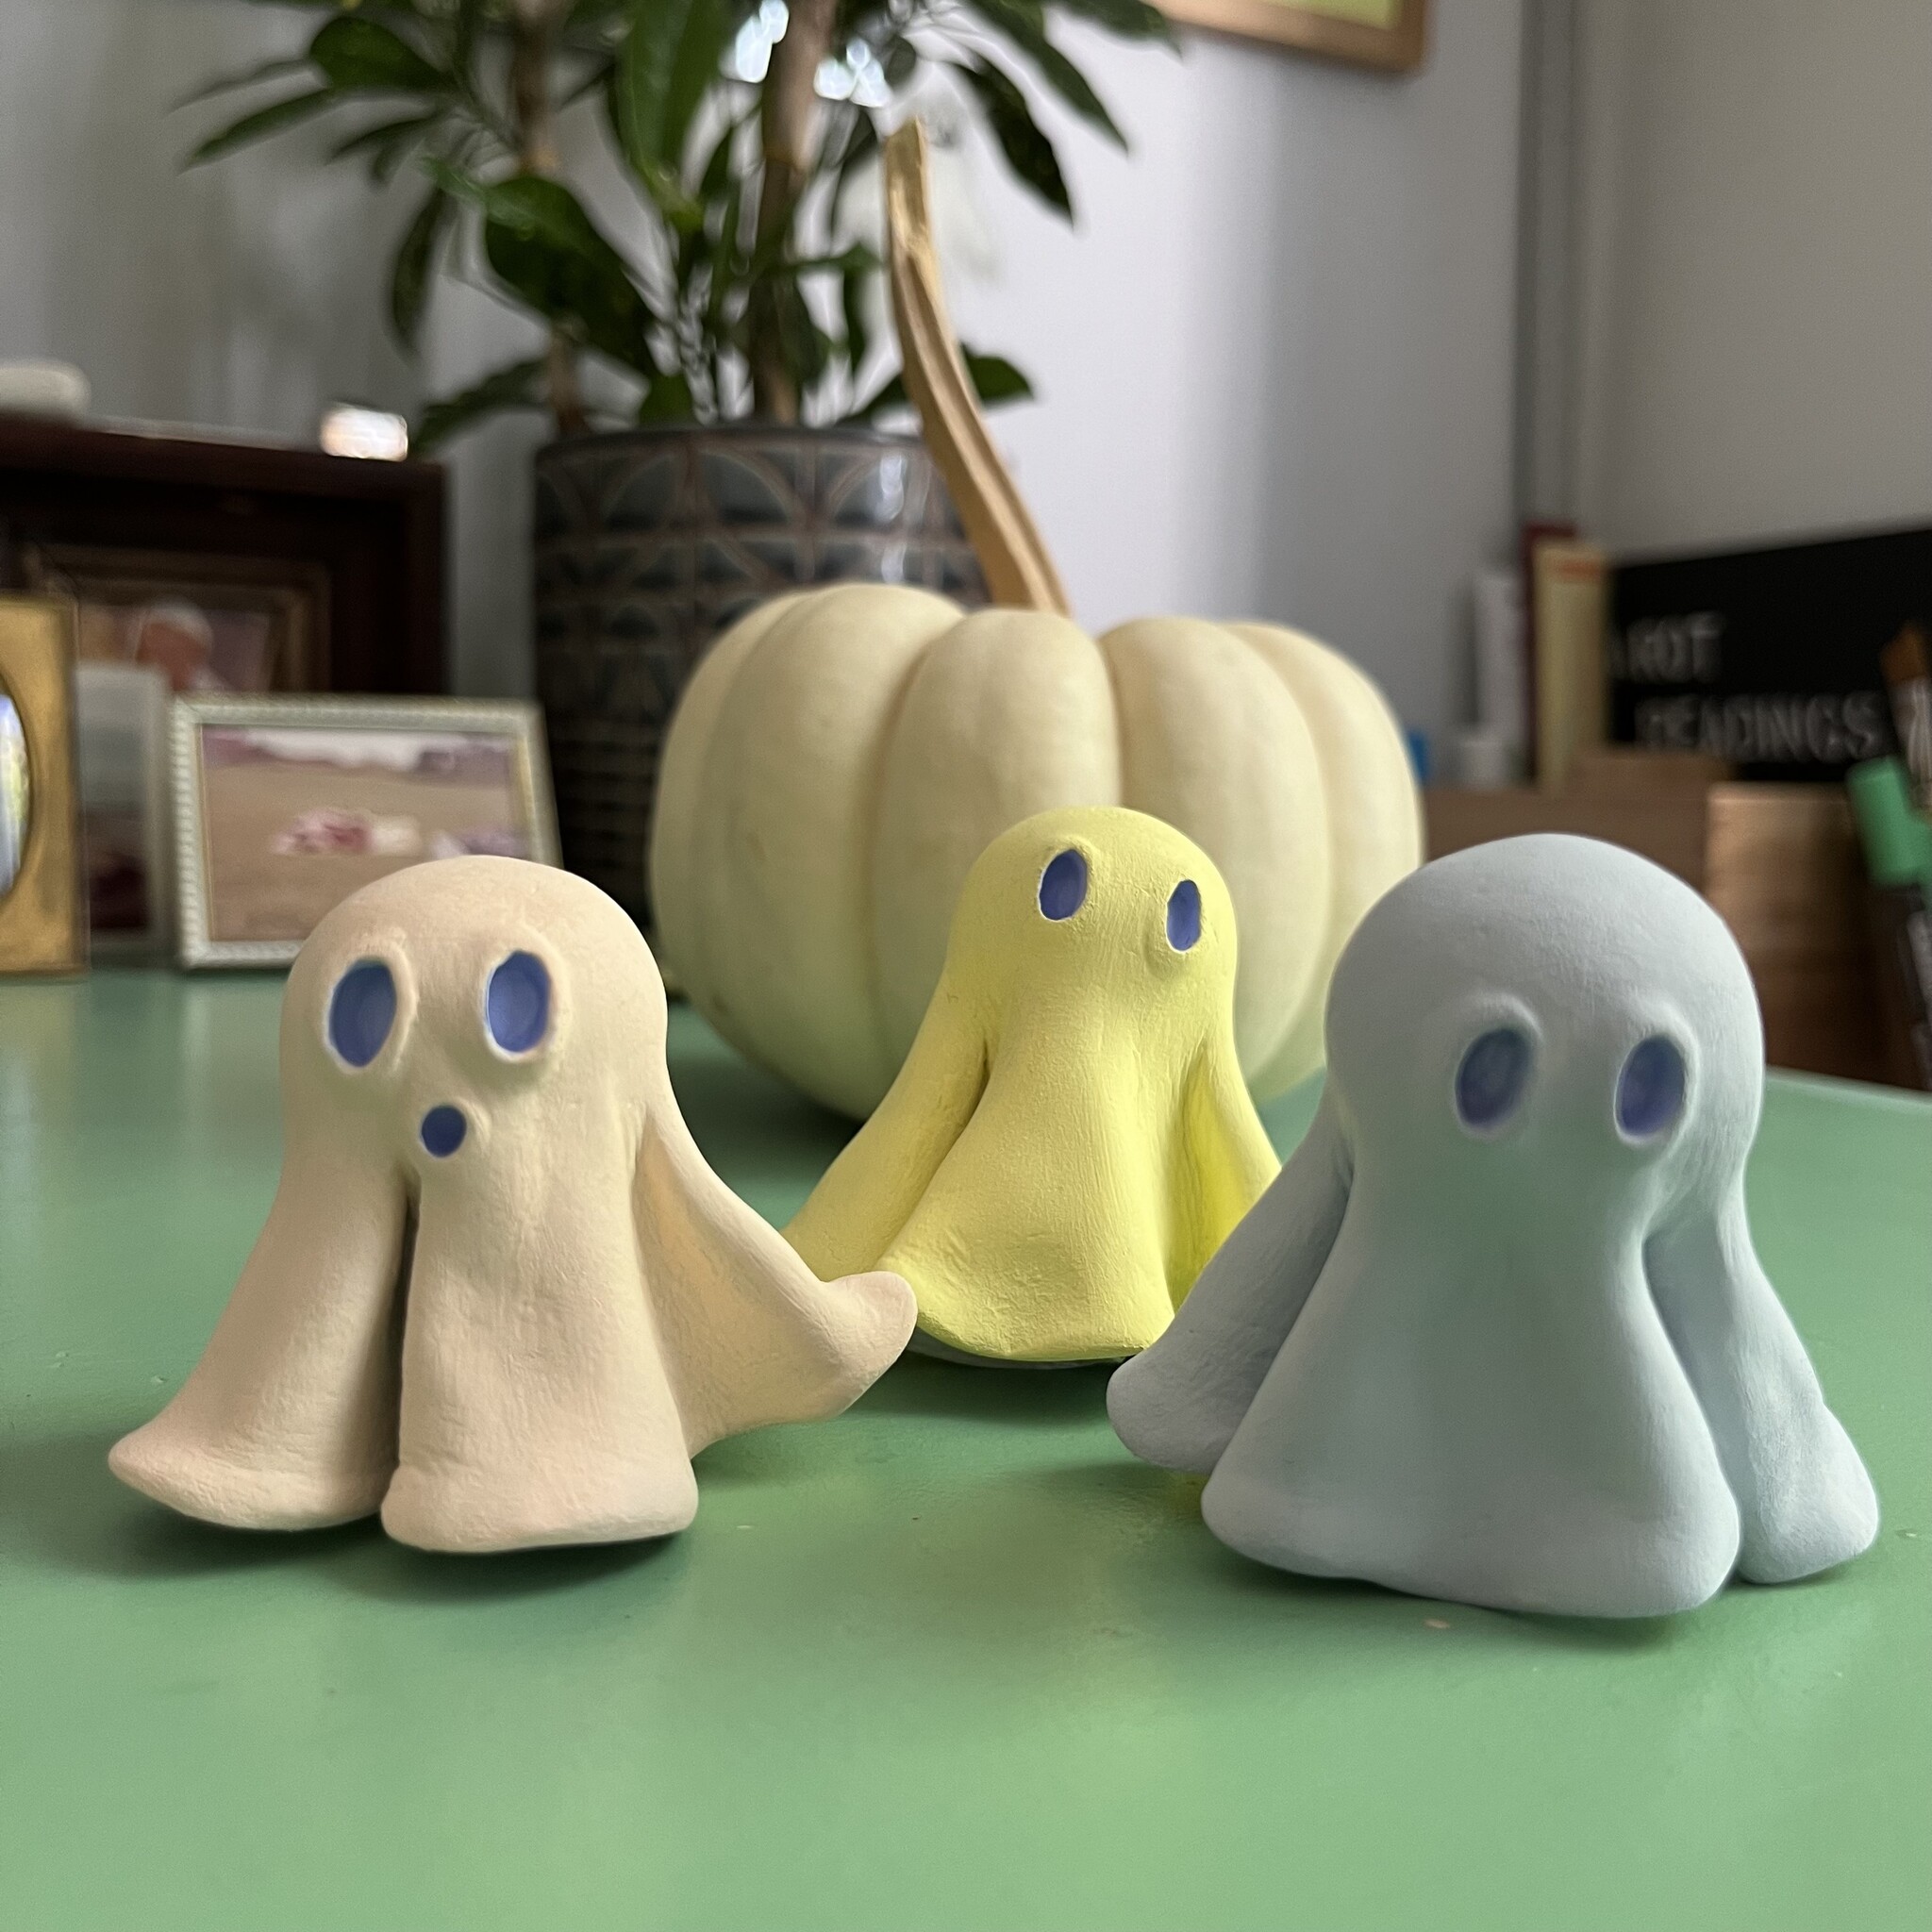
5. Paint And Finish Your Sculptures
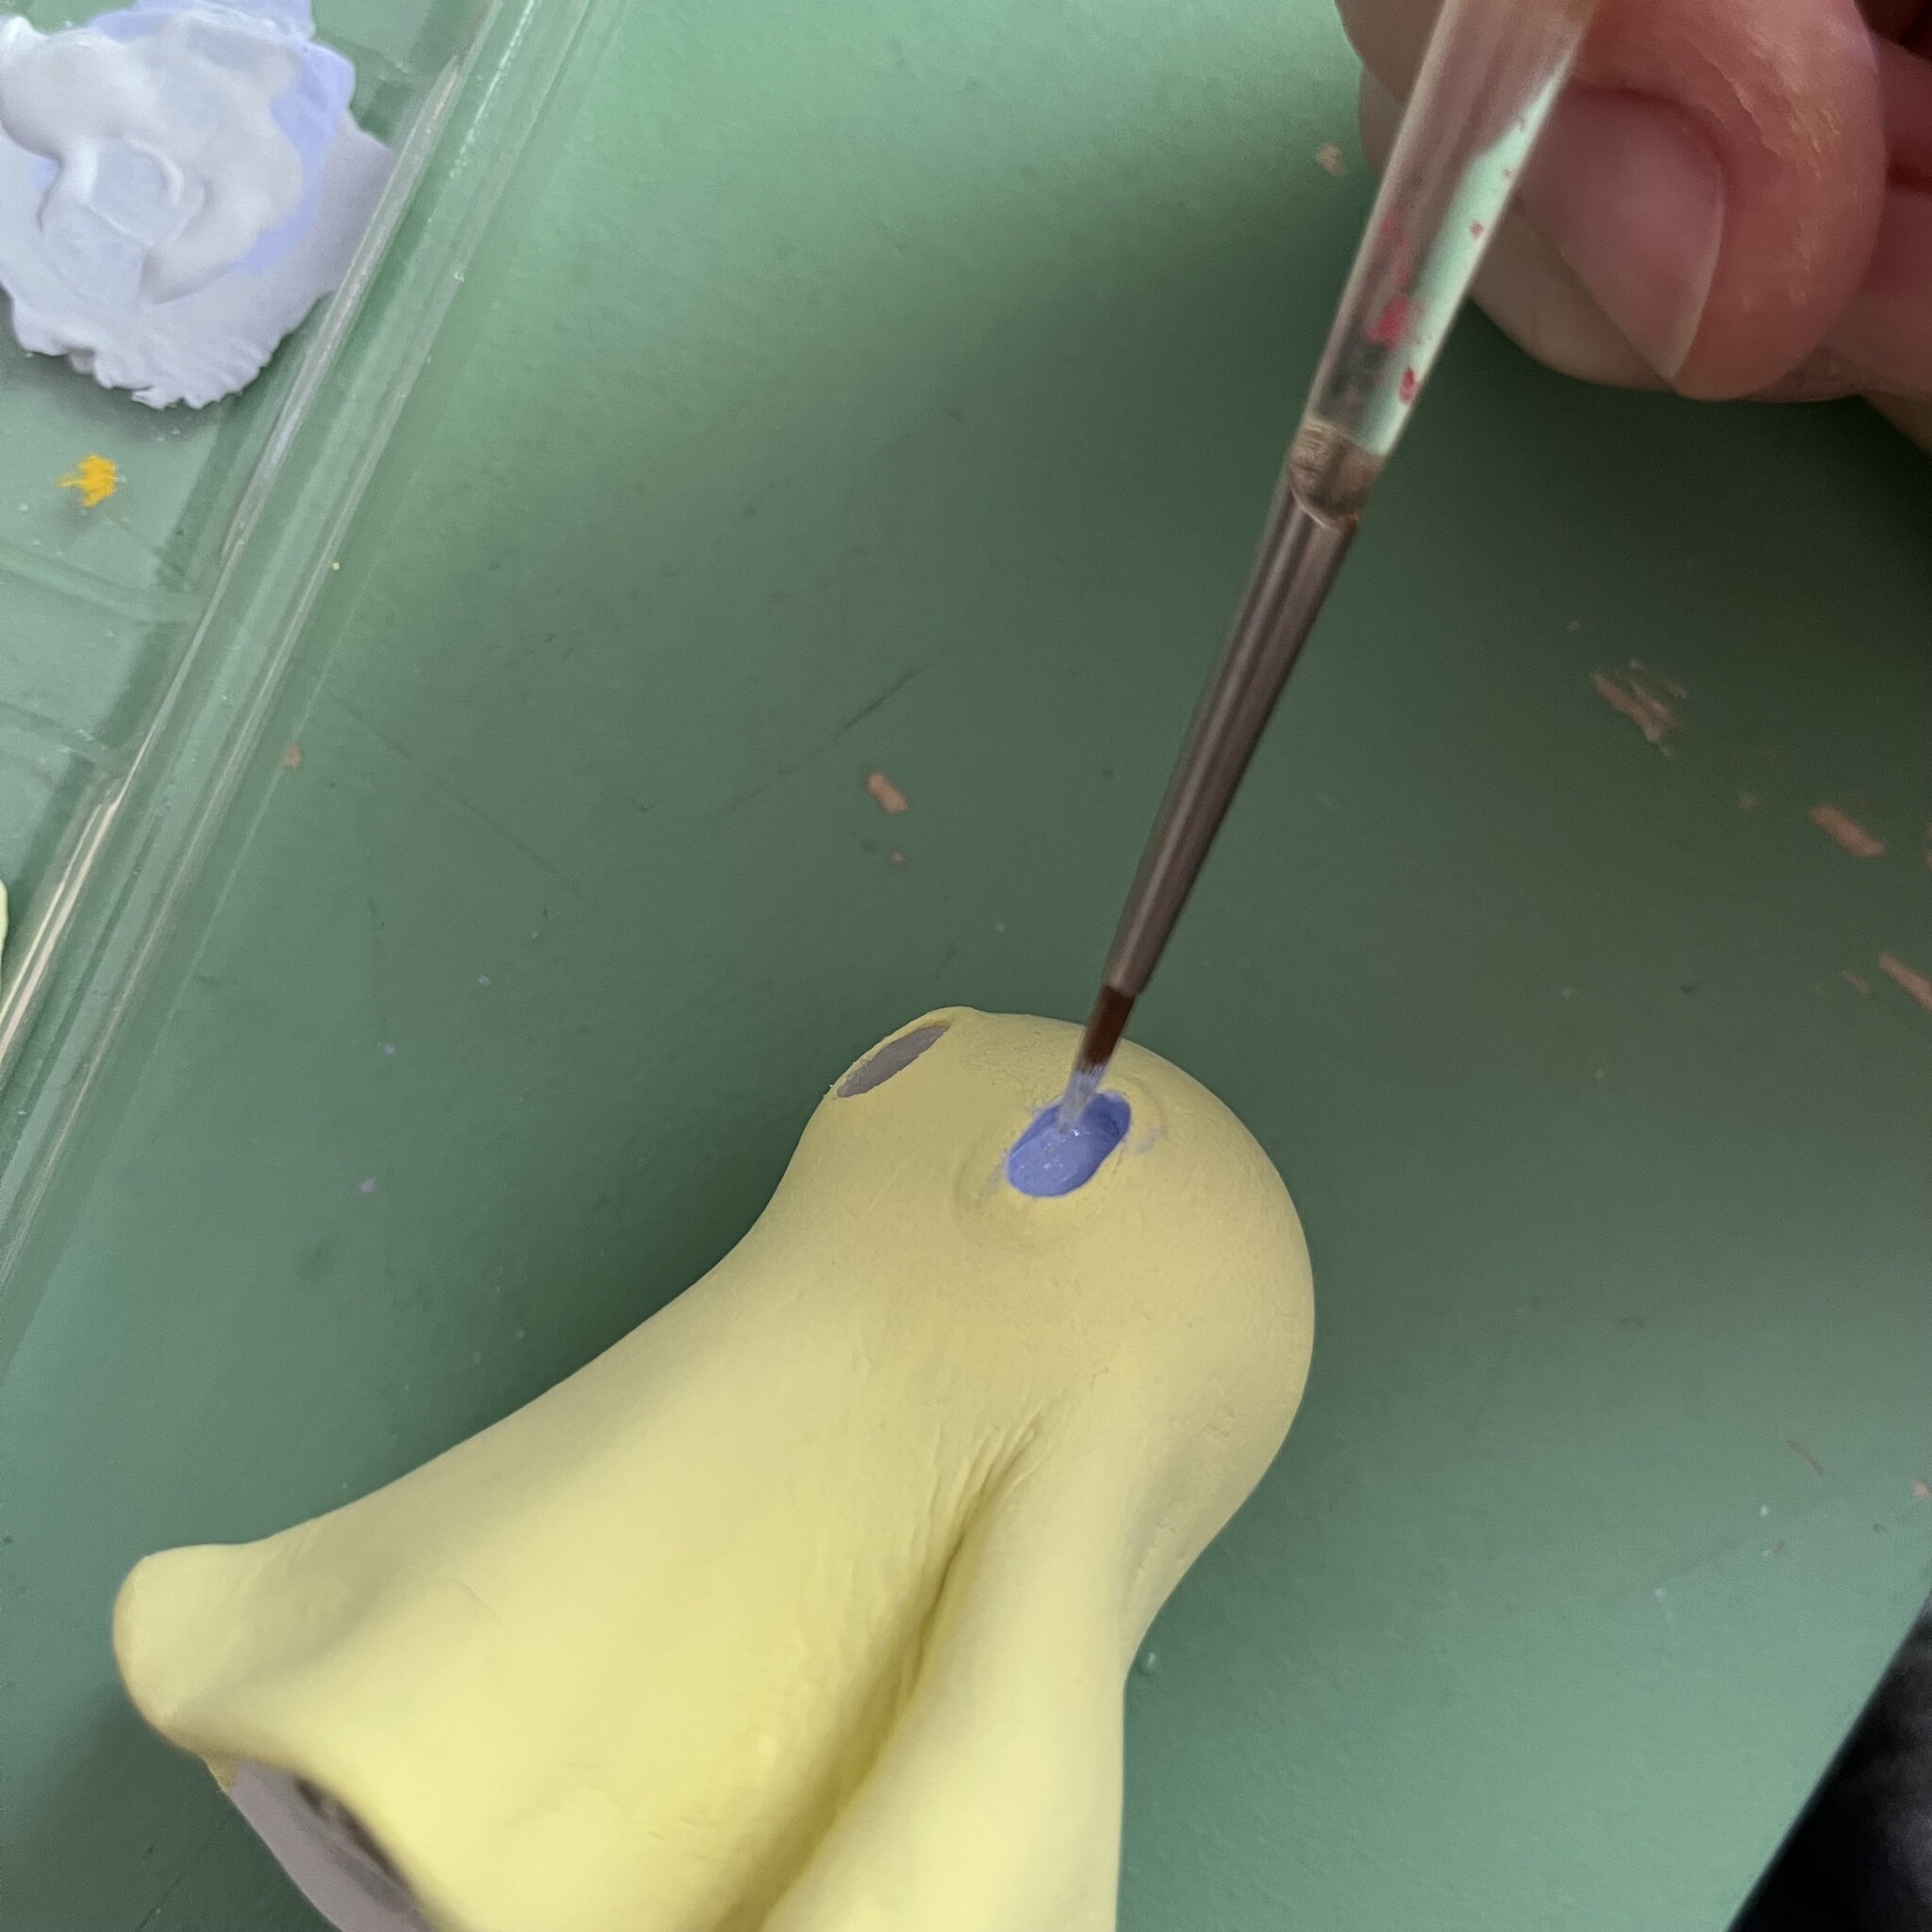
Before painting, I put on a light coat of gesso to seal the clay. Then I pulled out some of my favourite Holbein Acryla Gouache and started painting. It took two coats to get everything covered smoothly and I used a darker colour in the eyes and mouths to finish them off.
Boo! They're done :)
About ARTiculations
Serving artists across Canada, ARTiculations carries a curated selection of fine art supplies including clay, paint brushes, acrylic gouache, and acrylic mediums. Visit our online store, or contact us if you have questions about what products are right for your next creative project.
Our Pocket Guide Series
We created this series for absolute beginners. It is meant to serve as an introduction to some basic art materials and technique instruction without being too overwhelming. Think of these pocket guides as little reminders to stop thinking about it and MAKE ART EVERY DAY.
Recent articles
View all
The Practice of Making: Courage, Curiosity & Colour

Introducing Our Complimentary Gift Curator Service