Login
Log in if you have an account
Register
By creating an account with our store, you will be able to move through the checkout process faster, store multiple addresses, view and track your orders in your account, and more.
Create an account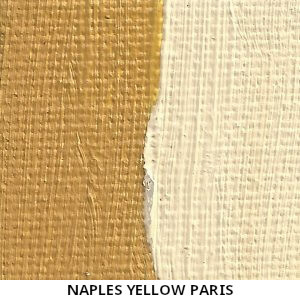
Download Rublev Oil Paint color Chart and call us at 416-901-7464 for more information as needed.
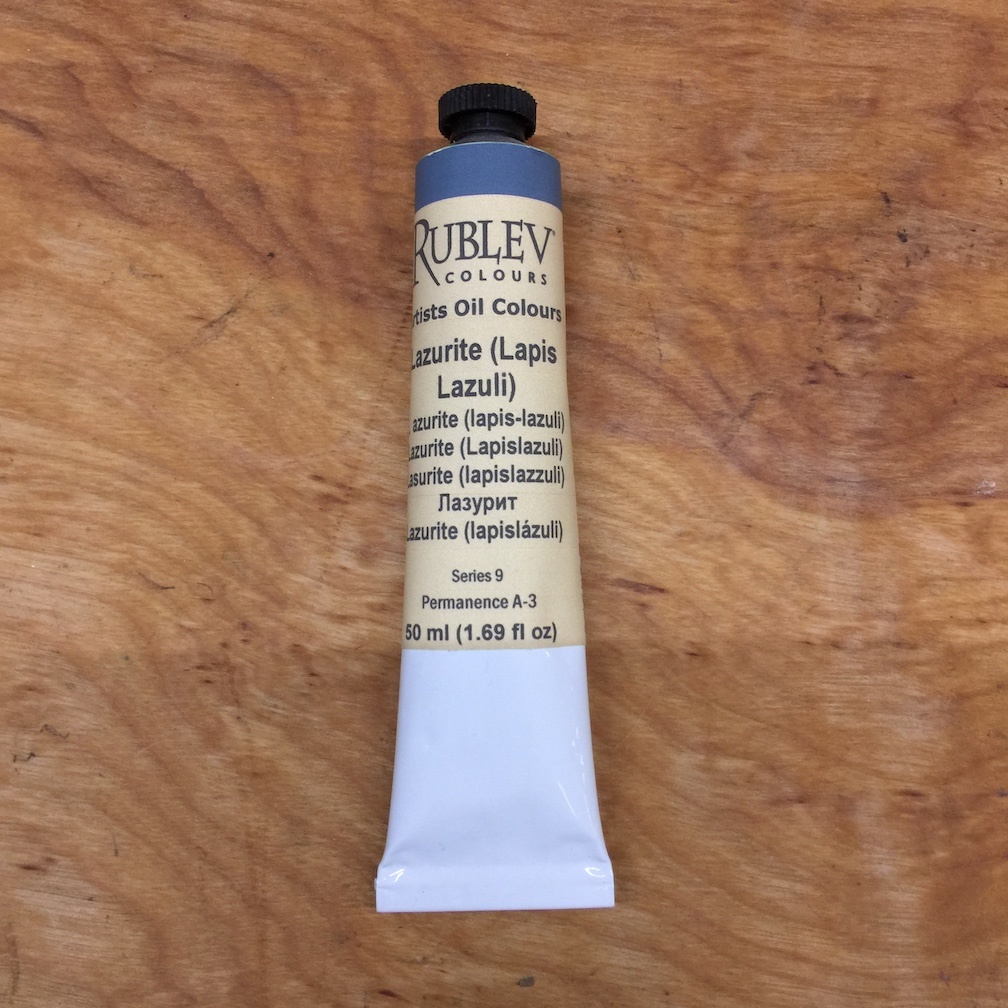
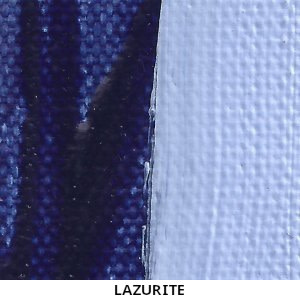
Rublev Colours Artist Oils are unlike any other brand of oil paints today. Unlike other manufactured oil paints, Rublev Colours are made from genuine natural and historical pigments, as were those used by the old masters. Most of these pigments are not found in other brands. Another reason is that Rublev Colours Artist Oils are made the way oil paints were made before modern tube colours—without additives. Rublev Colours Artist Oils contain only pigment and oil. They are formulated to maintain the unique characteristics of each pigment in oil. The character found in each tube is unique due to the pigment inside, giving the artist new choices of texture, opacity, consistency, tone and hue. With Rublev Colours you experience the transparency of yellow ochre, the pale coolness of green earths, and the crystalline glitter of blue lazurite.
The Composition and Permanence tables in the description of Rublev Colours Artist Oils provide important information on the composition, characteristics and permanence of Rublev Colours oil color ranges. Using the tables helps you to choose colours based on how they will appear as well as how long lasting the finished artwork will be and by understanding exactly what’s in your paint, you can be sure to create the highest quality painting.
The term ‘permanence’ is used here to mean the quality of lasting or remaining unchanged indefinitely. This does not imply that it will remain unchanged forever, but rather for a long period of time that cannot be measured.
Terms Explained
Color
This is the name of the color. This name usually indicates the name of the pigment, however in pigment mixtures the name is a designation of the mixture.
Pigment Classification
This is a classification of the pigment types used in each color. Pigments can be classified as being either Synthetic or Natural and Organic or Inorganic. For example, Lead White is Synthetic and Inorganic. Yellow ocher is Natural and Inorganic.
Colour Index Name
Each pigment can be universally identified by its Colour Index Name. As an example: Cobalt Blue is Pigment Blue 28, abbreviated to PB 28.
Colour Index Names of the pigments allow you to cross reference the working properties in other sources if you wish, e.g. lightfastness, opacity, toxicity, etc. It is also necessary to fully identify some of the modern pigments, for example, the disclosure of a pigment as Naphthol Red is insufficient because there are over a dozen different types, differing widely in lightfastness and opacity.
Chemical Composition
This row provides the chemical description of the pigments used in each color.
Code
This Code is a number that is given to each of the colors. This is mainly used as a reference by retailers and in our literature but it can also help you to find the right color when buying paint.
Series
The Series number indicates the relative price of the color and is determined mainly by the cost of the pigment. Series 1 is the least expensive and Series 10 is the most expensive.
Opacity
Transparent colors are marked ‘T’ and semi-transparent ‘ST’. Opaque colours are marked ‘O’ and semi-opaque ‘SO’. Transparency however, is relative and the ratings are provided as a guide only. In addition, any thin film of paint will appear more transparent than a thicker one.
Tinting Strength
Tinting strength is a measure of how strongly a particular color or pigment affects (or tints) another one when mixed with it. Some pigments (for example phthalo blue) have a very strong tinting ability, meaning a little will have a great effect on another color or pigment when mixed with it. Others (for example burnt sienna) have a weak tinting ability, meaning a little will have minimal impact on another color when mixed with it. Tinting strength in this table is relative and the ratings, e.g. High, Medium, and Low, are provided as a guide only.
Drying Rate
The good thing about oil paint is that it dries slowly, allowing time to adjust the paint to your liking. Not all oil colors dry at the same rate. Generally colors become touch dry in thin films in two to twelve days but the different reaction of each pigment when mixed with oil results in different drying times. Knowing about these drying rates can help you avoid the problem of having slow drying under layers affecting faster layers above and causing cracking. Remember one of the rules of oil painting is ‘slow drying over fast drying’—fast drying colors should be used continuously as under layers. The drying rates in this table are dependent on environmental conditions, color mixtures, absorbency of the substrate, and thickness of the paint film. The ratings, e.g. Fast (about 2 days), Medium (about 2 to 5 days) and Slow (more than 5 days), are provided as a guide only. Please remember to avoid drying your paintings in darkness or high humidity as these conditions may cause yellowing of the oil and slow the drying rate of the paint.
Lightfastness
Lightfastness is shown with an ASTM rating for the pigment. The ASTM abbreviation stands for the American Society for Testing and Materials. This organization has set standards for the performance of art materials including a color’s lightfastness.
To measure lightfastness using this system, colors are reduced to a level of 40% reflectance by the addition of titanium white, except for watercolors, which relies on the white paper. This means the amount of light reflected from the color swatch. The swatches are then tested in both sunlight and artificially accelerated conditions.
The swatches are measured with an instrument before and after exposure to light and the difference is calculated. Based on these calculations swatches are assigned different lightfastness categories. For example, pigments that exhibit a mean color change of 4.0 or less ΔE*ab are assigned to Lightfastness Category I; pigments with a mean color change of more than 4.0 but not more than 8.0 ΔE*ab to Lightfastness Category II; and so on. In this system I is the highest lightfastness available and V is the lowest, though both ratings I and II are considered permanent for artists’ use.
Where no ASTM rating is given for a color, it is labeled as ‘N/L’ meaning “Not Listed”, this usually indicates that the pigment has not yet been tested by the ASTM. It does not necessarily indicate a lack of lightfastness.
In these cases we recommend that you refer to the the permanence rating, which evaluates color on many aspects, including lightfastness, and is used to indicate a color's ability to resist fading.
Permanence
The permanence of an artists' color is defined as ‘its durability when laid with a brush on a support and displayed under a glass frame in a dry room freely exposed to ordinary daylight and an ordinary urban atmosphere’.
In simpler terms, the rating is the resistance of a color or color mixture to change when exposed to light and the atmosphere. Our ratings take into consideration the following factors; the natural passage of time, accelerated tests for lightfastness and binder stability, combined with results from pigment manufacturers’ testing, making our permanent ratings the most stringent in the industry.
| Rating | Explanation |
| A | Permanent |
| B | Moderately Durable |
| C | Fugitive |
For further information on some colors, the rating may include one or more of the following additional notes:
| Notes | Explanation |
| 1 | May fade when applied in thin layers or washes. |
| 2 | May darken when exposed to damp conditions or high relative humidity. |
| 3 | Bleached by acids or acidic atmospheres. |
| 4 | Fluctuating color that fades in light, but recovers in dark. |
| 5 | Should not be prepared in pale tints with white, as these will fade. |
| 6 | May fade unless protected with an isolating varnish or fixative. |
Add your review
Review Rublev Artist Oil Paint Series 9