Login
Log in if you have an account
Register
By creating an account with our store, you will be able to move through the checkout process faster, store multiple addresses, view and track your orders in your account, and more.
Create an accountWatercolour Painting for Beginners: An Easy, Step-by-Step Tutorial
Watercolour painting may seem intimidating at first, but it doesn’t need to be. In this installment of our Pocket Guide series, we present an easy introduction to watercolour painting for beginners. Let’s go through a few of the basic steps and have a look at some supplies you’ll need to get started.
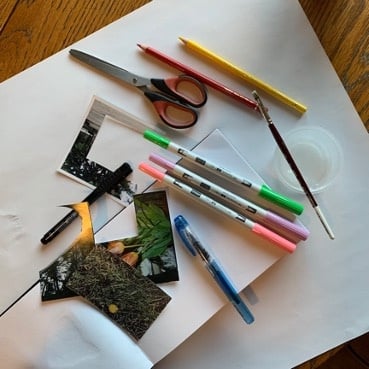
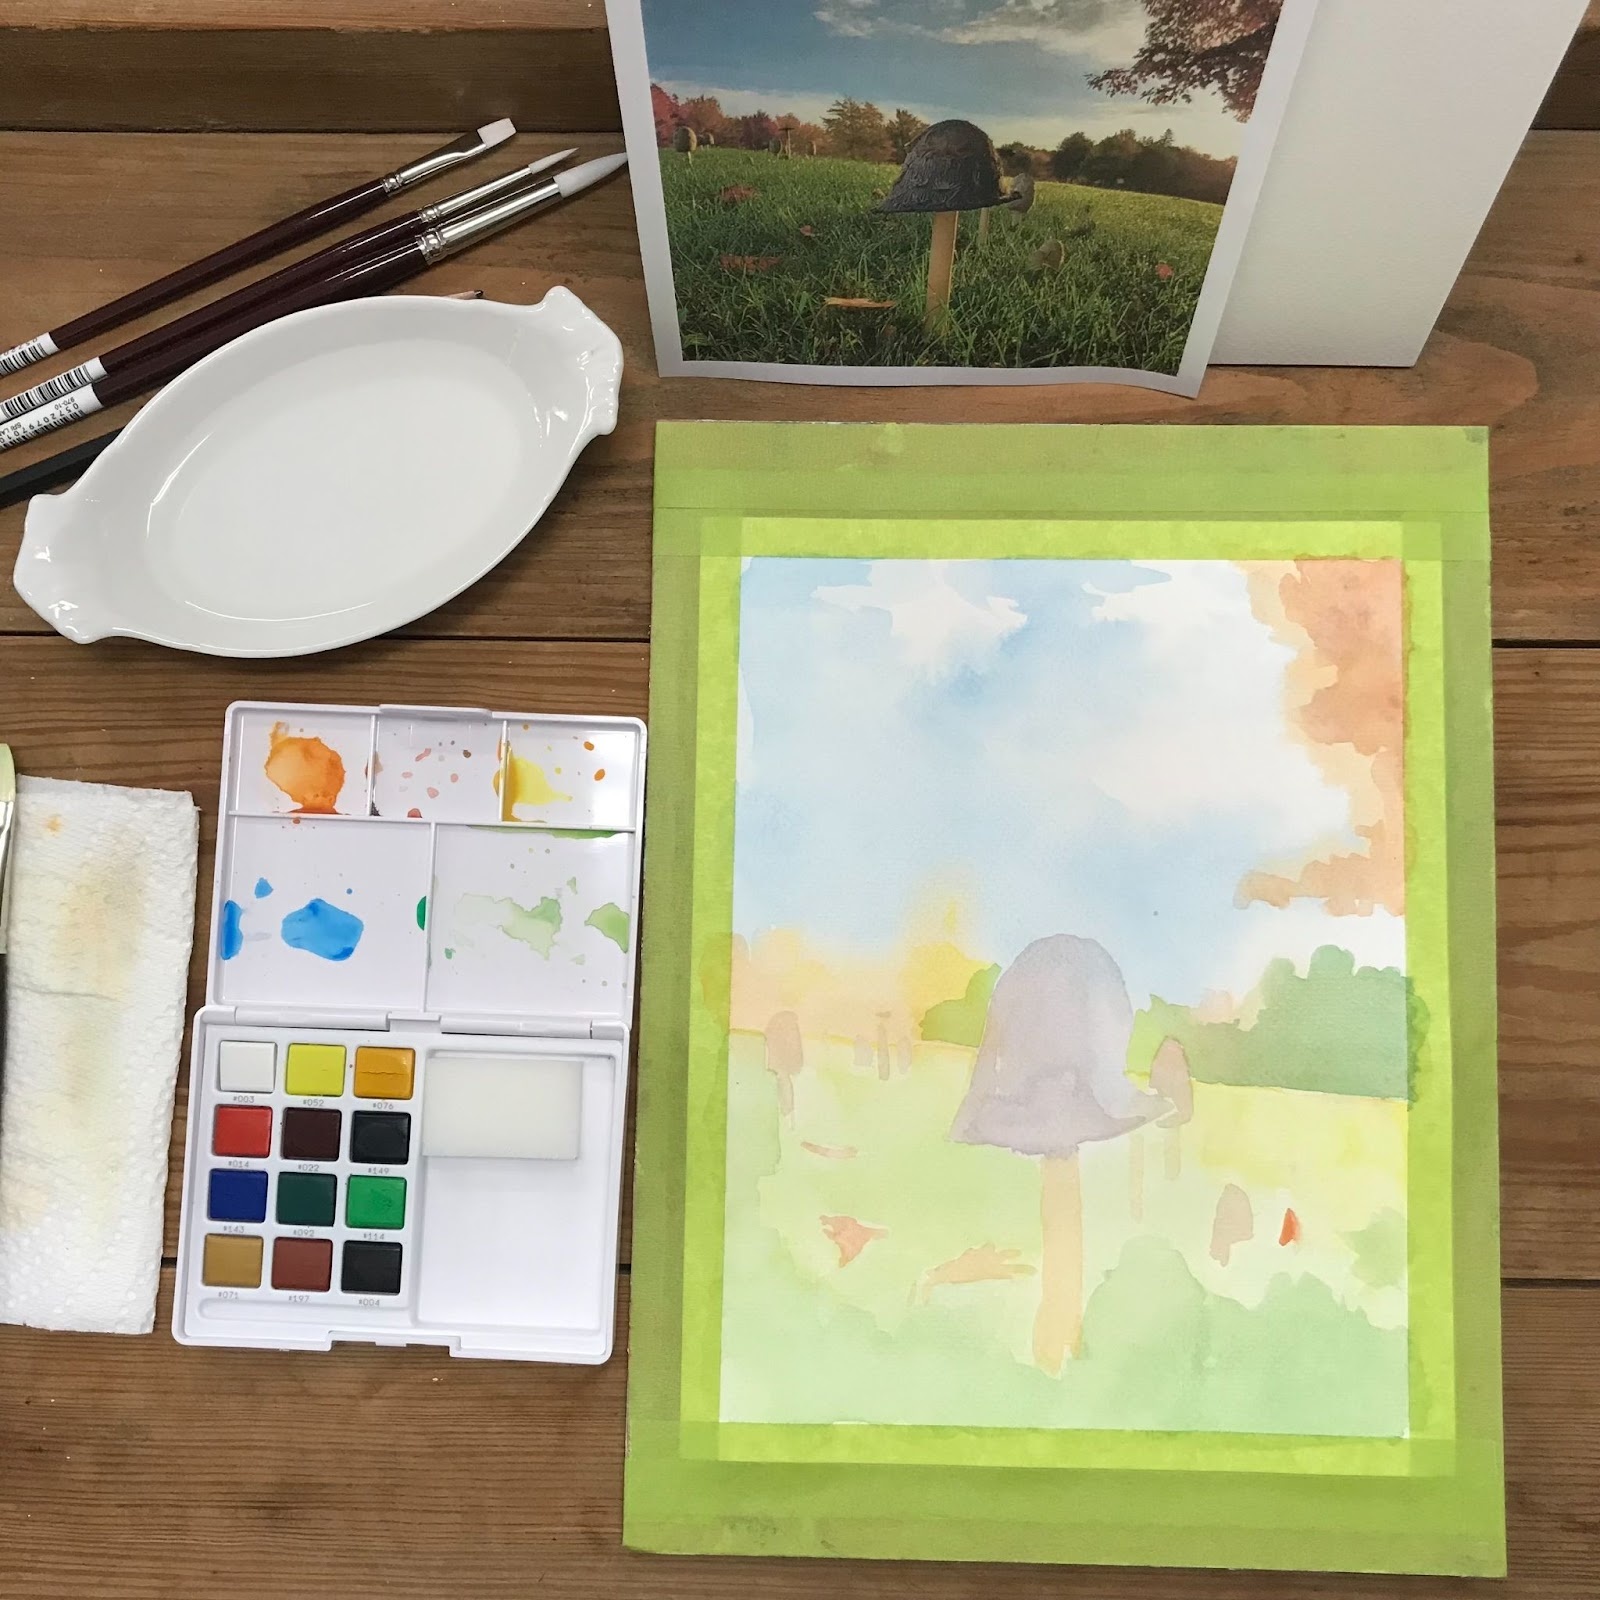
Here’s what you’ll need to get started:
Watercolour paper
Not all paper is created equal. Watercolour paper is made differently than sketching or printer paper. It's made of stronger fibres and is heavier in weight. It also contains additives called “sizing” that help the paper absorb water in a uniform way. The effect is that your paper will remain relatively flat and won’t pill or tear as water and brush strokes are applied. As with all art supplies, quality and price can vary dramatically, but I recommend starting with 140-pound, cold-pressed paper like this Fabriano Studio Watercolour pad.
A Watercolour brush (or two)
The world of watercolour brushes is vast; but let’s keep it simple. I like to work with a size 4 or 6 round watercolour brush and a 0.5-inch flat brush. Synthetic brushes like these Heinz Jordan Series 970 brushes are an excellent value. Natural hair brushes are more expensive, but they’re softer and hold more water. I use a combination of both synthetic and natural brushes.
Watercolour paint
Watercolour paint is made up of pigment and a water soluble binder (like honey, ox gall, or tree sap). Unlike acrylic or oil paint, once dry, it can be re-wet or re-worked (at the mercy of your paper), and it’s easy to clean up with just soap and water. This makes watercolour painting a popular choice for beginners.
Watercolour paint is available in dried pan sets and in tubes. I recommend starting with a pan set; I love the portability because it encourages painting on the go with a minimal setup. Look for a palette with a limited range of colours, such as this Koi 12-Colour Pocket Set, or even this compact Beam 6-Colour Palette. Often, I find I don’t end up using the majority of colours in larger kits anyhow!
With our supplies in order, let’s jump in!
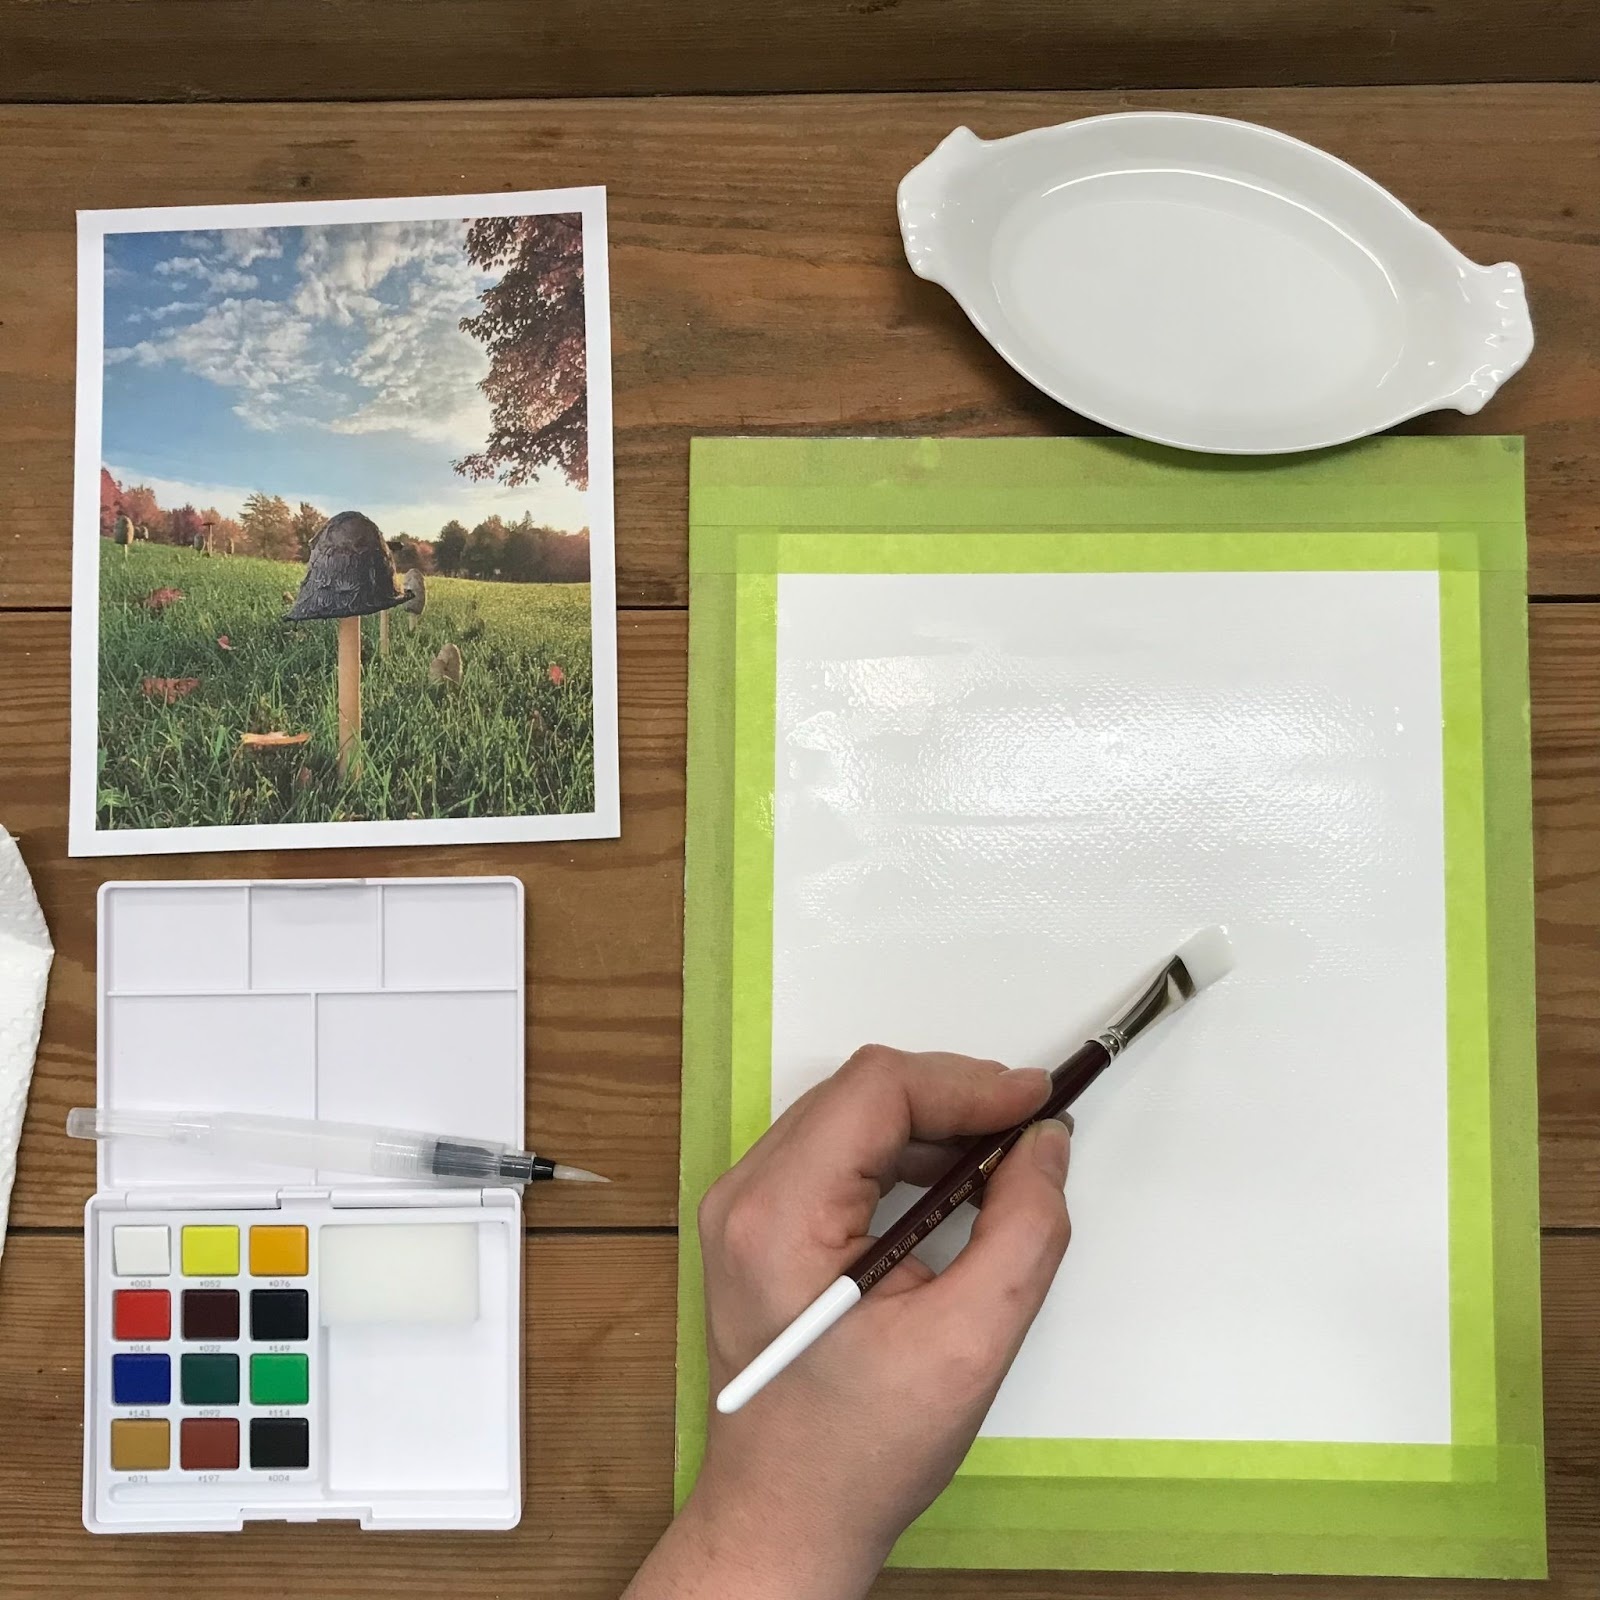
Step 1: Wet your paper.
Using your brush and room-temperature water, lightly wet your paper to prepare it for painting; take care to apply it evenly. This step prepares your paper to accept an even foundation layer of colour—this is called a wash.
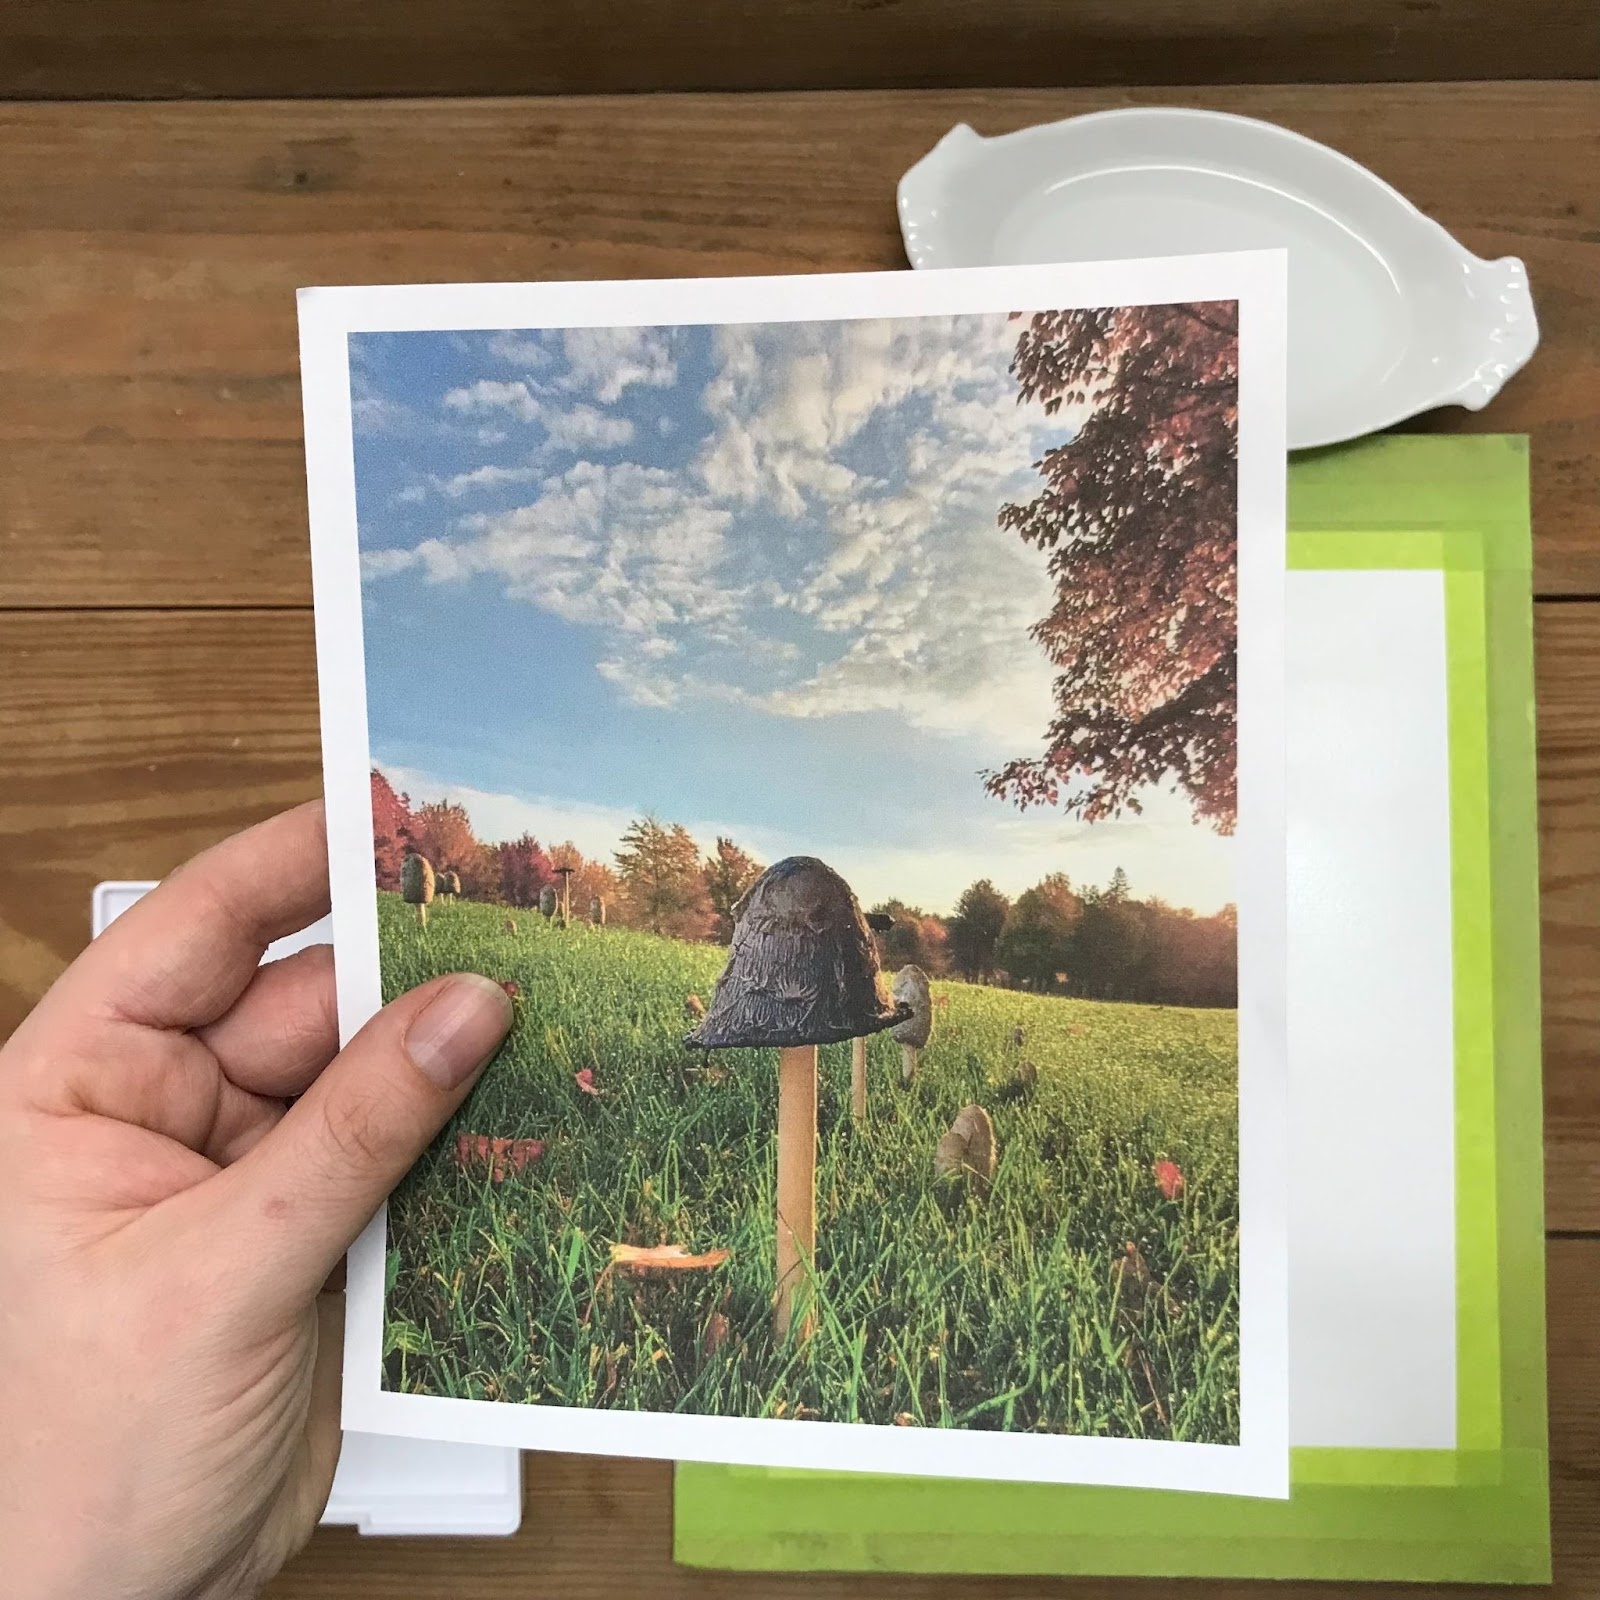
Step 2: Study your subject.
While the water soaks in, take a few moments to study and appreciate your subject. Consider asking yourself:
- What interests you about it?
- What colours do you see?
- What shapes make up its composition (squares, ovals, circles, triangles)?
- Where is the light coming from? Is it direct or diffused? Are there any shadows?
- What patterns, if any, do you see?
After spending some time studying your subject, look again at each component and consider where and how it will sit on your page. (Tip: I make a simple viewfinder to help me frame my compositions.)

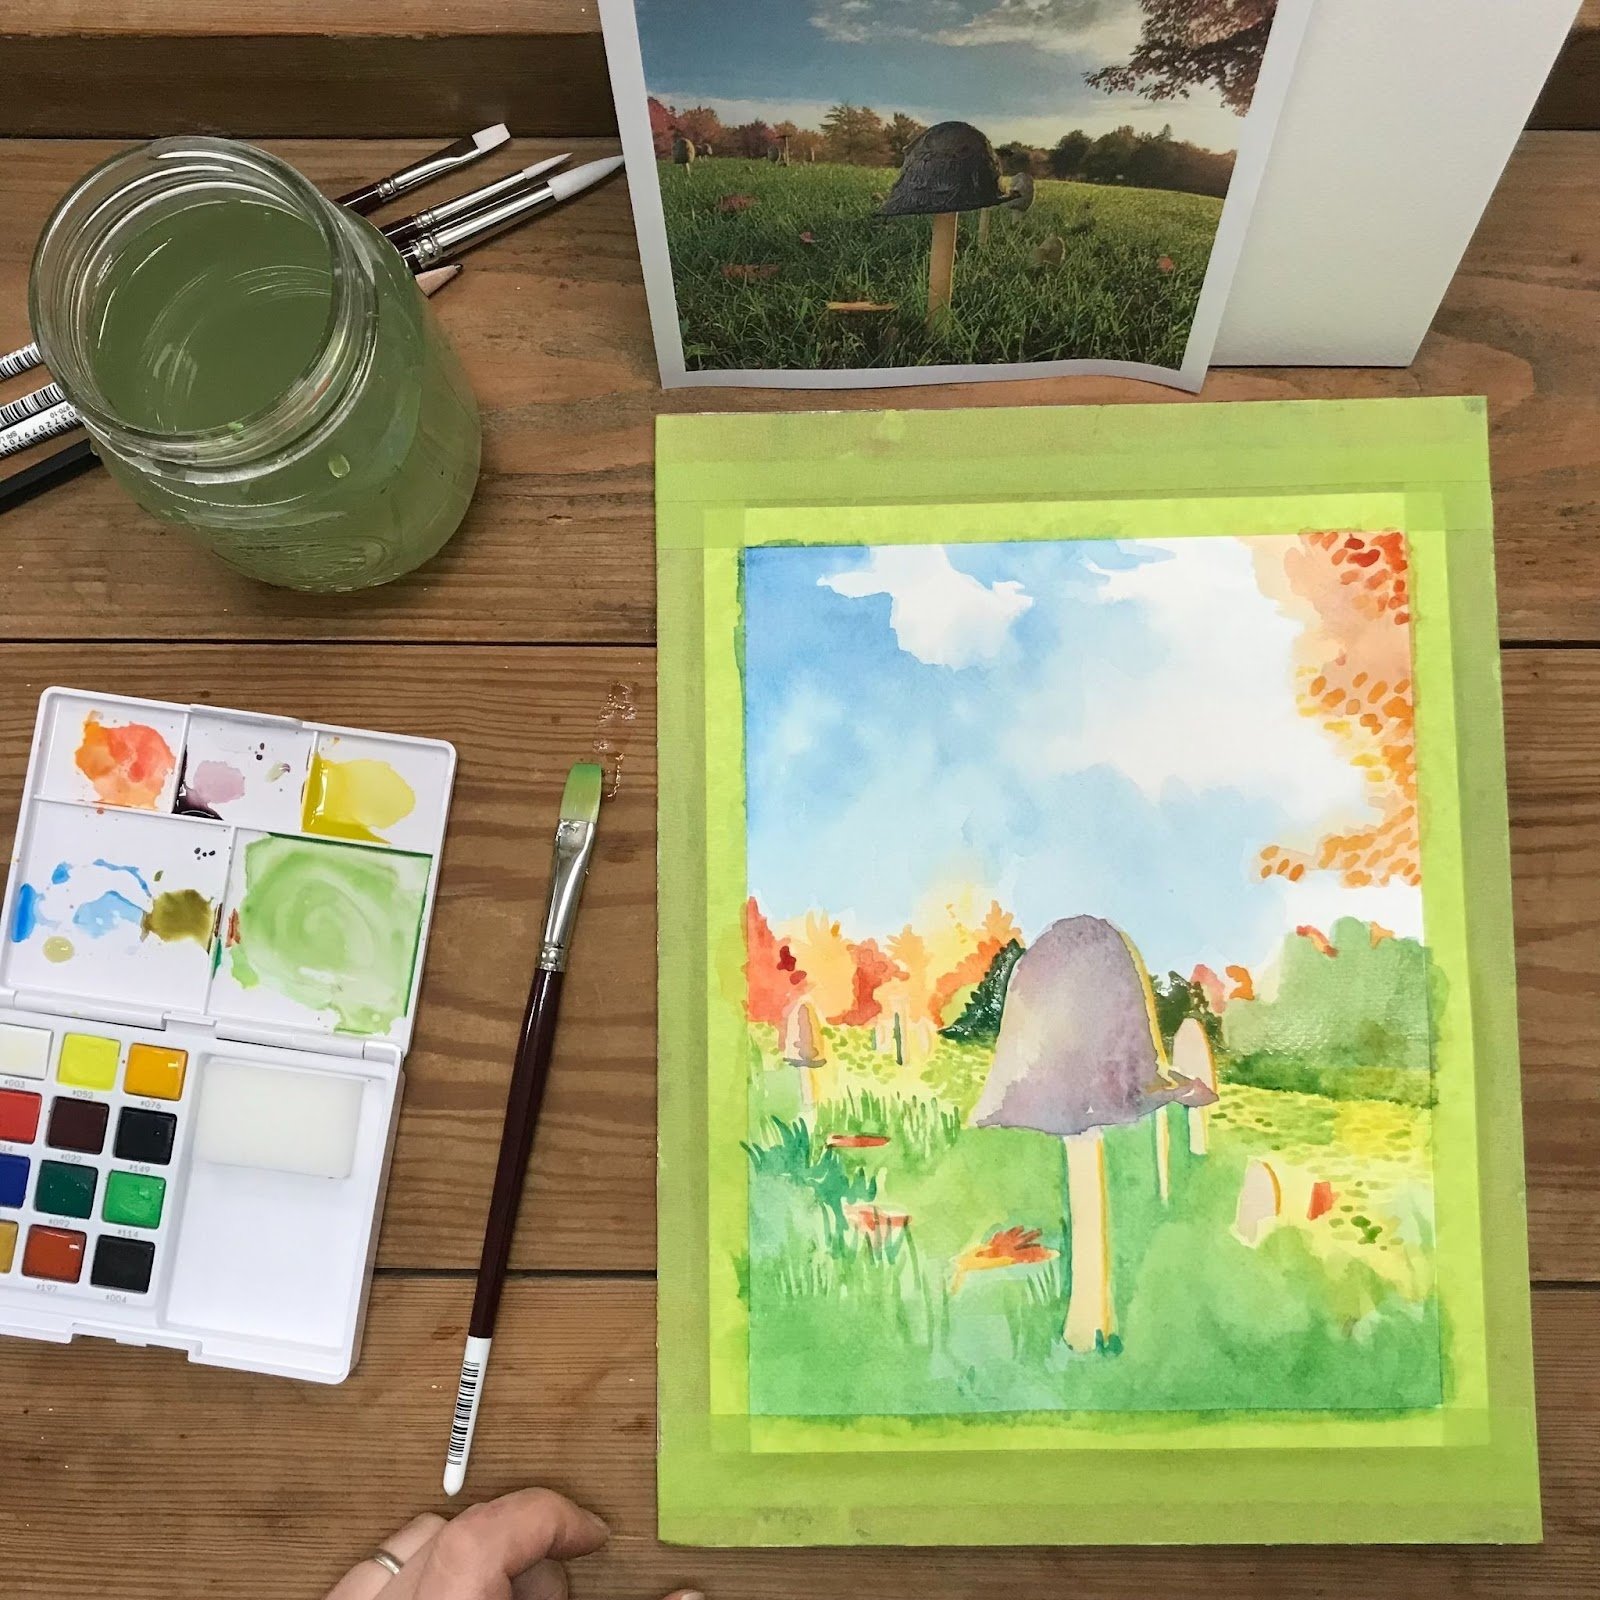
Step 3: Prepare your paint.
Mix up a few of your most prominent colours so they’re ready to go. Use a palette for this step; this can be the lid of your paint case, or a separate container/tray.
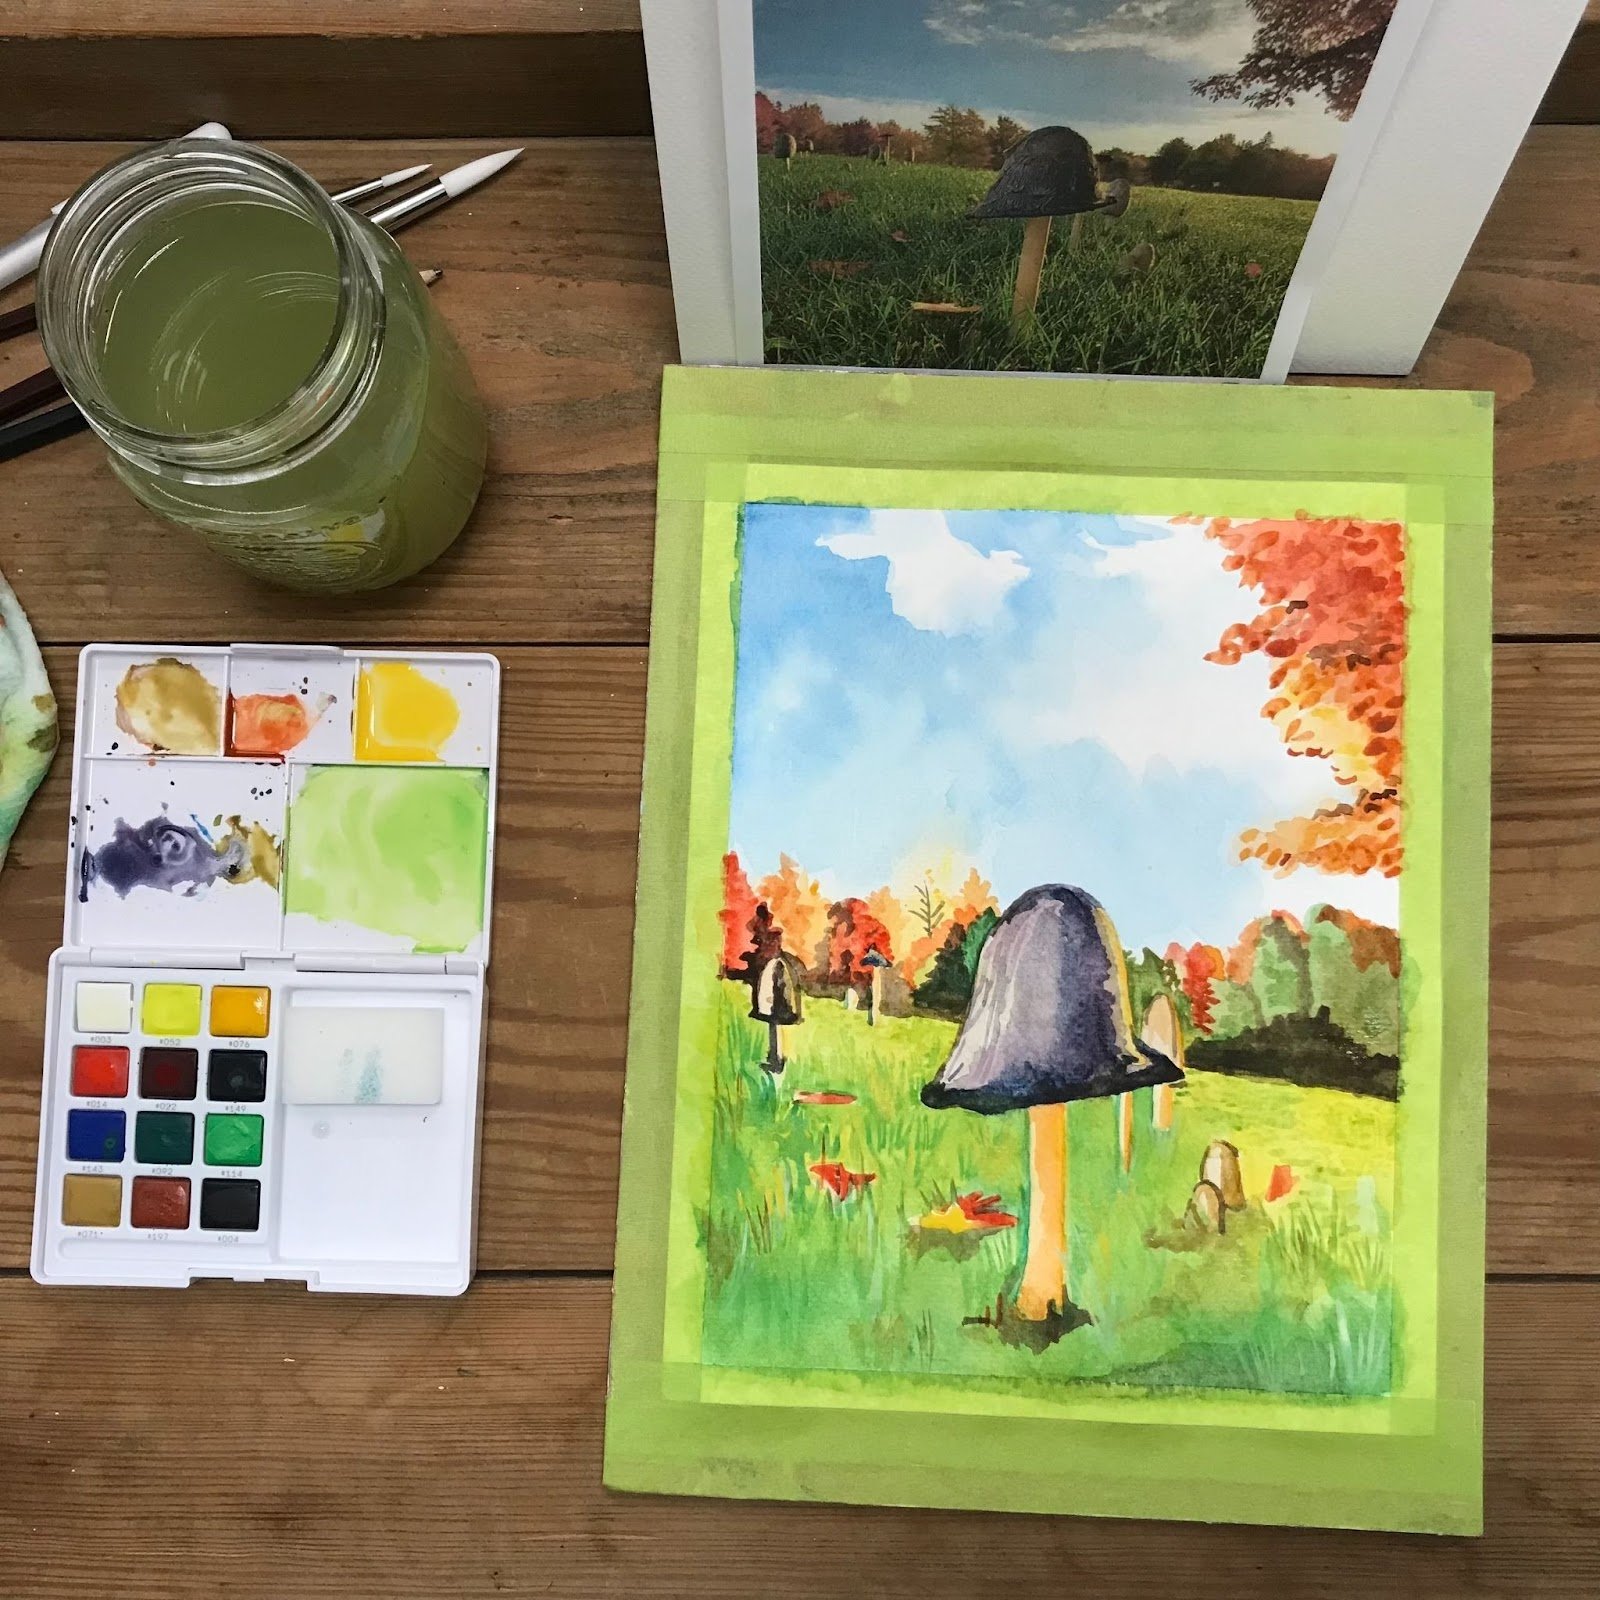
Step 4: Let’s paint! It’s all about layers.
Apply your first layer of paint, keeping it light and wet. With watercolours, light colours and bright areas are made by thinning out your paint with water, and using the paper. (Tip: Light colours go on first and dark colours last. The paper is your light and white—so go slowly!)


Step 5: Build up your paint.
Build up your paint layer by layer. You can achieve different effects depending on how you layer your colours:
- Wet on wet: Blend your colours on the paper by keeping it wet while working
- Wet on dry: Let your layers dry in between adding different elements (shapes, colours, etc.)
Experiment and play! Notice and delight in the flow of the colours and textures.
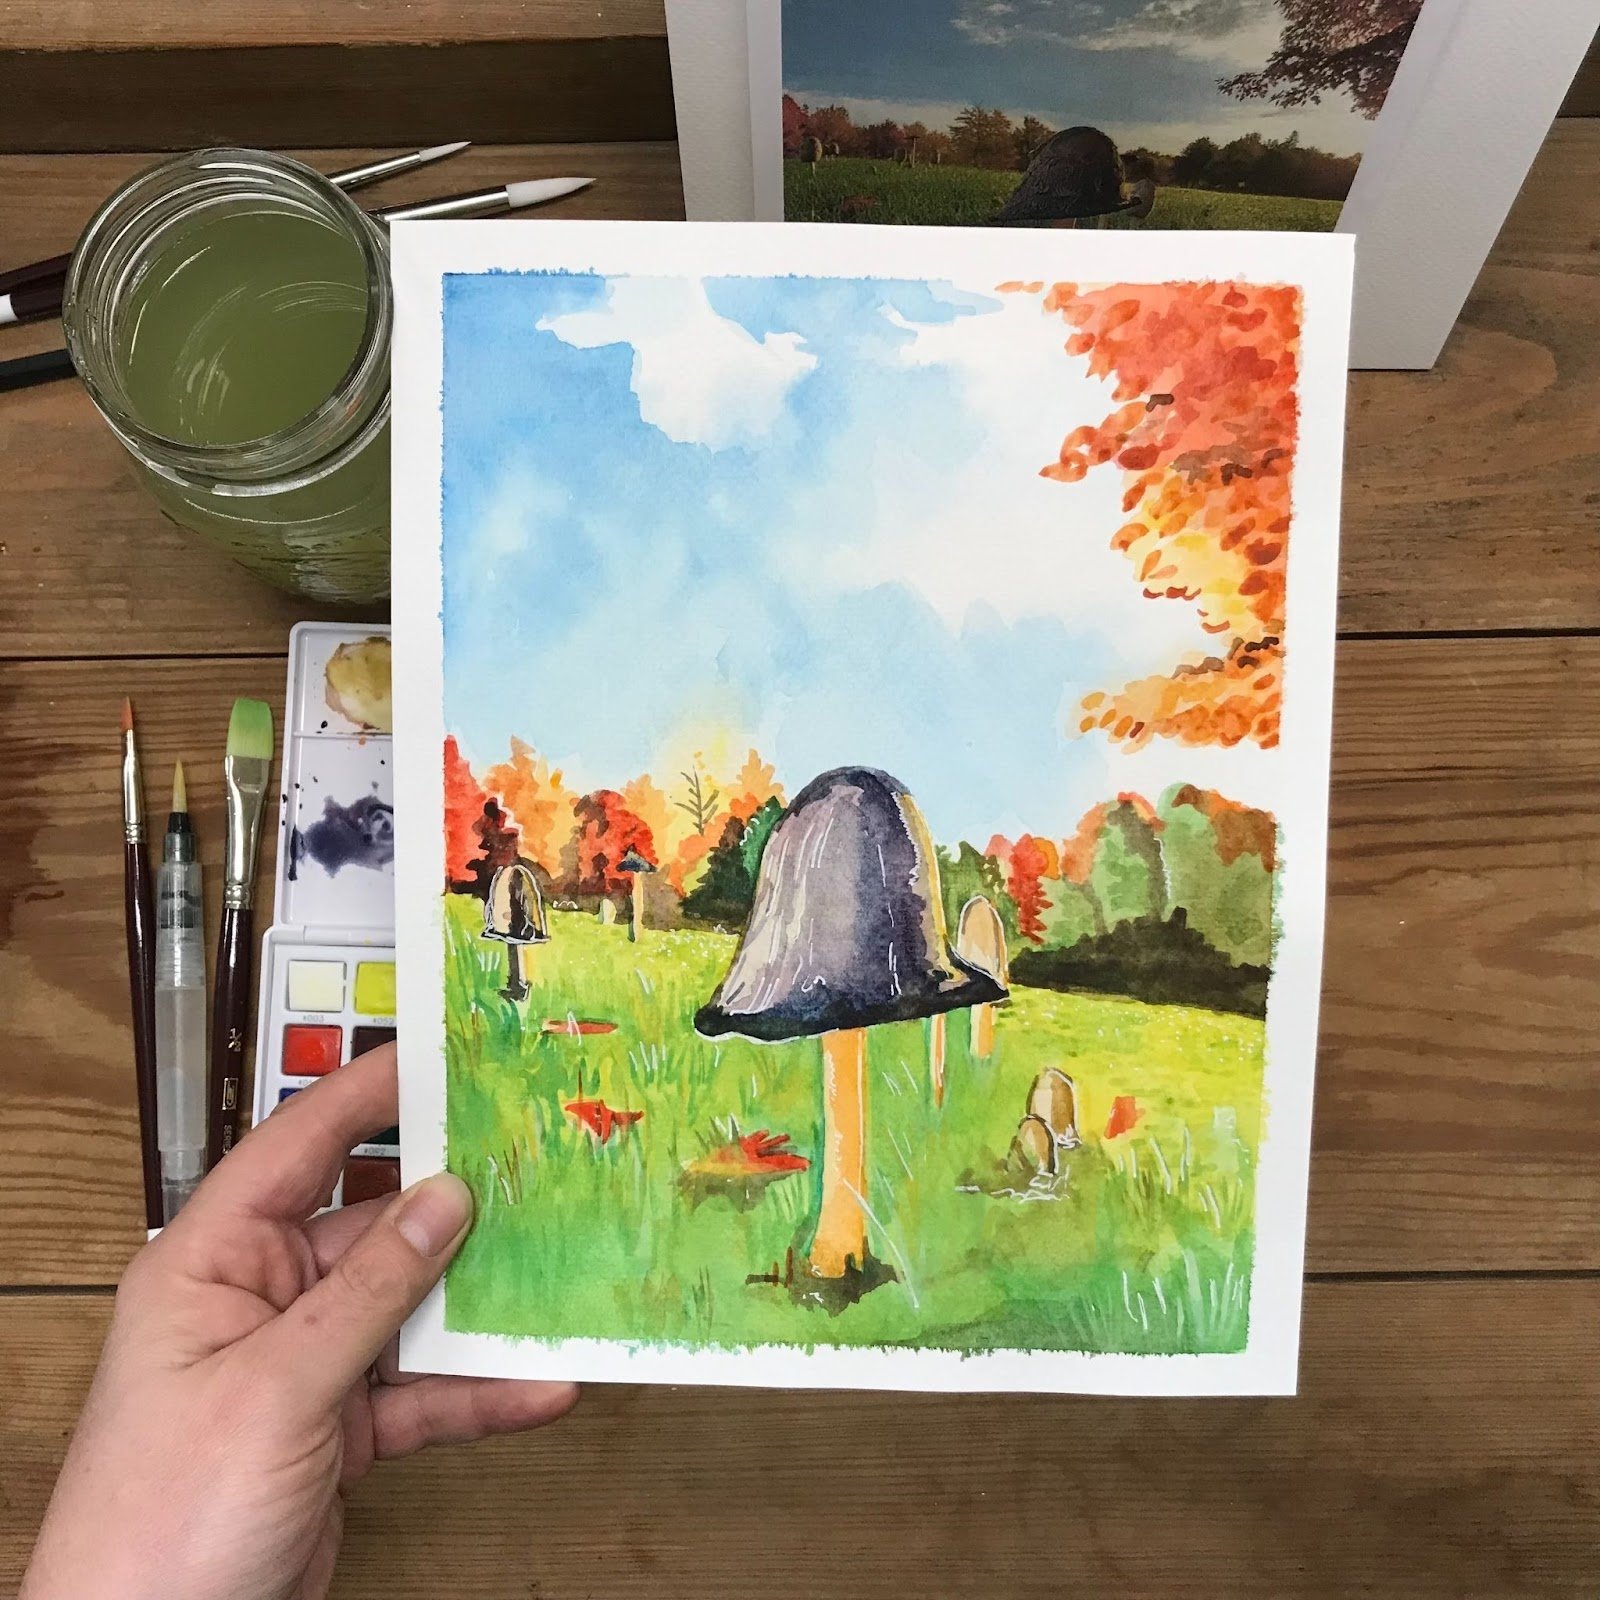
Let your picture tell you when it’s finished!
Finally, relax! There are no mistakes. In fact, accidents can often be your best friends. Paint with an open heart and enjoy the process!
About ARTiculations
Serving artists across Canada, ARTiculations carries a curated selection of fine art supplies including watercolour paper, watercolour paint, watercolour pencils, and watercolour mediums. Visit our online store, or contact us if you have questions about what products are right for your next creative project.
Our Pocket Guide Series
We created this series for absolute beginners. It is meant to serve as an introduction to some basic art materials and technique instruction without being too overwhelming. Each post is accompanied by a free, printable, pocket guide that you can keep with your supplies and take with you wherever creativity strikes. Think of these pocket guides as little reminders to stop thinking about it and MAKE ART EVERY DAY.
Recent articles
View all
The Practice of Making: Courage, Curiosity & Colour

Introducing Our Complimentary Gift Curator Service